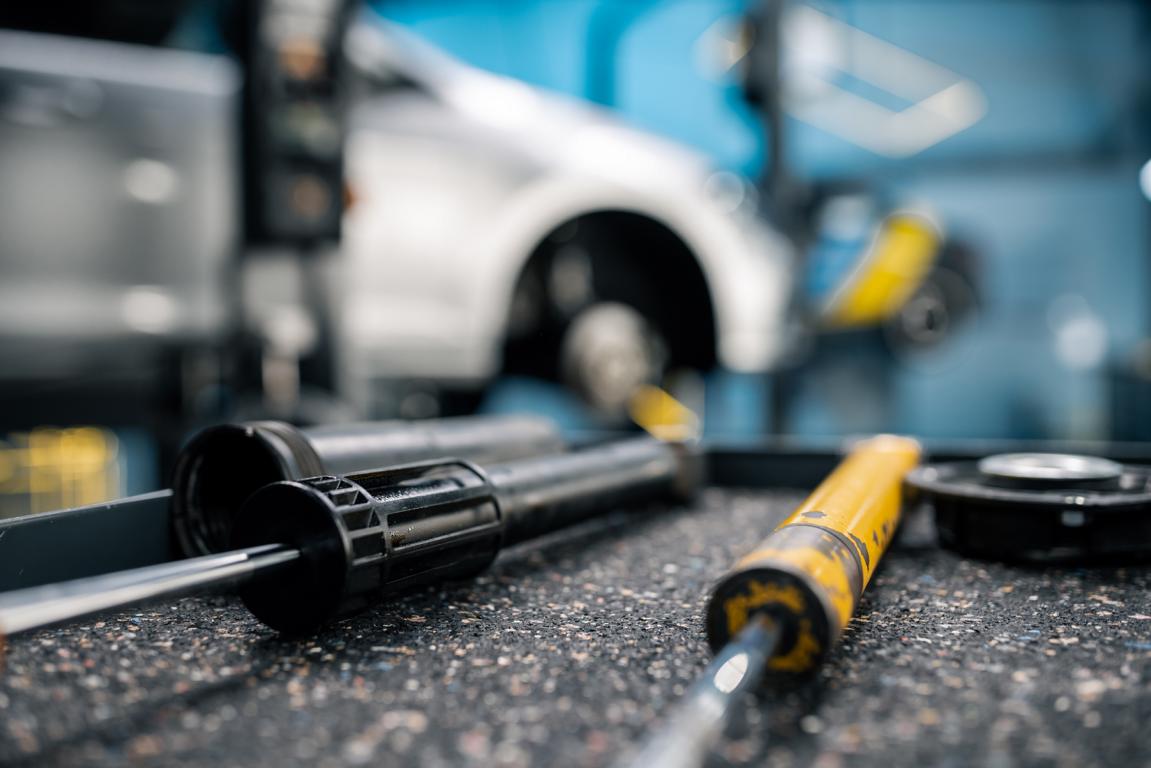
Workshops that replace shock absorbers or springs in a Golf VII or VIII should definitely study the manufacturer's instructions beforehand. If a sports or coilover kit is retrofitted, the installation instructions enclosed with the product must be observed. That's what the BILSTEIN Academy advises, and it doesn't just refer to its own aftermarket products. The background is some special features in the front axle structure of the two Golf models, which are based on the modular transverse matrix (MQB). If these are ignored, problems can arise when driving.
Gulf VII & VIII
The spectrum ranges from a cracking sound in the strut bearing to spring jumping when steering to an unstable, spongy driving experience or an atypical tire wear pattern. The phenomena mentioned are not usually due to defective components, but are due to small installation errors that would not have happened in many other vehicles in the first place. Because unlike usual, the top mounts of the front axle on MQB vehicles from VW are not symmetrical, but trapezoidal. They therefore require precise alignment of the components with one another. The BILSTEIN Academy has analyzed three of the most common sources of error in connection with this design and explained what workshops must pay attention to with the Golf VII and VIII.
Important information on correct component selection
Before that, however, there is a general note on the selection of the right suspension components, because the MQB models are available with two different spring strut diameters on the front axle (50 and 55 mm). At the rear it is also important to note that either a rigid or a multi-link axle can be installed. The best way to determine the correct components is to use the chassis number. Alternatively, the equipment on the front and rear axles can be measured or determined by a visual inspection of the vehicle. Another option is to determine the strut diameter using the service booklet. So it says e.g. B. the PR code G04 for 50 mm. However, the type of rear axle is not revealed here.
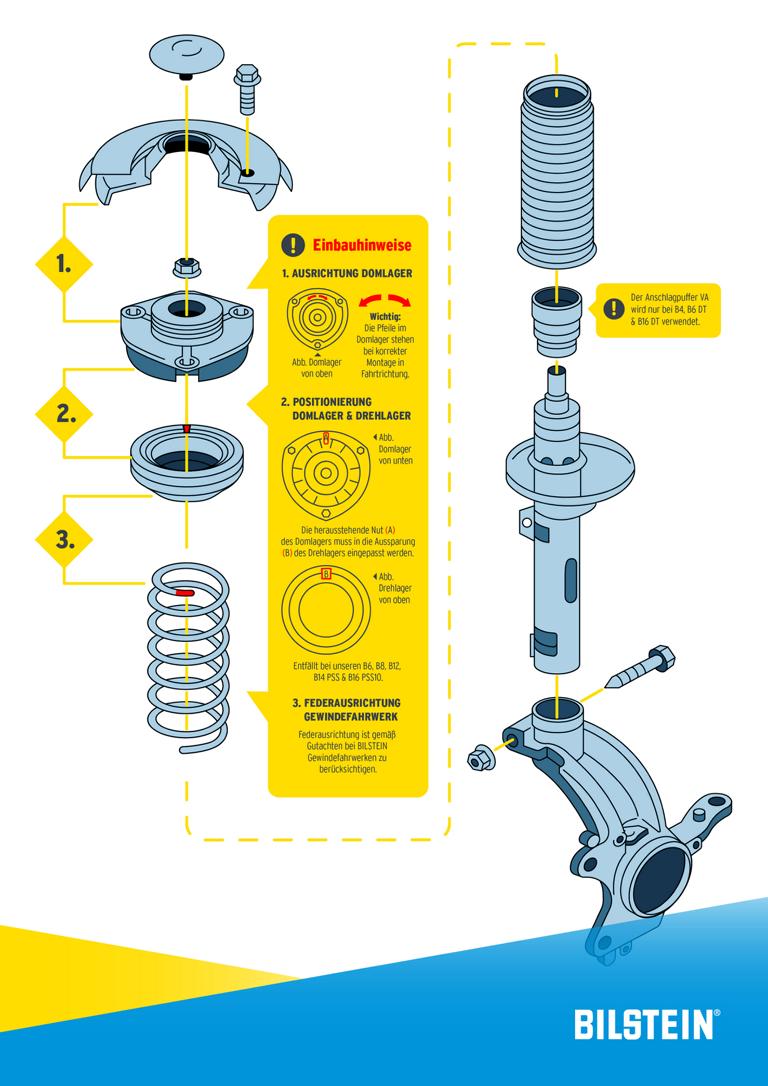
Typical error 1: Alignment of the dome bearing to the chassis (OE specification)
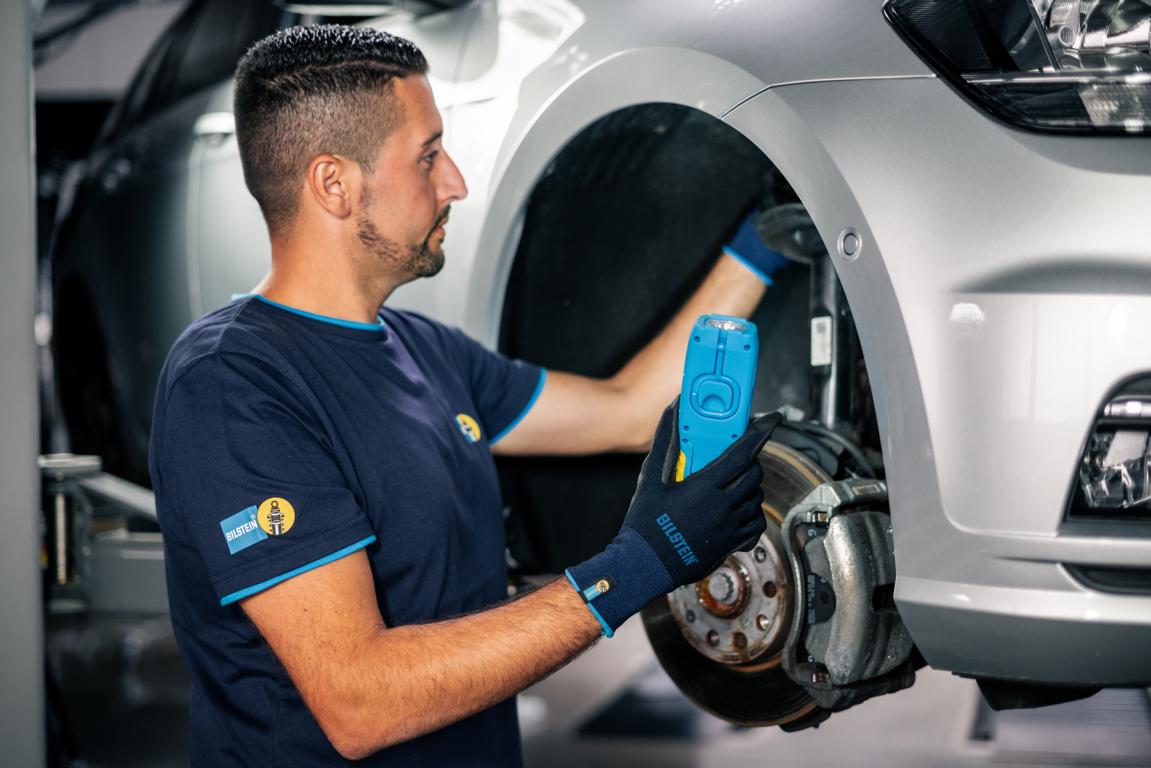
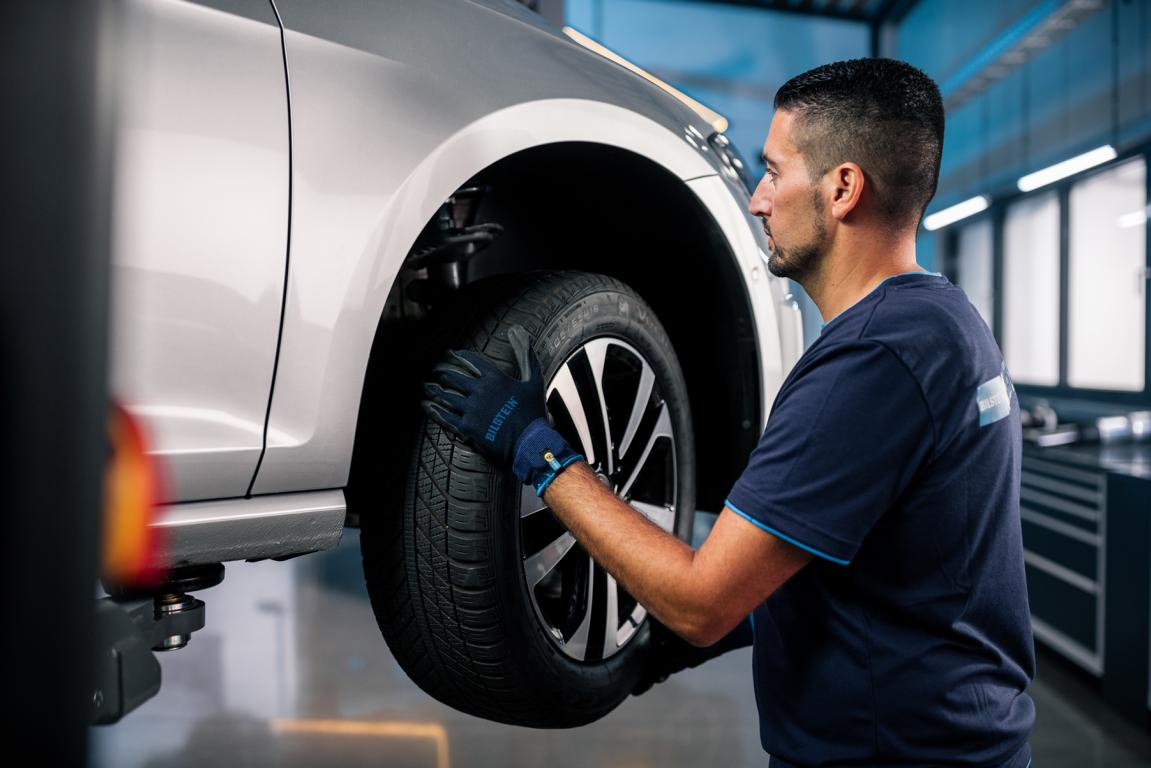
- There are small arrows on the trapezoidal dome bearing of the front axle on the Golf VII and VIII, which are easily overlooked when replacing shock absorbers. These indicate the installation position of the top mount. If they are on the axis of travel, i.e. forwards and backwards, everything is correct. The spring coil ends then point outwards as specified. In order to subsequently evaluate the installation status, the three screws between the dome bearing and the dome mount must be loosened and the vehicle lifted carefully on the lifting platform.
Typical error 2: installing the pivot and dome bearing in the correct position (OE specification)
- There is a groove in the top mount of the shock absorber into which the pivot bearing is inserted. When working on the chassis, there is a possibility that this was ignored and the two components were therefore assembled in the wrong position. The solution: Raise the vehicle on the lifting platform and check the positioning. If necessary, the necessary adjustments with regard to dome and pivot bearings must be carried out.
Typical error 3: Correctly align the spring coil to the dome bearing (BILSTEIN specification)
- Important assembly instructions can be found in the BILSTEIN coilover kit box for the VW Golf VII and VIII. It states that the spring coil at the top of the dome bearing must absolutely face outwards. If this was initially not observed in your own company or if problems arise when driving a vehicle that has been converted by a third party, the condition on the lifting platform can be assessed. If necessary, the spring winding must be readjusted until the alignment with the dome bearing is correct. Photo credit: ThyssenKrupp Bilstein GmbH
The following note is essential: For safety reasons, tuningblog recommends all repair, inspection and maintenance work exclusively to be carried out in a specialist workshop! Although our information is summarized to the best of our knowledge and belief, we cannot assume any liability for the content. All information is therefore "without guarantee".
Of course, that wasn't the end of it!
In this tuningblog category there are guides and instructions for common defects/repairs on the vehicle and for installing accessories/tuning parts. Our articles explain in a simple way common defects and the corresponding repairs and they also explain how the first signs of a defect become noticeable. In most cases, we also have initial clues to the repair instructions in our repair instructions approximate costs listed. The goal of ourAuto Repair Guide“ is to create a head start in knowledge for the next visit to the workshop with initial tips. This may save you from tedious troubleshooting and you may even be able to do small things yourself. The same applies, of course, to the installation of accessories/tuning parts. Here, too, we would like to help with the implementation with instructions and tips. There are many other posts on this as well. Below is an excerpt of the last and HERE there are all previous instructions.
other related posts
|
Refurbish plastics, leather and vinyl yourself with QUIXX products
|
Defects in the automatic / electric tailgate?
|
|
Driving without scratches – remove scratches on cars & Co. with QUIXX!
|
|