Recently updated on May 6, 2023 at 05:24 p.m
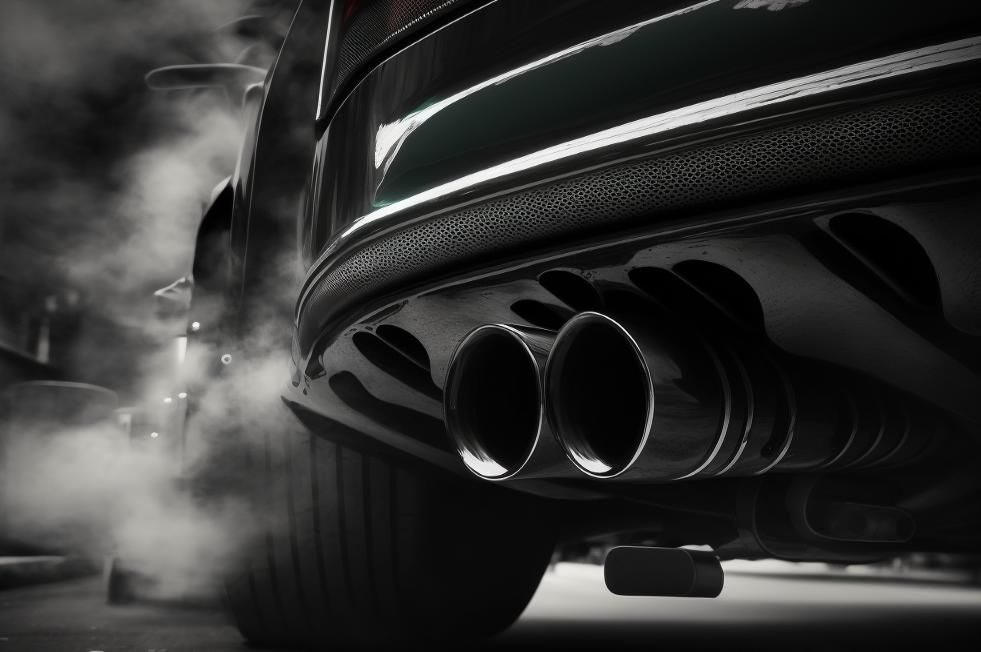
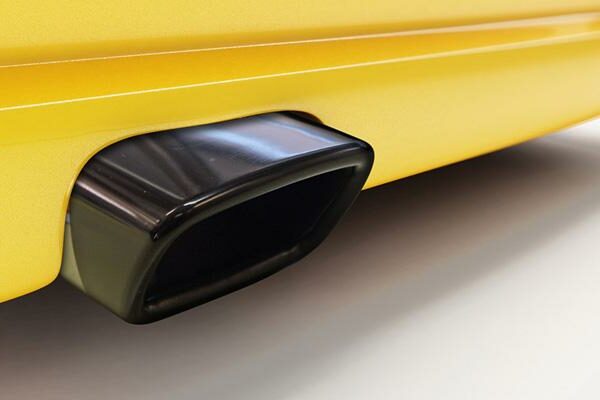
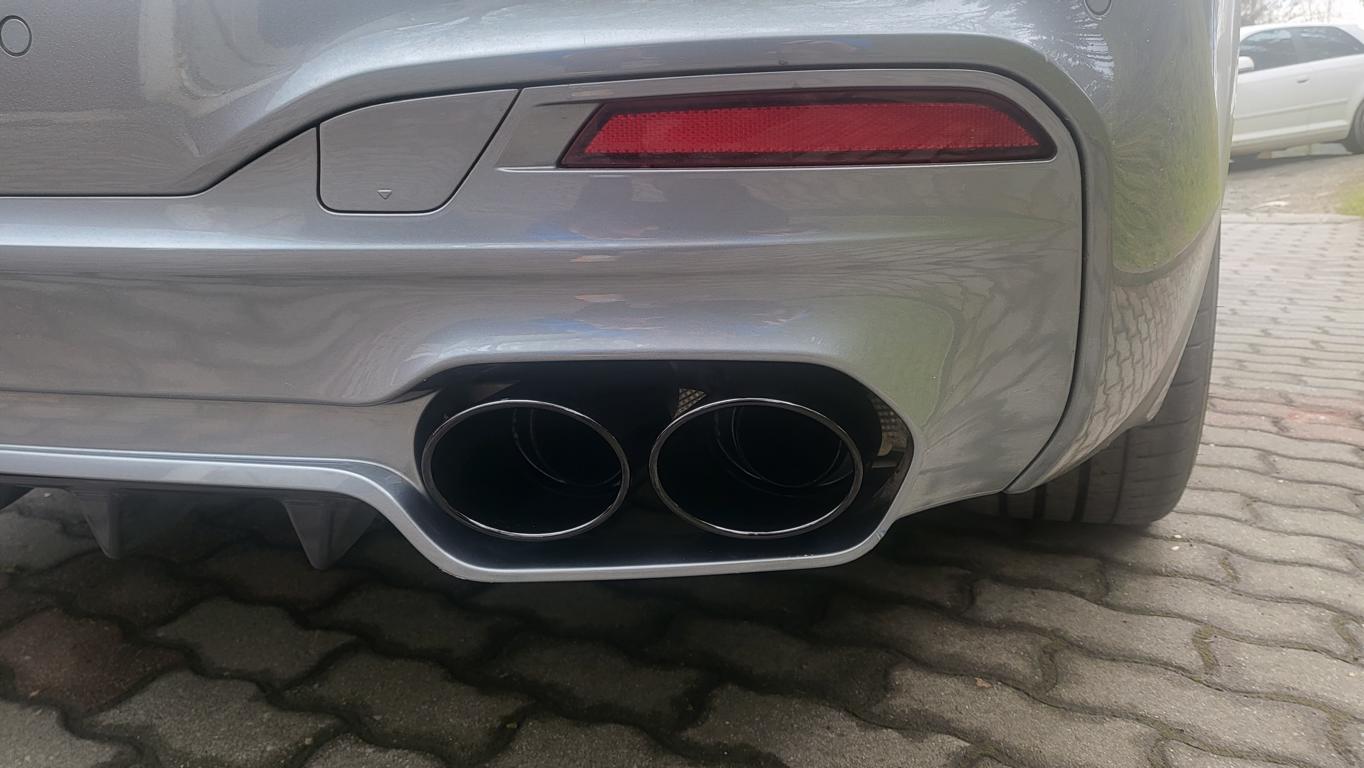
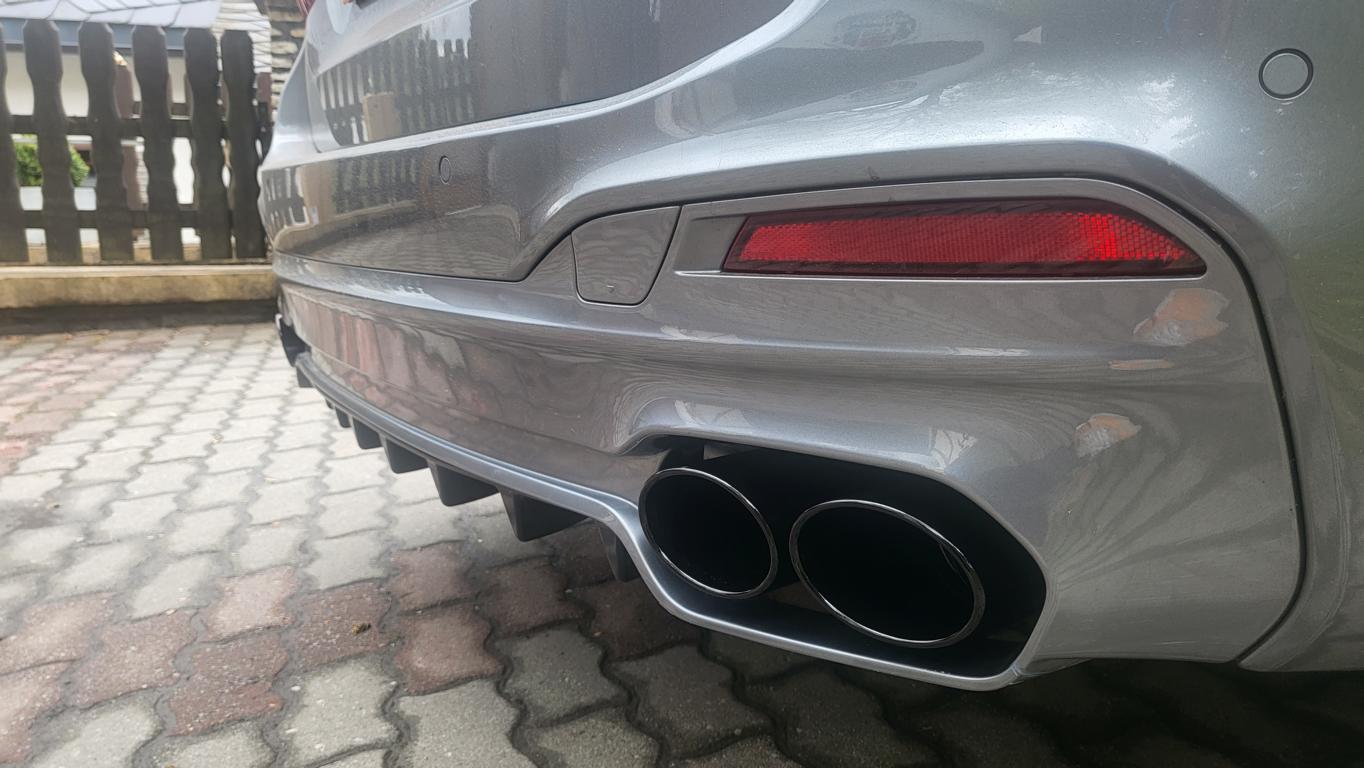
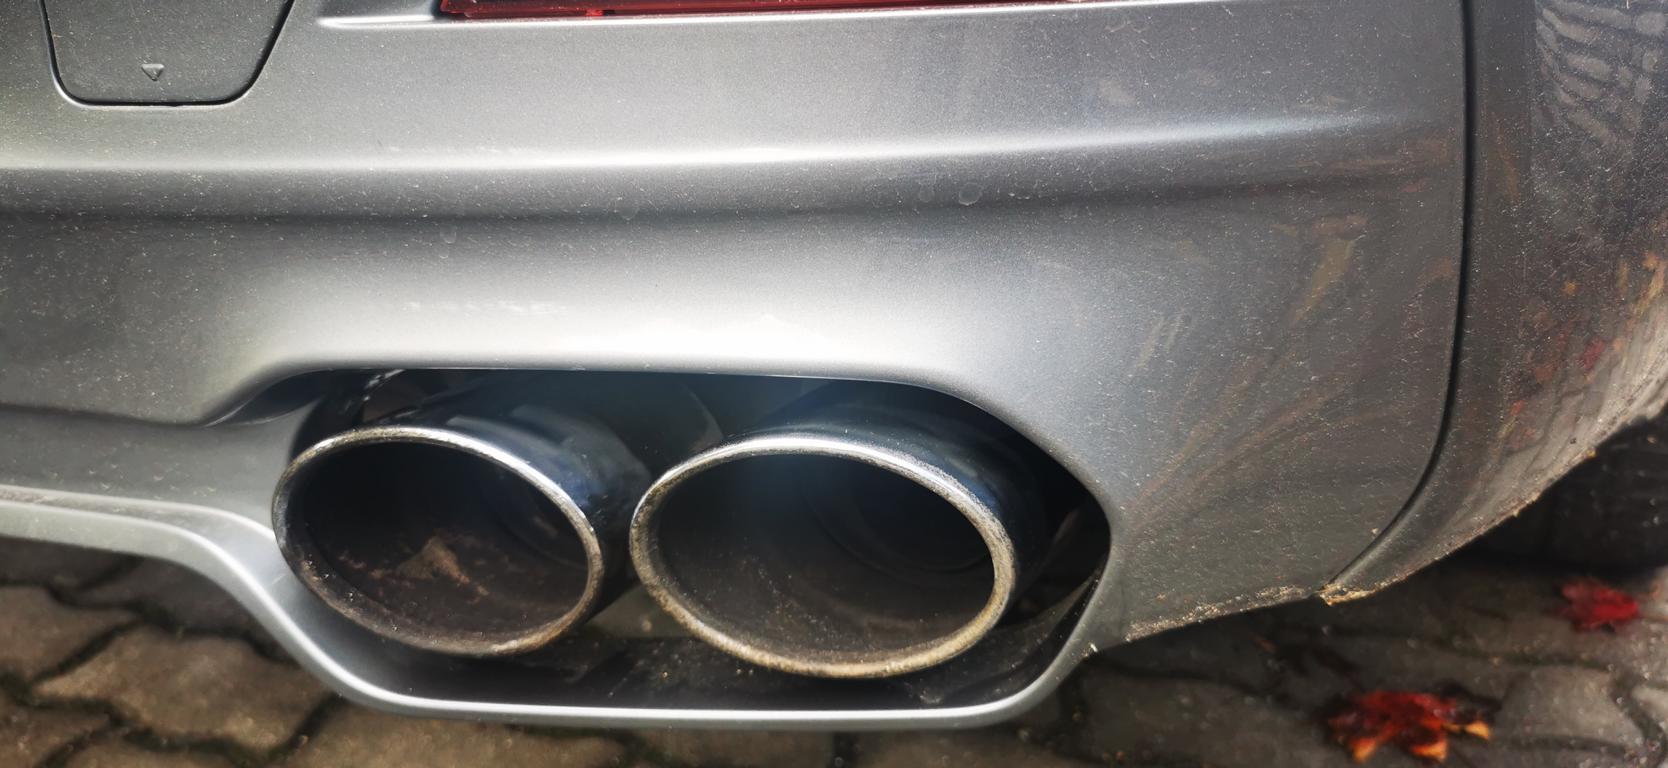
If you want to give your vehicle a new, individual look in the rear area, you should think about painting the tailpipes. This is an inexpensive and effective way to add a personal touch to the car. Alternatively, it is also a way of making weathered chrome tailpipes that are long past their prime look attractive again. But you often look for this option if you are a fan of the Chrome delete is, i.e. does not like bling-bling on the vehicle. In this article we will show you how to install the tailpipes in the grown and in the mined condition, which options the manufacturers offer you and which products are intended for this purpose.
Step-by-step instructions:
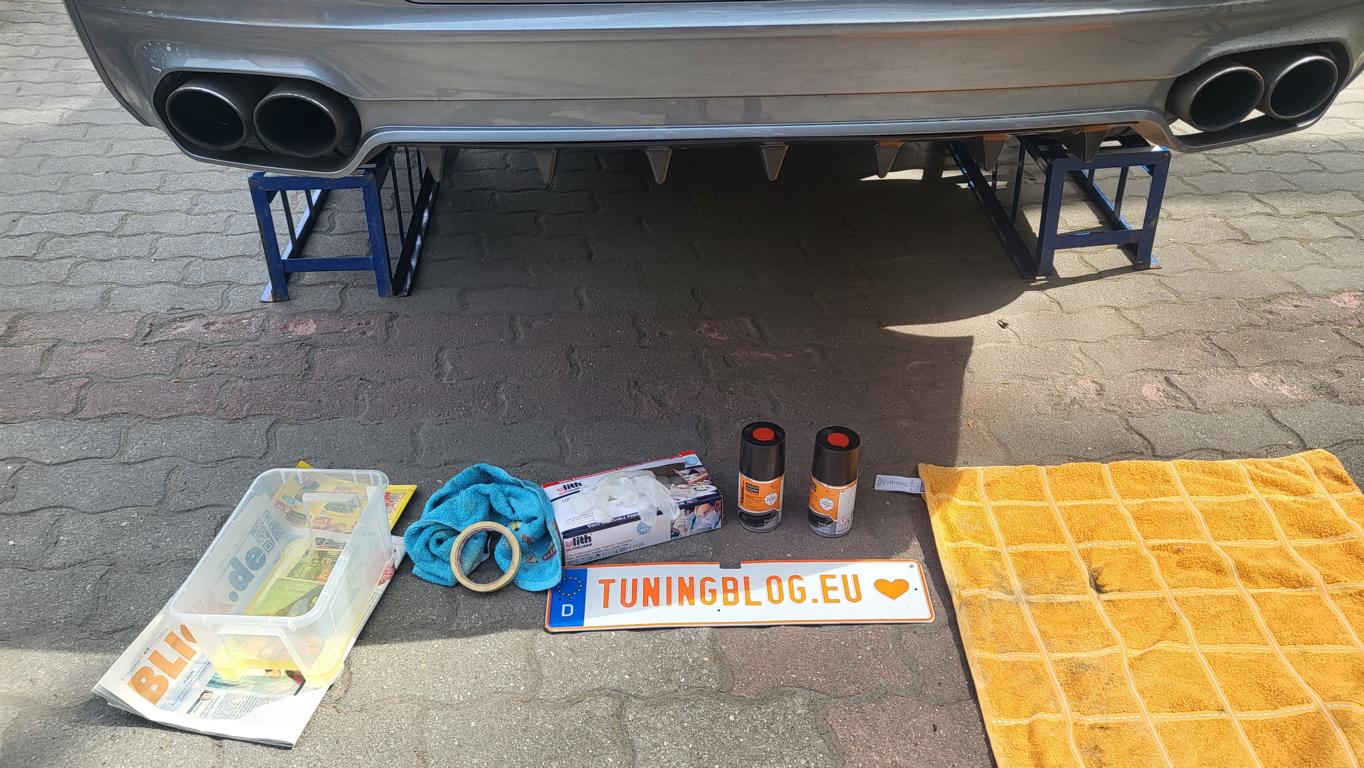
- Preparation: Before you start painting, you should thoroughly clean the vehicle, especially in the rear area and of course on the tailpipes, and remove all residues of oil, dirt and dust. This makes painting easier and ensures a better result. Also make sure the vehicle is on a level surface and the tailpipes have cooled sufficiently before beginning.
- Cover: To protect neighboring parts from paint splashes, you should adequately cover the area around the tailpipes with masking tape or plastic sheeting. Make sure that all surfaces that are not to be painted are well protected. Newspaper can also do a good job here.
- roughening: To ensure good adhesion of the paint, it is important to slightly roughen the surface of the tailpipes. Use fine sandpaper (600-800 grit or finer) and sand the entire surface evenly. You should then clean the tailpipes with brake cleaner etc. to remove grinding dust and residue.
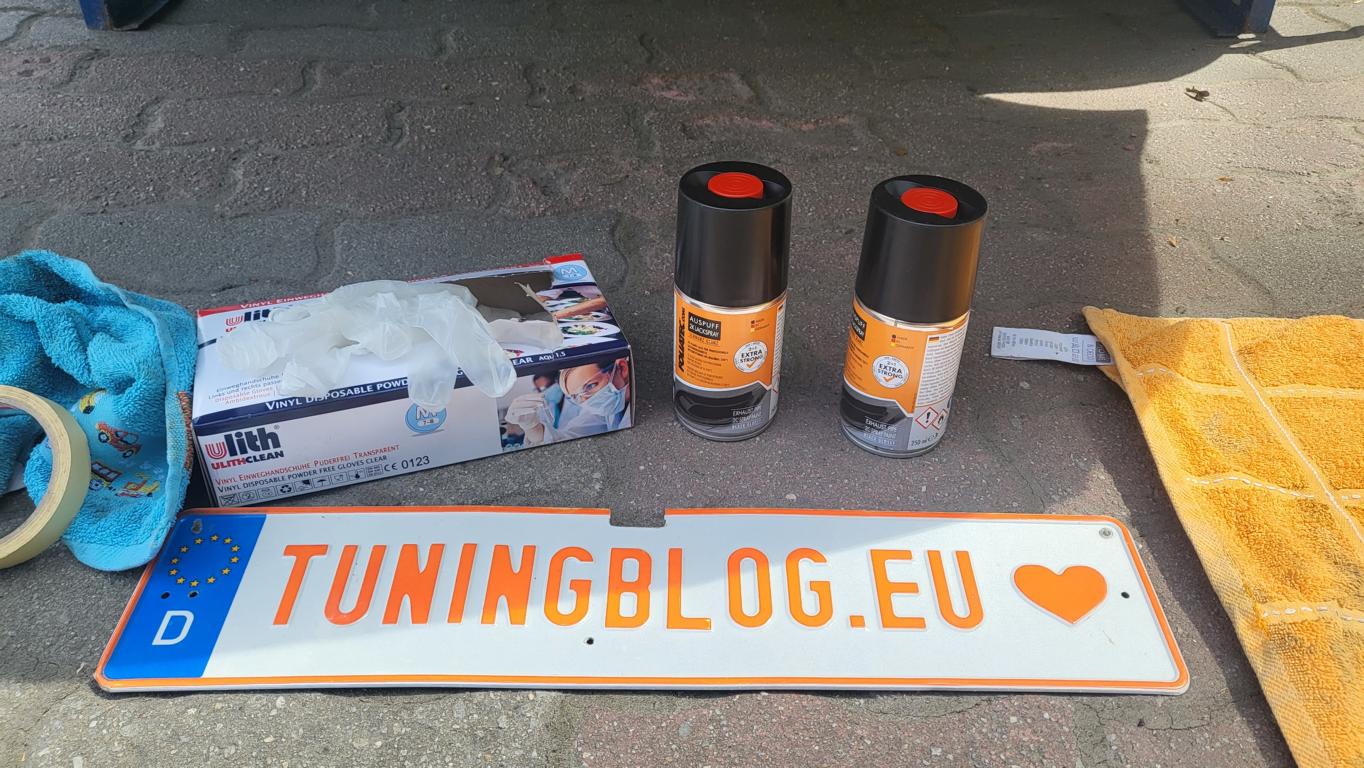
- Primer: A primer is not a bad idea when painting the tailpipes as it will ensure good paint adhesion and increase the longevity of the result. Many manufacturers offer special primers for exhaust systems, such as Dupli-Color Exhaust Primer or VHT Flameproof Primer. Apply the primer according to the manufacturer's instructions and allow it to dry sufficiently. But use it NO normal Paint primer without heat tolerance!
- Paint: After the primer has completely dried, you can start painting the tailpipes. To do this, use special heat-resistant paint that was developed for exhaust systems, such as the VHT Flameproof series or the Motip Dupli Exhaust Paint. Apply the varnish in several thin layers and allow it to dry sufficiently between layers. Make sure you paint evenly with no streaks or runs.
- Clear coat (optional): To protect the result additionally and ensure a glossy look, you can finally apply a heat-resistant clear coat, such as the VHT Flameproof Clear Coat or the Motip Dupli High Gloss Clear. Apply the clear coat in several thin coats and let it dry well. But use it NO normal ones Clear coat without heat tolerance!
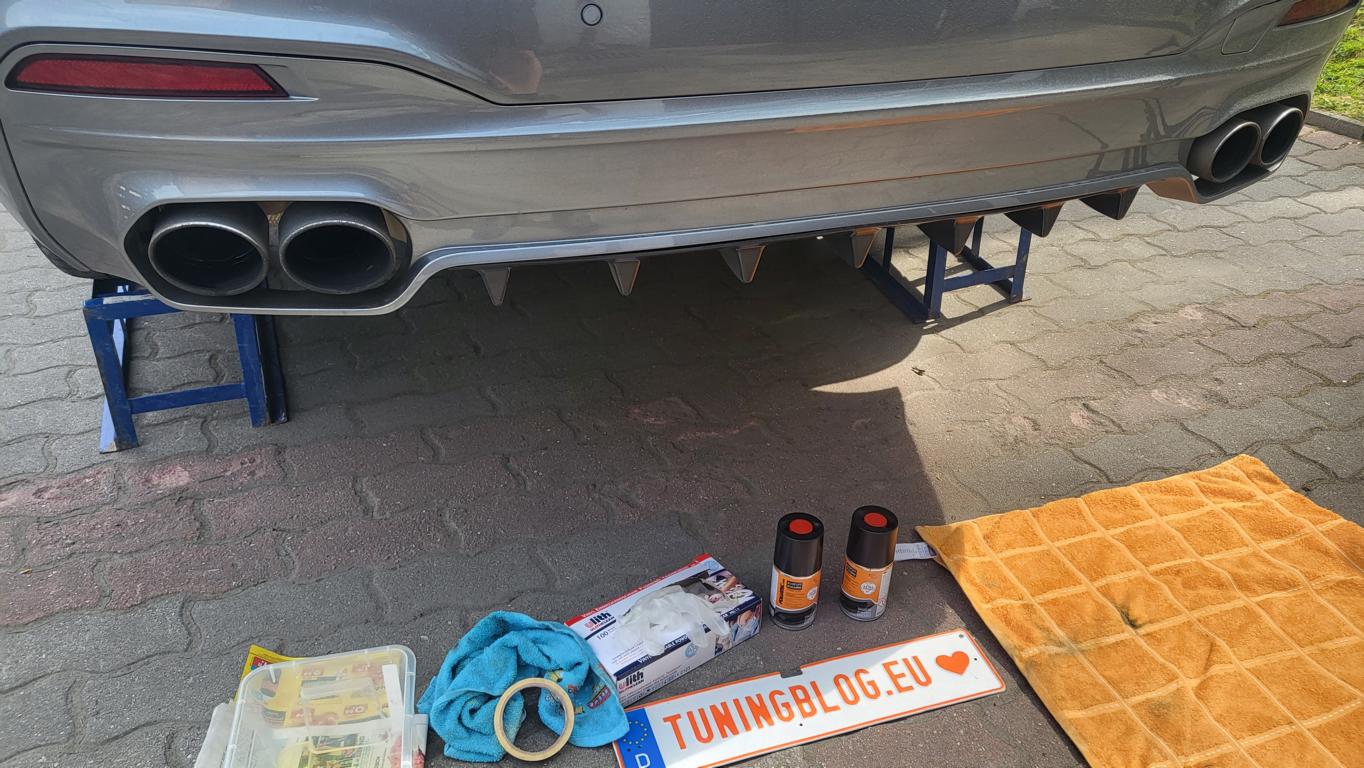
- Harden: To ensure the longevity and durability of the new paint, it is important to allow it to fully cure according to the manufacturer's instructions. Depending on the product, this can take between 24 hours and even several days. Note that some heat resistant paints require additional curing by heating the exhaust system. In this case, you should carefully follow the manufacturer's instructions for the best result.
- Removing the cover: Once the paint has fully cured, you can carefully remove the covers. Be careful not to leave any glue residue or chipped paint on the adjacent parts.
- Control and correction: Check the painted tailpipes for bumps, runners or other blemishes. If you notice such irregularities, you can carefully work them with fine sandpaper and then apply another layer of paint. Allow this to dry and harden completely before you put the vehicle back into service.
common products for painting tailpipes
| exhaust finish | exhaust finish |
|
|
Application of FOLIATEC engine / silencer paint

Follow these simple steps to apply FOLIATEC 2125 Engine / Muffler Paint to your vehicle's tailpipe:
- Thoroughly clean the vehicle and remove residues of oil, dirt and dust. Make sure the tailpipes are cool.
- Cover adjacent parts with painter's tape or plastic wrap to protect from paint splatter.
- Slightly roughen the surface of the tailpipes (if possible) with fine sandpaper (600-800 grit) and clean again to remove sanding dust and residue.
- Shake the FOLIATEC 2125 Engine / Muffler Paint Can for at least 2 minutes to ensure an even consistency.
- Immediately before painting, remove the red push button from the cap, turn the can by 180° and place it on the pin on the bottom of the can.
- Then press the red release button with the heel of your hand as far as it will go.
- After triggering, shake the can vigorously again.
- Note: After activation of the hardener, the processing time is 5 - 6 hours.
- Apply the varnish in several thin coats, allowing a few minutes drying time between coats according to the instructions. Spray from a distance of about 25 cm in even movements.
- Allow the paint to dry for at least 24 hours before operating the vehicle again.
- Additional hardening takes place by heating the exhaust system during the first rides.
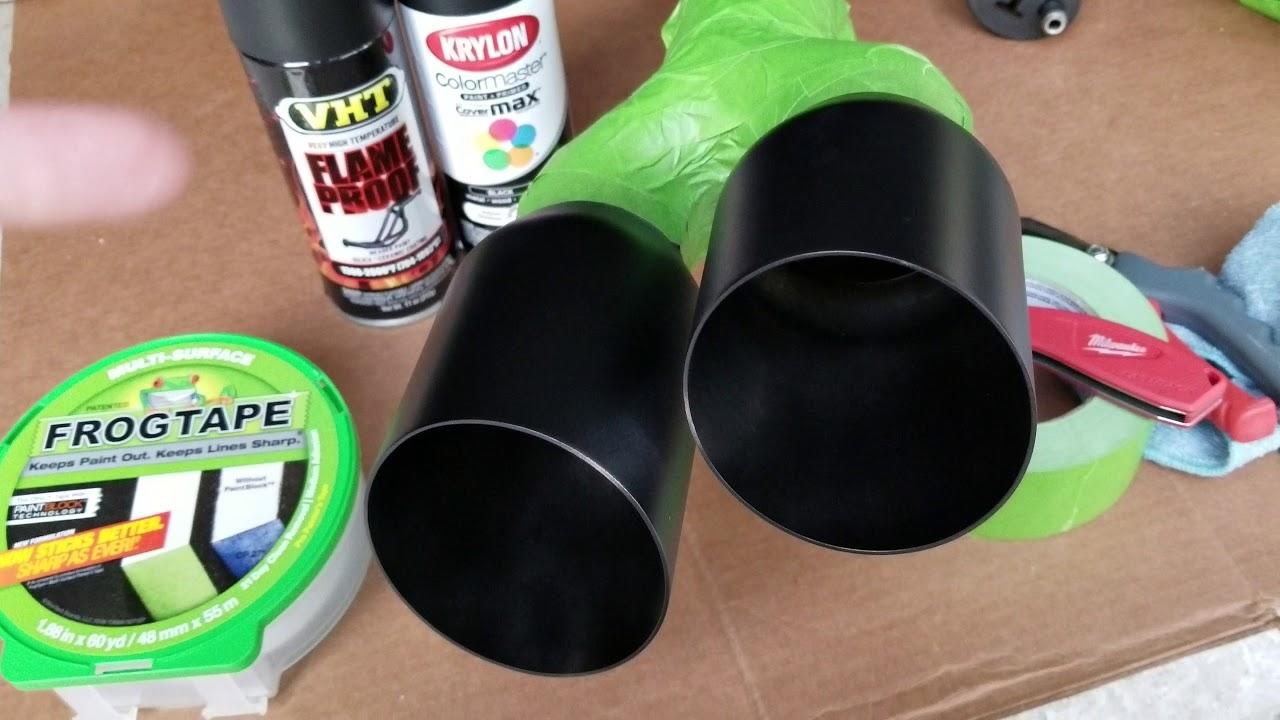
Painting the tailpipes when dismantled!
Painting the tailpipes while dismantled gives you more control and accuracy as you have a better view of the entire work area. Some tailpipes are only screwed and can be easily detached. If this is the case, the tailpipes should be removed and painted in a clean environment. To paint your vehicle's tailpipes while it's dismantled, follow these steps:
- Dismantling the tailpipes: Make sure the exhaust has cooled down. Undo the fasteners connecting the tailpipes to the exhaust system and carefully remove them from the vehicle.
- Cleaning: Clean dirt, oil, grime and other residue from the tailpipes. Thorough cleaning is important to ensure good paint adhesion and an even finish.
- roughening: Use fine sandpaper (600-800 grit) and evenly sand the entire surface of the tailpipes to ensure good paint adhesion. Then remove sanding dust and residues.
- Cover: Mask off the areas that should not be painted, e.g. B. Threads or connection points, with masking tape or plastic foil.
- Prepare workplace: Make sure your work space is well ventilated and has adequate lighting. Lay out newspaper or a protective sheet to protect the floor from paint splatters.
- Primer (optional): A heat-resistant primer can ensure better adhesion of the paint and longer durability. Apply the primer according to the manufacturer's instructions and allow to dry completely.
- painting: Shake the paint can thoroughly to ensure an even consistency. Apply the polish in several thin coats and let each coat dry before applying the next. Make sure the layers are even and there are no runs or drips.
- Drying and curing: Allow the paint to fully dry and cure according to the manufacturer's instructions. This can take anywhere from 24 hours to several days depending on the product.
- Fitting the tailpipes: As soon as the paint has fully cured, you can reinstall the tailpipes on the vehicle. Make sure all fasteners are tight and tailpipes are positioned correctly.
This general guide will allow you to paint the vehicle's tailpipes while they are dismantled and achieve a professional, long-lasting result.
What temperatures can arise at the tailpipes?
The temperatures that occur at the tailpipes vary depending on the vehicle type, engine performance and exhaust system. In general, however, some temperature ranges can be specified. In standard vehicles with standard internal combustion engines (petrol or diesel), the temperature of the tailpipes is usually in the range of 100 to 200 ° C. However, on longer journeys, heavy loads or in a hot climate, the temperature can also rise.
With tuned engines or vehicles with powerful, performance-optimized engines, the temperature at the tailpipes can be significantly higher. It is not uncommon for temperatures of 300 to 600 ° C can be achieved, especially in vehicles with modified turbochargers or high-performance sports cars. However, it is important to note that actual temperatures depend on many factors, such as the type of exhaust system, engine type, driving style and environmental conditions.
And finally ...
- Painting the tailpipes both installed and removed is a simple and effective way of giving the vehicle an individual look. With the right products and careful preparation, you can achieve a professional result. However, when selecting a heat resistant finish for tailpipes it is advisable to choose a product that is rated for temperatures in excess of the expected maximum temperatures to ensure the finish does not fail or lose its protective properties.
The following note is essential: For safety reasons, tuningblog recommends all repair, inspection and maintenance work exclusively to be carried out in a specialist workshop! Although our information is summarized to the best of our knowledge and belief, we cannot assume any liability for the content. All information is therefore "without guarantee".
Of course, that wasn't the end of it!
In this tuningblog category there are guides and instructions for common defects/repairs on the vehicle and for installing accessories/tuning parts. Our articles explain in a simple way common defects and the corresponding repairs and they also explain how the first signs of a defect become noticeable. In most cases, we also have initial clues to the repair instructions in our repair instructions approximate costs listed.
The goal of ourAuto Repair Guide“ is to create a head start in knowledge for the next visit to the workshop with initial tips. This may save you from tedious troubleshooting and you may even be able to do small things yourself. The same applies, of course, to the installation of accessories/tuning parts. Here, too, we would like to help with the implementation with instructions and tips. There are many other posts on this as well. Below is an excerpt of the last and HERE there are all previous instructions.