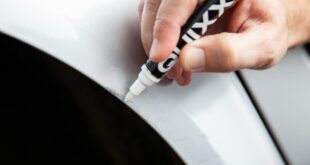
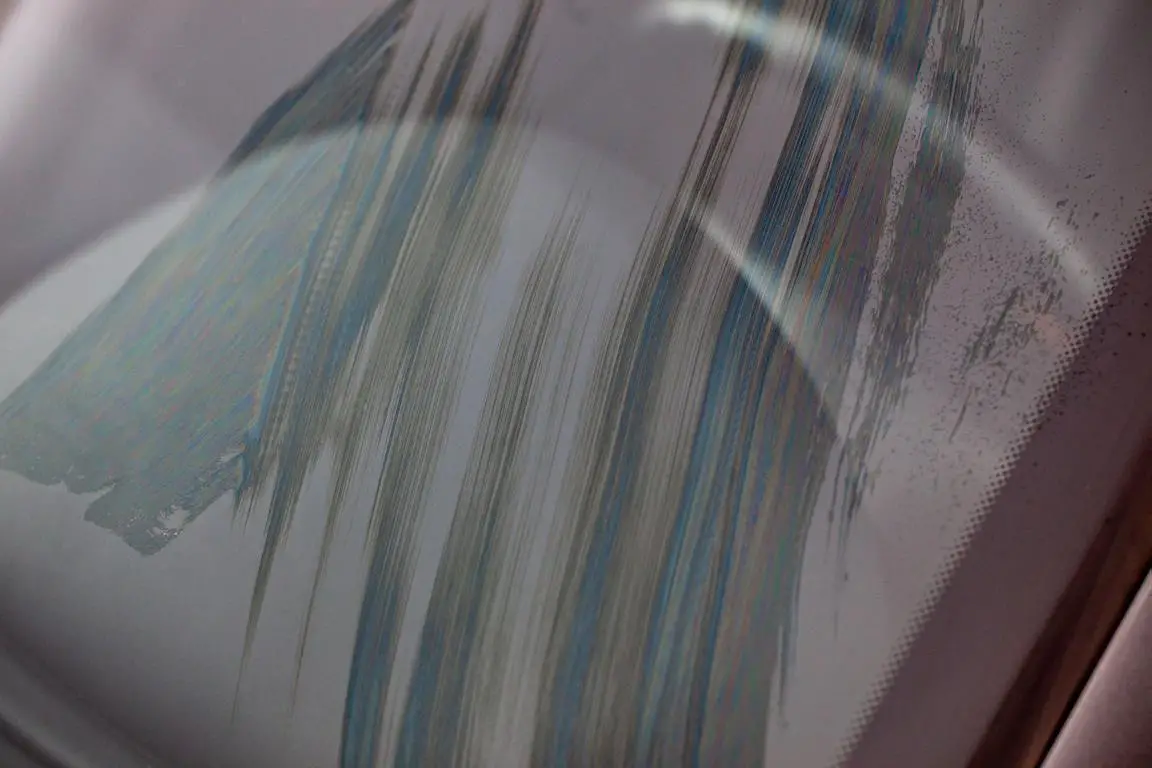
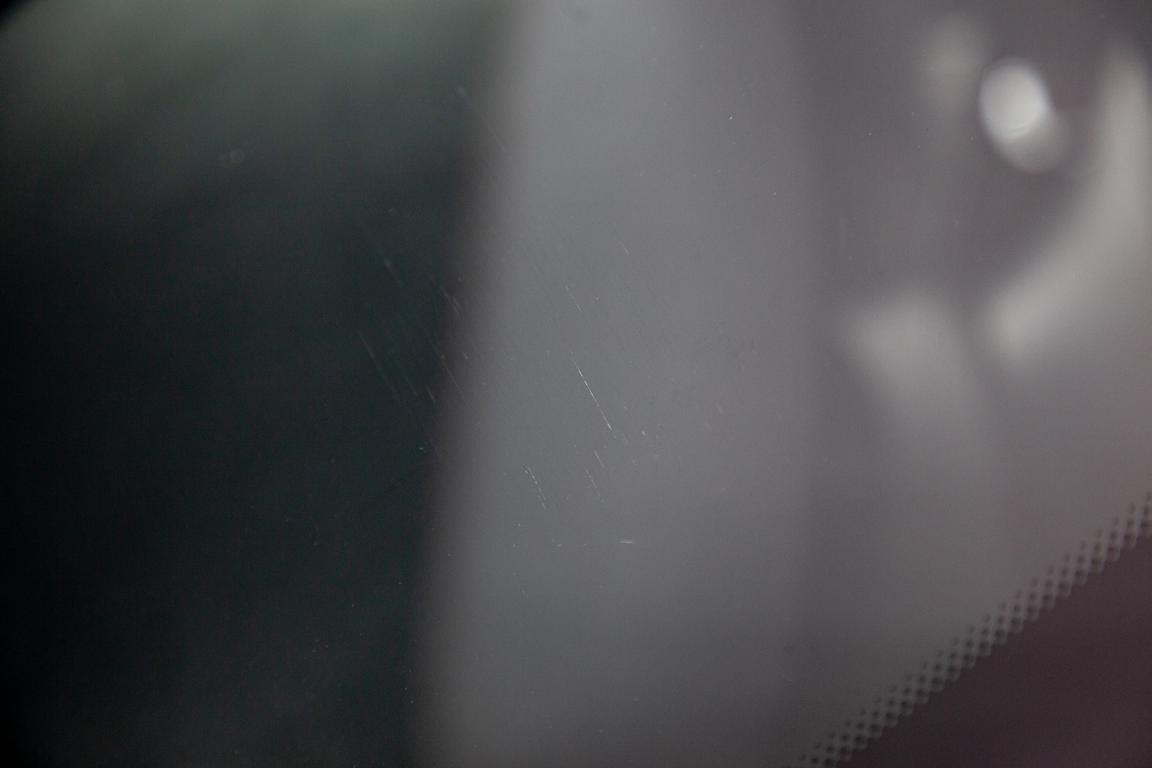
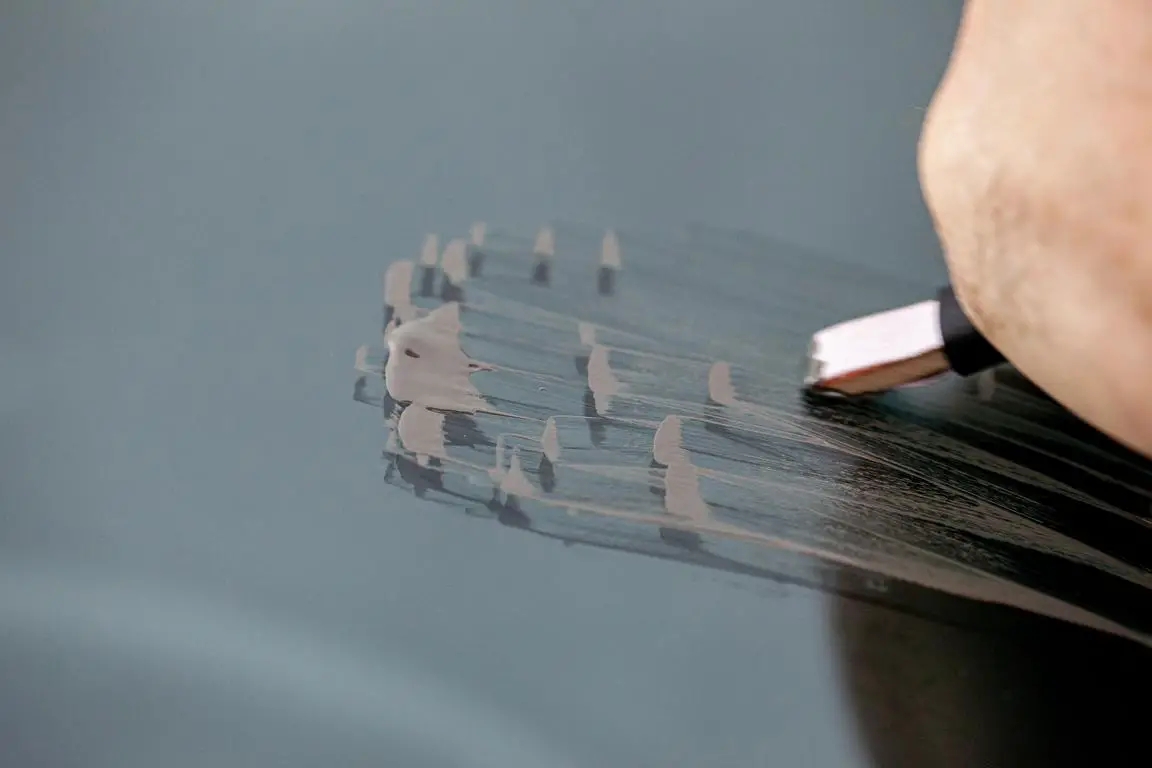
QUIXX provides more perspective with real "diamond power"! After an extremely warm and sunny year, winter is finally catching up with us. For many drivers, the ice scraper sits loosely in its holster and is pulled out without hesitation as soon as the first frost appears on the windscreen. The annoying film is quickly put an end to and the view is clear again. But what many do not know: the ice scraper quickly becomes a "glass scraper", even if its material is actually too soft for that. But there are often grains of sand and other "hard dirt" on the pane, which can have a very destructive effect when "rubbing" violently. The resulting scratches are not only annoying, but also cause dangerous glare when there is oncoming traffic at night or when the sun is low in the sky. Luckily, you can easily repair the damage yourself at home with the glass scratch remover from QUIXX. The secret is the Diamond Polishing Technology (DPT).
QUIXX glass scratch remover
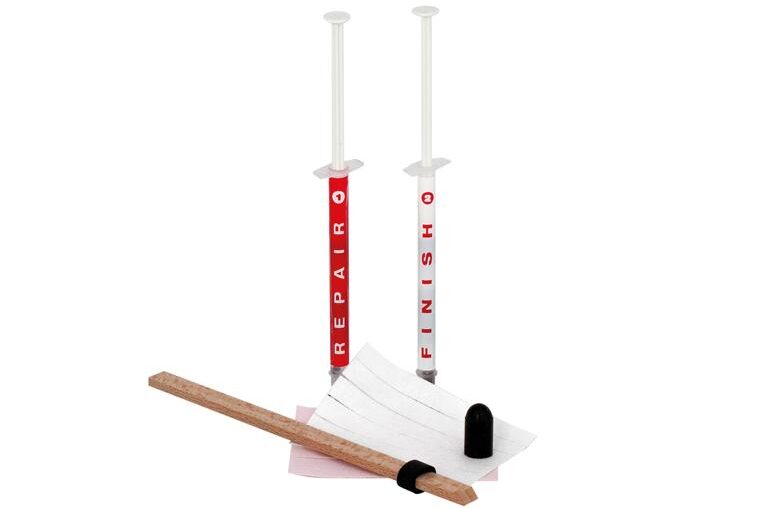
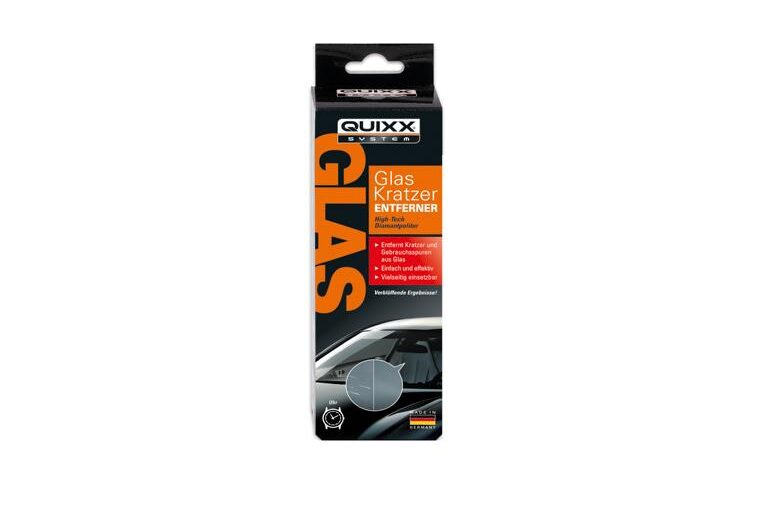
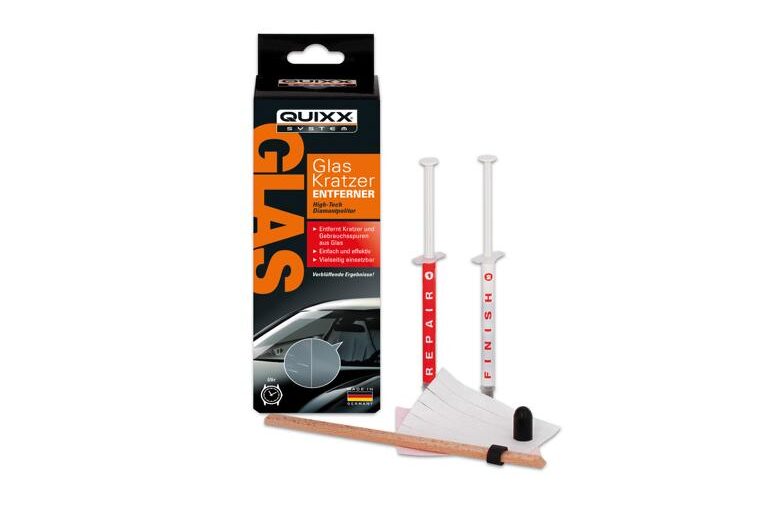
For €19,95, the QUIXX Glass Scratch Remover pack contains everything you need to repair windscreens or other glass objects. The QUIXX Glass Scratch Remover is a 2-component system: The high-tech diamond polish removes the scratches and the high-performance diamond finish then polishes the pane to a high gloss. Depending on the area to be processed, the content is sufficient for several applications. The easy-to-understand video tutorial shows how it's done, making the application child's play, even for laypeople.
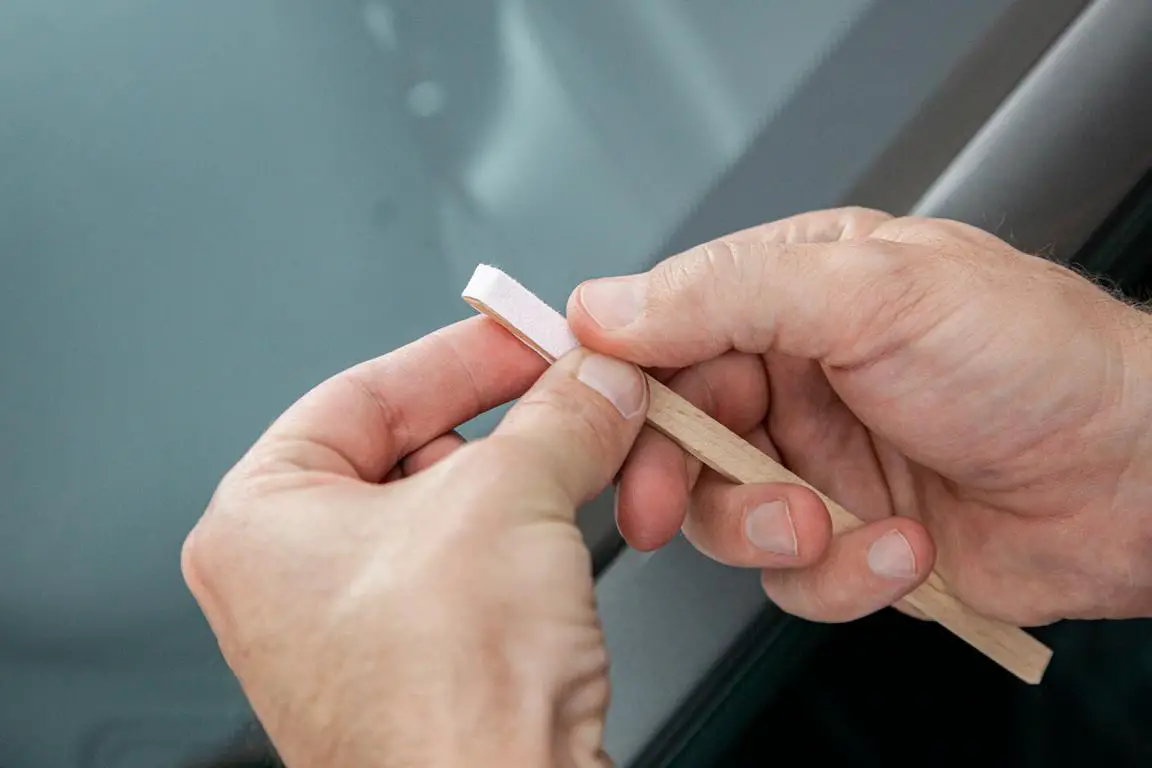
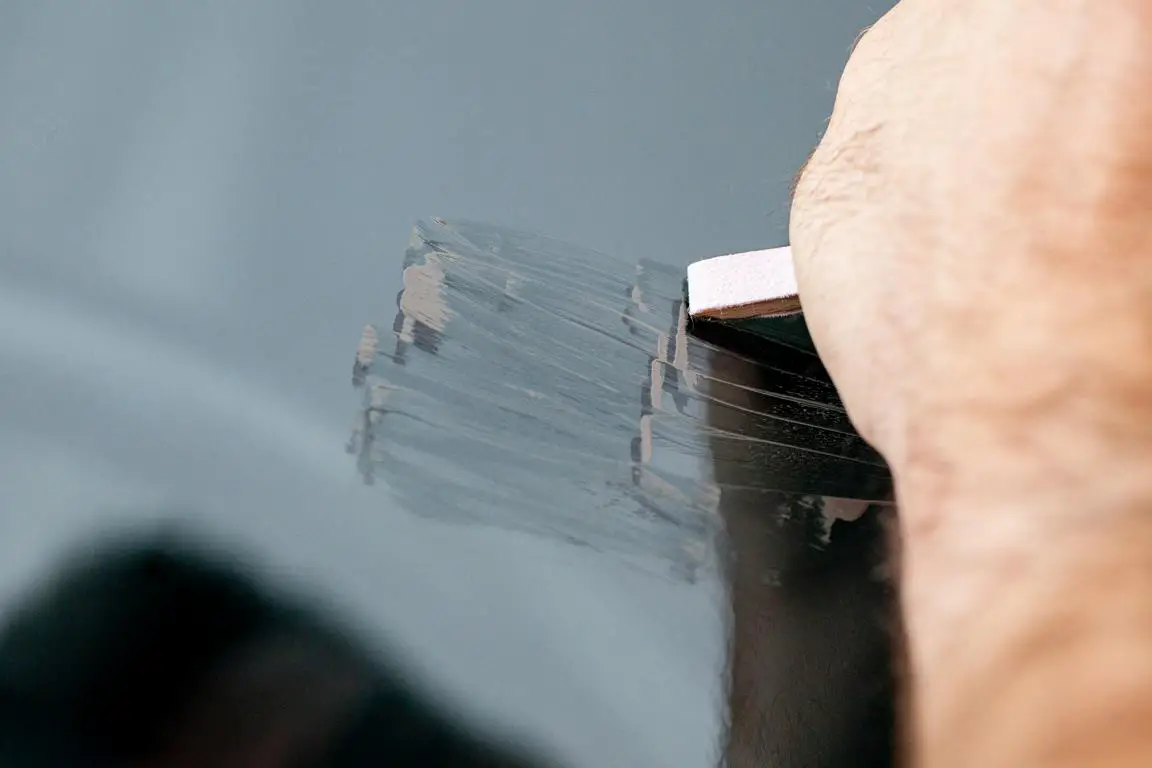
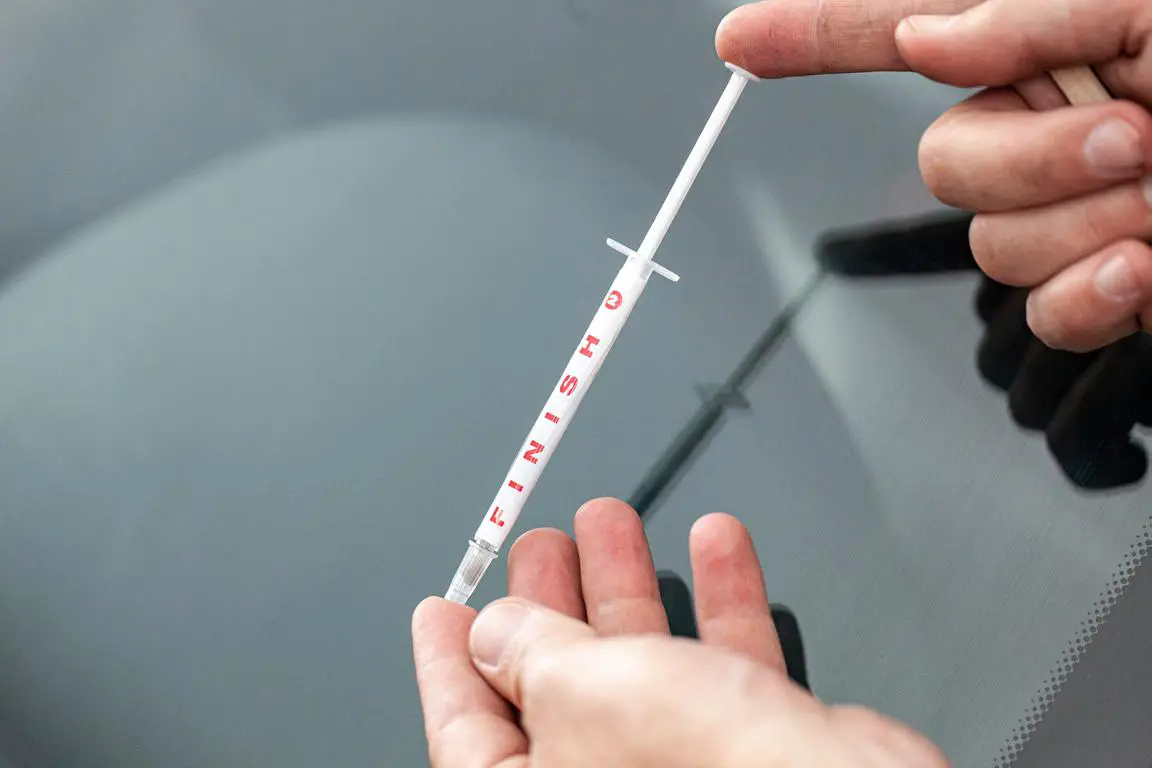
Roughly speaking, only the following work steps are necessary: Clean the window well, cover the work area all around with adhesive tape. Attach the red polishing strip to the wooden stick provided, apply repair paste and polish with strong pressure. Now clean the glass again, attach the white fleece to the wooden stick and apply the finish from the white syringe. Polish until the glass is free of streaks and micro-scratches. Thoroughly clean everything again at the end – done! Now the disc is diamond clear again.


The following note is essential: For safety reasons, tuningblog recommends all repair, inspection and maintenance work exclusively to be carried out in a specialist workshop! Although our information is summarized to the best of our knowledge and belief, we cannot assume any liability for the content. All information is therefore "without guarantee".
Of course, that wasn't the end of it!
In this tuningblog category there are guides and instructions for common defects/repairs on the vehicle and for installing accessories/tuning parts. Our articles explain in a simple way common defects and the corresponding repairs and they also explain how the first signs of a defect become noticeable. In most cases, we also have initial clues to the repair instructions in our repair instructions approximate costs listed. The goal of ourAuto Repair Guide“ is to create a head start in knowledge for the next visit to the workshop with initial tips. This may save you from tedious troubleshooting and you may even be able to do small things yourself. The same applies, of course, to the installation of accessories/tuning parts. Here, too, we would like to help with the implementation with instructions and tips. There are many other posts on this as well. Below is an excerpt of the last and HERE there are all previous instructions.