The foiling of the vehicle is a cost-effective alternative to paint. And of course all can be glued Premium slides of the vehicle foil can be removed from the vehicle without leaving any residue, even after years. The prerequisite for this, however, is that the film is on undamaged Original paint or chrome of the vehicle was glued. The vehicle films are heavily exposed to countless environmental influences, especially UV rays. The high stress can one day cause the slide to fail after a few years fades or piebald becomes. And over time, it can also become brittle or even tear. Therefore, the foiling should be done after about 7 to 10 years at the latest in a Central European climate exchanged will. Incidentally, many manufacturers provide information on the car foil with one minimum dateuntil when the film can be easily removed from the paintwork.
removing the foil
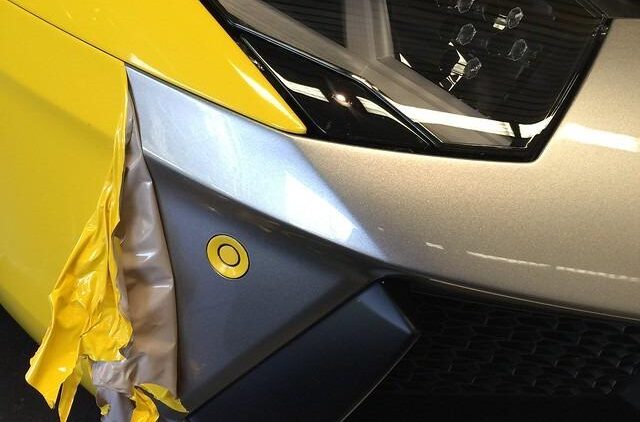
When removing the foil, it is important to know the foil manufacturer and the condition of the paint. As a foiler, it should be clear that only high-quality foil is used for the pasting. Unsuitable or poorly applied foils can later Paint cracks and flaking to lead. Furthermore, a premium film has better adhesion between the adhesive and the film. High-quality films for vehicle wrapping are premium products from leading manufacturers on the market such as 3M, Hexis, Avery Dennison, Inozetek or Oracal.
Freshly painted or filled body parts should be left for at least 4 to 6 weeks.exhale". If not, there is a risk that the solvents in the film will mix with the chemical components of the paint. This creates an inseparable adhesive force, which can mean that the film can no longer be removed from the substrate later without damaging it.
Neither color foils - for example for full foiling - nor paint protection foils to protect against stone chips and scratches are effective clear or top coat of the car if they come from the premium providers mentioned above. The adhesive used on such a film was specially designed for the Fahrzeugfolierung developed so that you can easily remove them later without damaging the paintwork.
Foil removal costs
Of course, the cost of removing the foil depends on various parameters. The effort depends on the one hand on the number of foiled components and on the other hand on the size of the individual components. Also, of course, it makes one Difference, whether the foiling for 10 years on a Daily driver is upset or has been on one for a year Trailer Queen.
- the distance takes about 4 – 8 hours
- high-quality films leave no adhesive residue
- polishing and refurbishing should be included
The longer the film is on the vehicle, the more difficult it will be to remove. The time it takes to remove the foil can also vary depending on the foil manufacturer and can therefore be shorter or longer. However, removing the car wrap from a complete vehicle should cost the amount of 500 to 600 Euro yet not exceed. Exceptions are the less qualitative or outdated slides mentioned.
Tips and tricks for removing car foil
Removing a car wrap is generally not difficult. There is usually no residue left on the vehicle when the film is peeled off or peeled off. However, do not leave the vehicle in question in the cold beforehand. The film is difficult to remove from cold paint. The ideal outside temperature is at ca 20 ° C. By slightly heating the film and using a few tricks, you can peel it off without damaging the car. If you want to remove it yourself, we recommend using a hair dryer. But be careful not too close to get to the slide. Then the foil remove carefully. When removing foils, a portable quartz heater is of course more suitable than a hair dryer.
Attention: Do not leave the car in the blazing sun for a long time. Otherwise the adhesive can stick to the paintwork when you remove it.
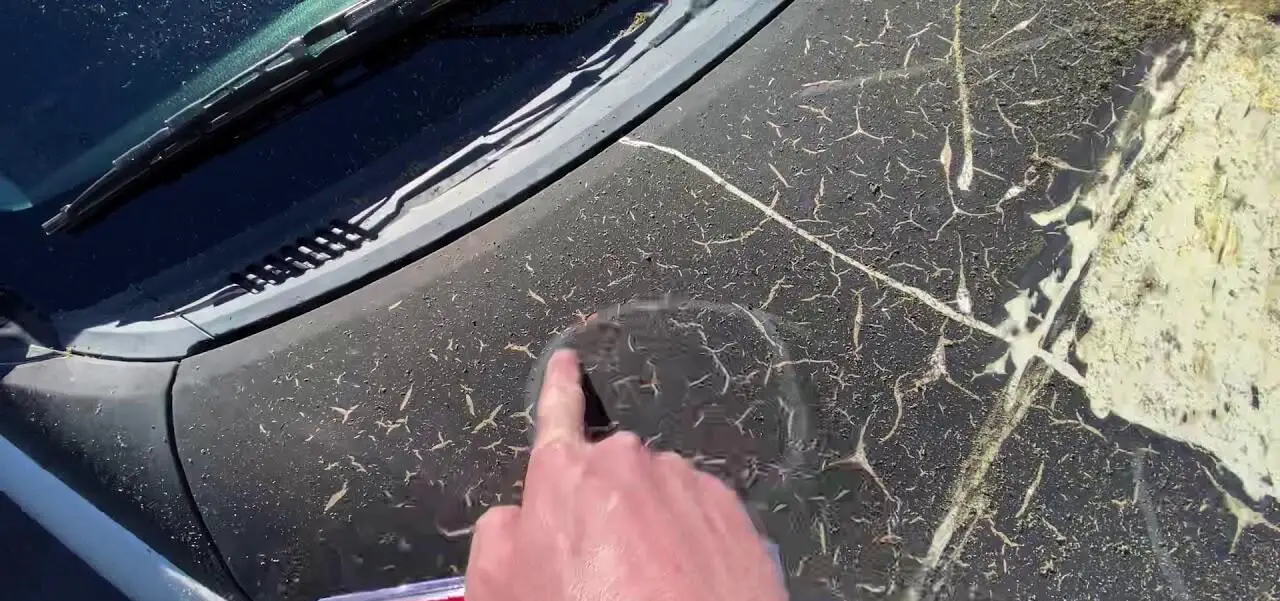
Ideal is one Distance of about 30 cmto avoid overheating the foil. The detachment takes place from bottom to top. Smaller angles are safer, larger angles are faster. So try different angles and then stick with it. Incidentally, the removal is best done with two people - one heats the surface, the other removes the film. If heat does not help with detachment, then there are special ones Film and adhesive remover, which are very effective in an emergency. If residues of adhesive from the film are still visible on the painted surface, it is recommended to cover the surface or the adjacent area with a special cleaner to treat.
- with one Rakel remove large adhesive residues
- dann Silicone remover or Glass cleaner apply to the glue residue
- about 10 minutes act and then remove with a cloth or sponge (if necessary, repeat the process)
- then the vehicle paint with it Dish soap and warm Water clean and dry with a microfiber cloth
- mittels Polisher and suitable polish to remove the remaining adhesive residue
The film type is important when removing!
Incidentally, it is important to find out in advance whether a cling film or adhesive film has been processed. An adhesive film can usually be removed quite easily. However, if it is adhesive film, heating it up will always make it easier to remove. The procedure from bottom to top already mentioned applies to both slides. Tip: Do not use sharp metal objects on stubbornly stuck areas, as they can damage the car paint. The right tool for these jobs is one plastic squeegee.
The following note is essential: For safety reasons, tuningblog recommends all repair, inspection and maintenance work exclusively to be carried out in a specialist workshop! Although our information is summarized to the best of our knowledge and belief, we cannot assume any liability for the content. All information is therefore "without guarantee".
Of course, that wasn't the end of it!
In this tuningblog category there are guides and instructions for common defects/repairs on the vehicle and for installing accessories/tuning parts. Our articles explain in a simple way common defects and the corresponding repairs and they also explain how the first signs of a defect become noticeable. In most cases, we also have initial clues to the repair instructions in our repair instructions approximate costs listed. The goal of ourAuto Repair Guide“ is to create a head start in knowledge for the next visit to the workshop with initial tips. This may save you from tedious troubleshooting and you may even be able to do small things yourself. The same applies, of course, to the installation of accessories/tuning parts. Here, too, we would like to help with the implementation with instructions and tips. There are many other posts on this as well. Below is an excerpt of the last and HERE there are all previous instructions.