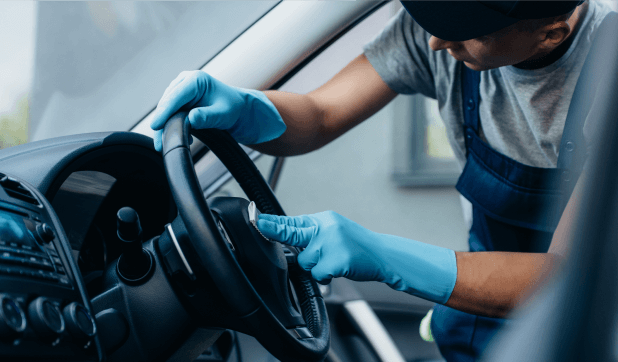
Since the interior of the car and especially the seats are subjected to the most stress, this area in particular is also where the most dirt is found. In this guide, we'll go into more detail about what's involved in a Cleaning the car seats arrives and which tips should be observed. A well-kept interior is essential, especially with a view to selling the car. During cleaning, the car seats are usually refurbished in addition to the dashboard and footwells. In the case of the latter, dirt from chocolate, imprints or animal hair or similar things make cleaning more difficult. They are particularly stubborn. So we have a few tips for treating the toughest of stains and going on the topic in general upholstery cleaning a. To get started, it is advisable to free the interior of various objects in advance. This creates space and exposes the upholstery as much as possible.
Cleaning the seats
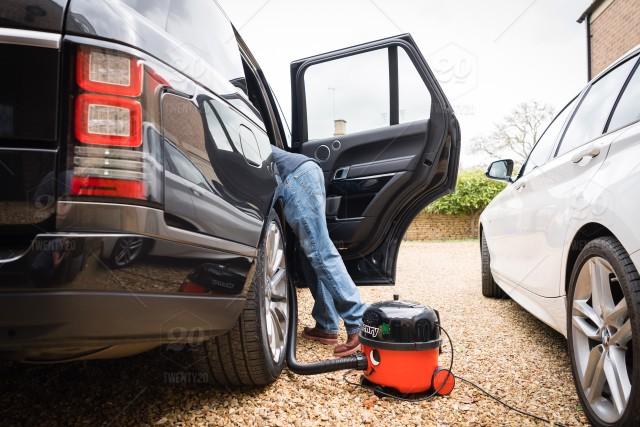
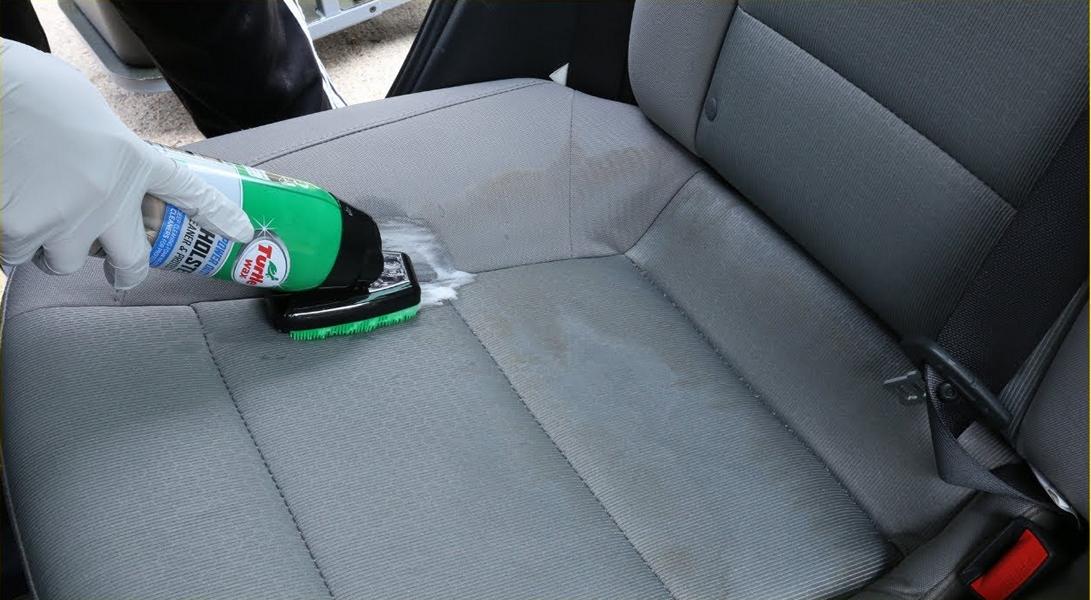
- For cleaning car upholstery either special spray extraction device (Wet vacuum cleaner) can be used or cleaning can be carried out in the classic way by hand take place. The latter saves costs. Although many different care products and agents are available on the market, a little mild detergent, towels made of terry cloth, water and vinegar are generally sufficient for cleaning.
Vacuum car seats
- Before applying cleaning products, the upholstery should be cleaned of crumbs and other foreign objects. For this purpose, a commercially available Vacuum cleaner be used. With the flat attachment of the suction cup, it should be possible to reach every gap in the upholstery. This process should be thorough to remove any dust particles or similar debris.
Rub car upholstery evenly
- To treat the car upholstery, a container, preferably a bucket with a capacity of at least 10 liters, should first be filled with water. It is important to ensure that you use hot water, as cold water reduces the effect of the upholstery cleaning. a guideline for the temperature should be around 50 degrees. After filling in the liquid, approx 20 grams of mild detergent added. It has the task of loosening the dirt on the one hand and leaving a pleasant smell on the other.
- For the application, one of the towels is dipped into the liquid mixture and applied evenly to the seats. With the help of circular movements the agent is generously rubbed in and the upholstery is cleaned. Soaking of the upholstery is a good sign, but care should be taken that any nearby electronic devices (Seat heating, massage function, ventilation etc.) do not come into contact with it. The cleaning agent should now act for about 10 minutes.
Further cleaning and drying
- Next, the dirt can be rubbed out of the seats with the help of another clean and dry towel. As a result, part of the liquid is already absorbed. Despite this, it is imperative that all moisture dries, otherwise there is a risk of Mold consists.
Breathe freshness and new shine into the seats
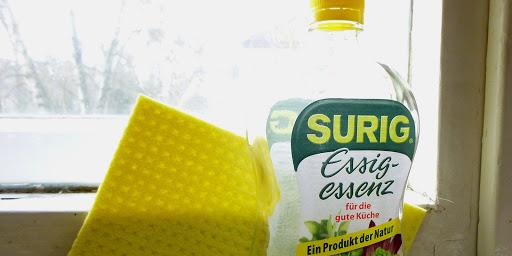
- After the upholstery has dried, water and a dash of vinegar are added to a new bucket. This mixture is also applied to the seats and ensures that the colors remain fresh.
Cleaning with care products
- When using care products for upholstery cleaning, the process is almost identical. The agent is applied to the material with an upholstery cleaning device and vacuumed off again after it has had an appropriate effect. It is important to observe the manufacturer's instructions. Example products for such a care product are the A1 cushion foam cleaner from the manufacturer Dr. Wack, the Xtreme upholstery & Alcantara cleaner from Sonax or the active interior cleaner from Caramba. If the stains do not come out of the upholstery even with these agents, a professional upholstery cleaning advised by an expert.
Home remedies to remove odors
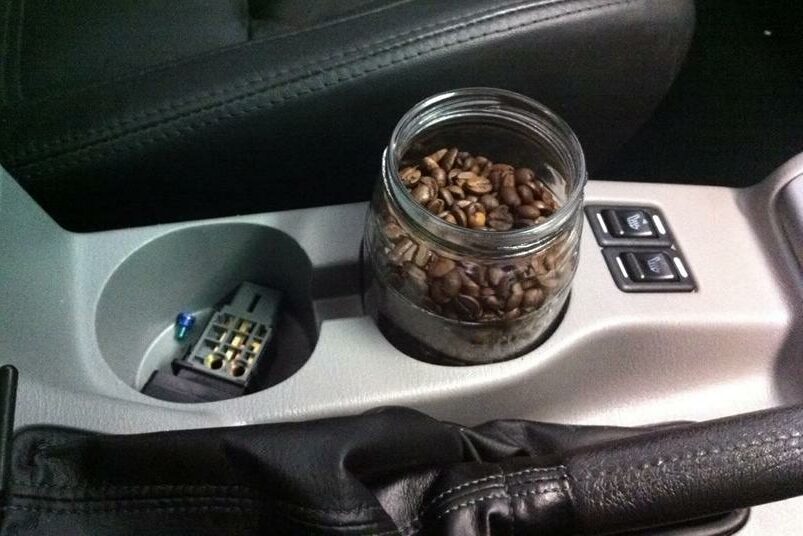
- One of the well-known home remedies for cleaning the upholstery is the one mentioned above vinegar water. It binds odors and the vinegar's own odor dissipates quickly. On the other hand, you can ground coffee used as a less aggressive agent for odor removal. Odors caused by too much moisture in the car can be eliminated by using Salt be removed. The salt is placed in a container in the car overnight. If the problem is not resolved afterwards, the process continues until the problem is solved repeated.
Remove cigarette smell
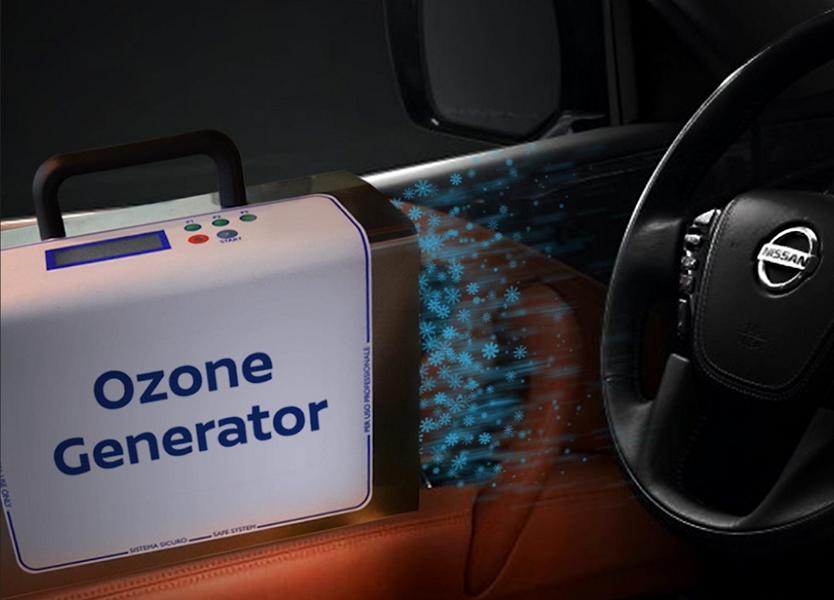
- The household remedies already mentioned, such as vinegar water and ground coffee, but also lemon juice can help smell of cigarettes to remove from upholstery. However, if these methods do not produce an acceptable result, a Ozone treatment be carried out in a car workshop. However, the success of the different applications depends on the strength of the smell.
The following note is essential: For safety reasons, tuningblog recommends all repair, inspection and maintenance work exclusively to be carried out in a specialist workshop! Although our information is summarized to the best of our knowledge and belief, we cannot assume any liability for the content. All information is therefore "without guarantee".
Of course, that wasn't the end of it!
In this tuningblog category there are guides and instructions for common defects/repairs on the vehicle and for installing accessories/tuning parts. Our articles explain in a simple way common defects and the corresponding repairs and they also explain how the first signs of a defect become noticeable. In most cases, we also have initial clues to the repair instructions in our repair instructions approximate costs listed. The goal of ourAuto Repair Guide“ is to create a head start in knowledge for the next visit to the workshop with initial tips. This may save you from tedious troubleshooting and you may even be able to do small things yourself. The same applies, of course, to the installation of accessories/tuning parts. Here, too, we would like to help with the implementation with instructions and tips. There are many other posts on this as well. Below is an excerpt of the last and HERE there are all previous instructions.