Recently updated on April 3, 2024 at 08:20 am
The following installation instructions provide you with useful tips on how to replace the brake discs yourself, step by step. Only make the change yourself if you can work professionally and have the necessary experience.
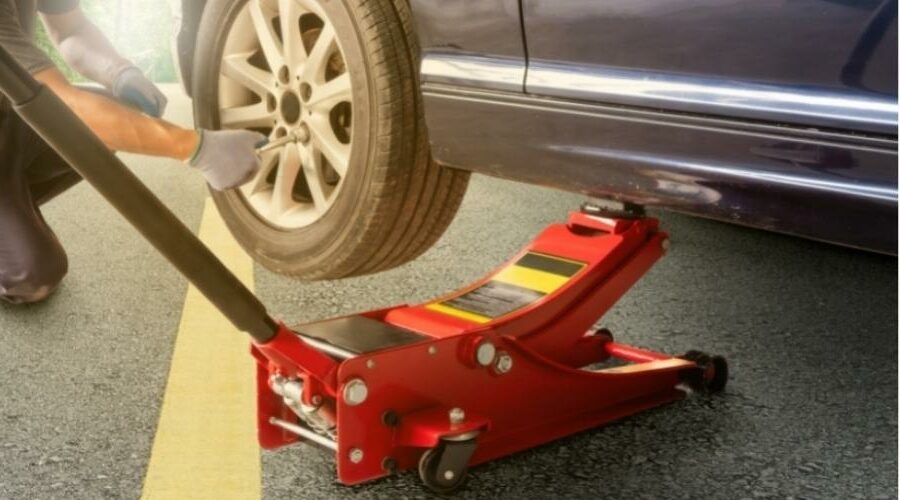
First step: Jack up the car / remove the wheels.
All parts of the braking system must always exchanged as a pair, otherwise one-sided pulling behavior may occur when braking. For all work steps, the car must also be jacked up, preferably with a lifting platform. Lifting with a standard jack is also possible, but this means that pads and discs have to be dipped more difficult. First dismantle the wheel behind which the parts of the brake system to be replaced are located (front axle/rear axle). This runs like a typical tire change .
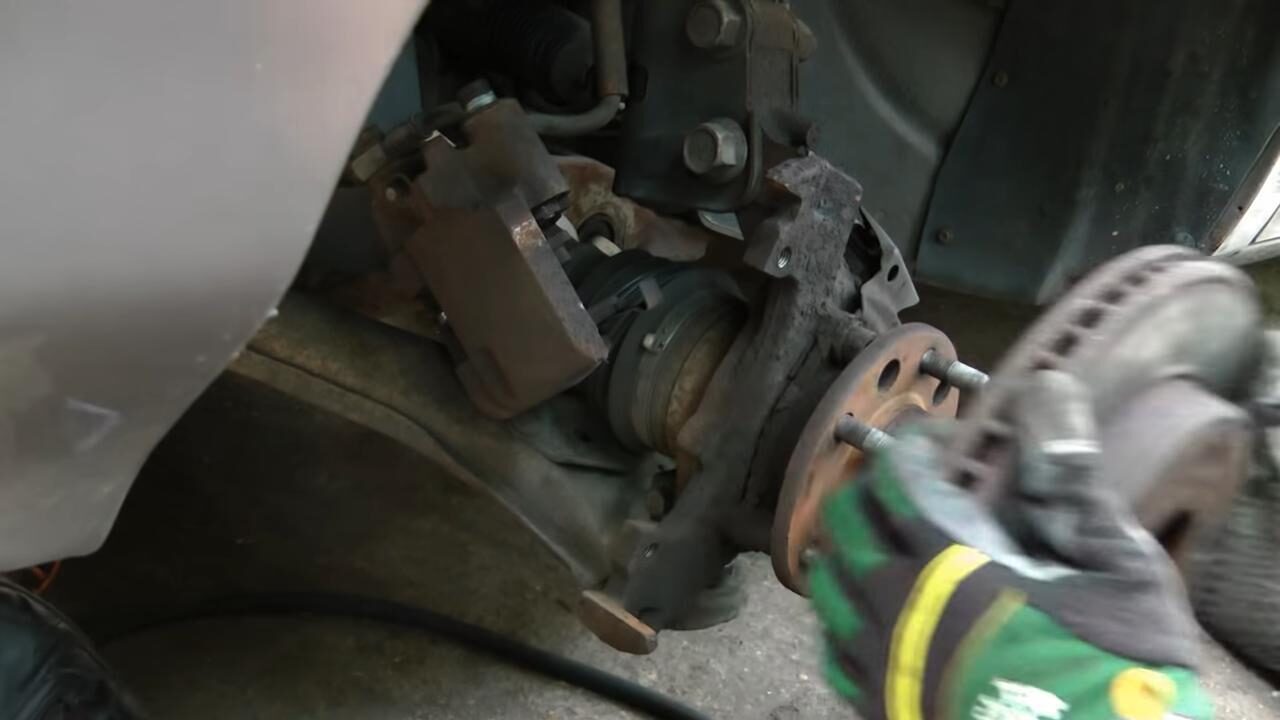
After that there is a clear view of the brake caliper, it is with Retaining clips attached and owned dust caps. Remove the caps and loosen them with a ratchet sliding bolt, these are covered by the dust caps. To remove the brake caliper, use a suitable reset set be turned back. With newer models, however, this can lead to problems with the vehicle electronics, because in this state the electronic parking brake is usually activated (if installed). Then an intervention in the electronics is necessary to open them Service – or repair mode deliver.
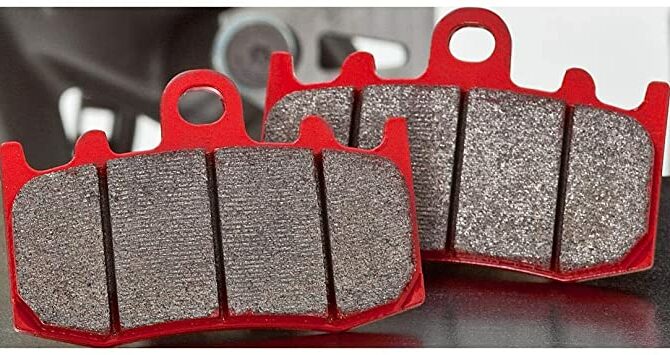
Remove the brake pads from the loosened brake caliper.
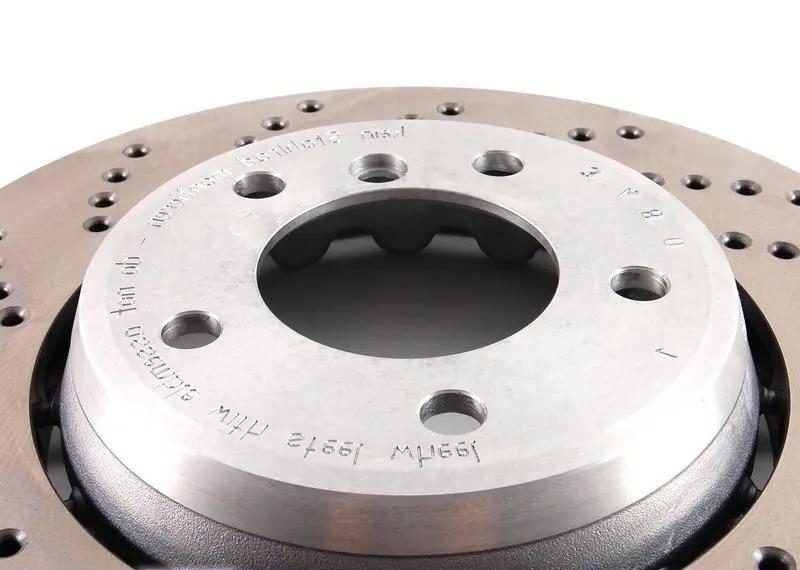
When the caliper is free, you can lift off the brake pads. The brake pad holders are now mounted on the car, they are in direct contact with the brake disc. The fixation can be easily loosened with a suitable screwdriver, after which the brake disc can also be removed from the wheel hub with the holders. Usually the brake disc still has one own little screw on the hub, this must also be loosened.
If you want to install new brake pads and brake discs, other parts of the brake system will become not changed. After dismantling, proper cleaning and care is recommended so that the brakes later function without problems. Clean the wheel hub, brake caliper and pad holder properly. A small wire brush is useful for coarse dirt. And there are special ones in specialist shops brake cleaner, you can use this for brake discs, pads and also for other parts of the brake system.
Installing new brake pads and discs.
The installation of the new brake discs and the subsequent attachment of the brake pads with newly attached pads is, as described above, in a different order. First, the new brake disc is placed on the wheel hub, then the new brake pad sets are placed on the brake pad holder. It is absolutely necessary to clean the contact surface with a suitable brake grease greased by a specialist dealer. This ensures better mobility of the vehicle part and avoids friction of the brake parts. If the brake pad holders are properly prepared, they are screwed back onto the brake discs with the cleaned screws. Important: For safe and reasonable braking behavior, a torque specified by the manufacturer get noticed.
If the brake pads are too loose or too tight, this has a negative effect on braking behavior and poses a high safety risk. After attaching the bracket, the brake pads are installed. Pay attention to the different toppings depending on the side. The side of the brake pads to be attached to the outside usually has a clip. The clamp is there to put the brake pads in the piston of the caliper. After plugging in, you can slide the brake pad with the brake lining over the brake disc. Then the sliding bolts are greased, inserted through the caliper and tightened with an Allen key. Again, you need to back up the right torque respect, think highly of. Then the dust caps are reinstalled and the support rod is attached from the caliper. As with disassembly, you can mostly secure the parts with a screw driver of the right size.
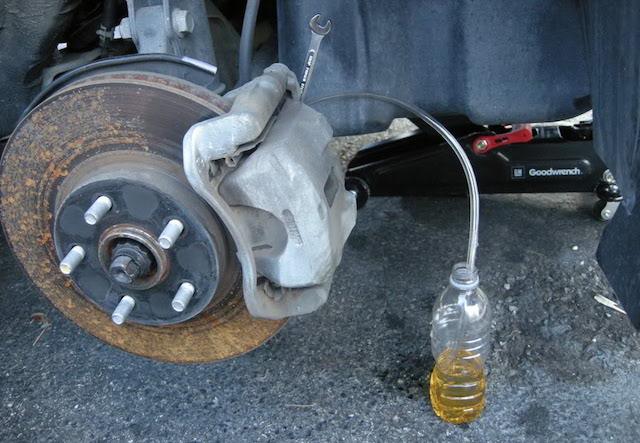
Bleed the brake system.
And when working on the vehicle's braking system, air may get into the system. Before the wheels are reattached and the trolley is used, it must be the brake system must be bled. This has to be done on all calipers because the systems are linked together. Consequently, this means you will also need to bleed the calipers on the axle, which you may not have worked on at all.
However, you need specialist knowledge to bleed the brake system. A trained car mechanic will be happy to help you with the correct execution. If bleeding is forgotten, air will get into the system and the pressure from the brake pedal will no longer have sufficient power transmission to the braking system. After the correct bleeding you can fasten the wheel again as usual. Of course, bleeding only makes sense if all the necessary parts have been replaced.
Thoroughly test new brakes before the next ride.
New brake discs and brake pads need some time to get into the right position and to be able to "grip" properly. Before a long drive, it is best to check the car in a secure area. To do this, accelerate a little and then slow down again and again. The braking system is well adjusted if you feel a high level of resistance when you press the brake pedal. If the braking behavior is not correct even after a few attempts, there may not be enough brake fluid in the hydraulic system. Changing the brake fluid can also be done on your own with a little experience, and you can buy the right fluid from a specialist dealer.
The following note is essential: For safety reasons, tuningblog recommends all repair, inspection and maintenance work exclusively to be carried out in a specialist workshop! Although our information is summarized to the best of our knowledge and belief, we cannot assume any liability for the content. All information is therefore "without guarantee".
Of course, that wasn't the end of it!
In this tuningblog category there are guides and instructions for common defects/repairs on the vehicle and for installing accessories/tuning parts. Our articles explain in a simple way common defects and the corresponding repairs and they also explain how the first signs of a defect become noticeable. In most cases, we also have initial clues to the repair instructions in our repair instructions approximate costs listed. The goal of ourAuto Repair Guide“ is to create a head start in knowledge for the next visit to the workshop with initial tips. This may save you from tedious troubleshooting and you may even be able to do small things yourself. The same applies, of course, to the installation of accessories/tuning parts. Here, too, we would like to help with the implementation with instructions and tips. There are many other posts on this as well. Below is an excerpt of the last and HERE there are all previous instructions.


