Removal of salt corrosion and oxidation on aluminum rims and effective prevention! This is exactly what we would like to deal with in this article. In the event of salt damage and oxidation on the aluminum rim, thorough cleaning of the rims is the first step. The salt damage and oxidation are then removed using a rim cleaner worn away. Once the dirt has been completely removed, a thorough cleaning follows at the end polish the rims to prevent future damage from salt corrosion and oxidation.
Remove salt damage and oxidation
To one too fast drying To rule out this during the first cleaning, the affected car should first be positioned in a place with as little sunlight as possible. The aluminum rims affected by salt corrosion and oxidation can now be cleaned with a hard jet of water. A garden hose with a powerful nozzle or a high-pressure cleaner with a weak jet is suitable for this. First of all, dirt and coarse dirt are removed.
Apply rim cleaner and let it take effect
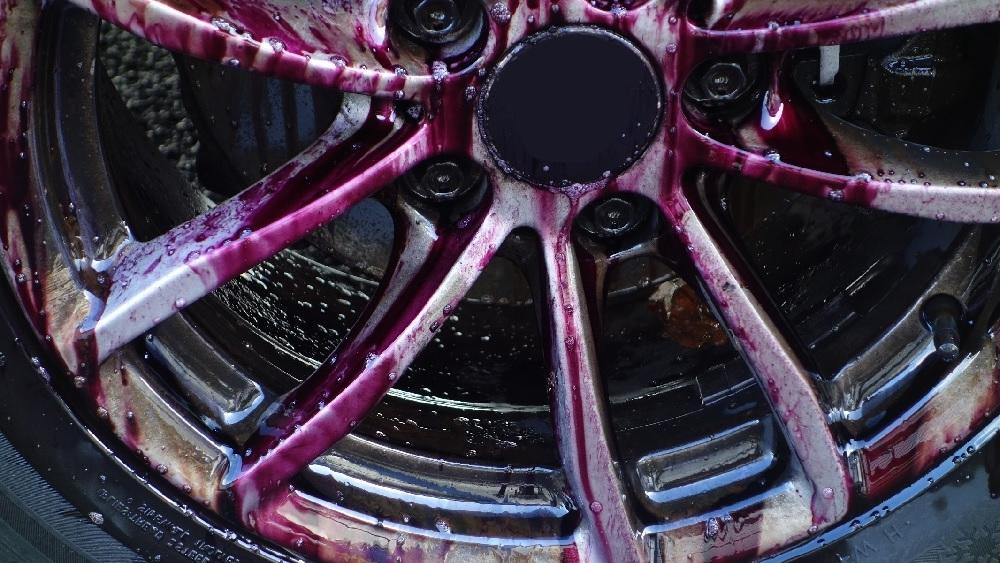
After the first cleaning of the aluminum rims, a rim cleaner can be used. This offers the best protection against recurrence of salt damage and oxidation. It should be carefully spread over the entire aluminum rim according to the instructions, the exposure time is around 10 to 20 minutes (depending on the cleaner).
Remove salt corrosion and oxidation with a brush
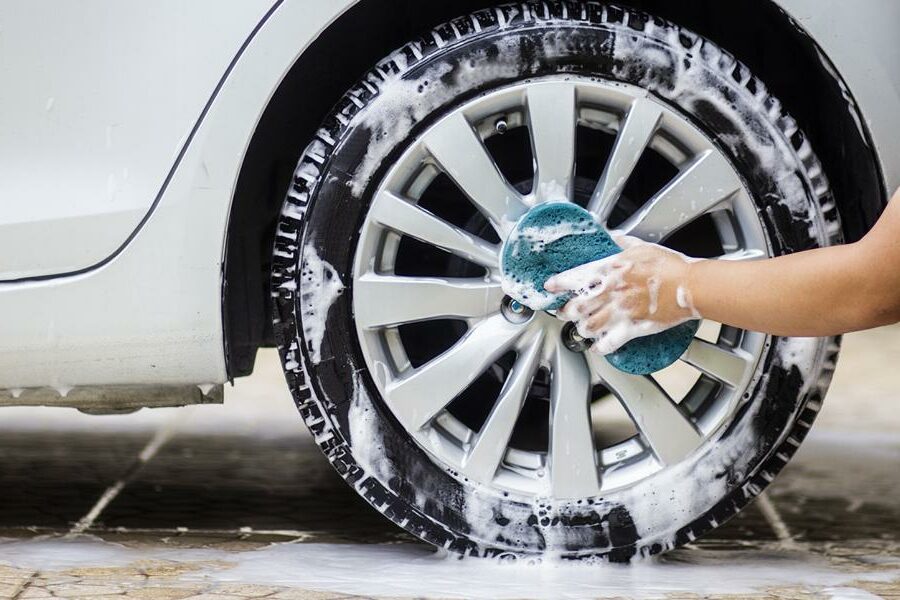
The freshly cleaned aluminum rims are then scrubbed with a brush to remove salt corrosion and oxidation. Incidentally, to avoid scratches, we recommend using a soft brush. In addition, the rim should be kept as wet as possible. The dirt is best removed with constant pressure and even movements.
The wheelhouses also want to be cleaned
After the aluminum rims have been successfully cleaned of salt corrosion and oxidation, the next step is the wheel housings. If these remain dirty, the aluminum rims often become dirty again quickly. A harder brush than for the aluminum rims can be used for this, and the pressure may also be higher. For the correct cleaning of aluminum rims, see our separate article.
Rinse with water and wipe the aluminum rims dry
This is followed by hosing down with a soft jet of water to remove the last remaining dirt particles. It is advisable to proceed thoroughly so that even the last dirt is caught. After this step, there should be no more rim cleaner on the aluminum rims, especially in the recesses of the wheel nuts it can deposit and accumulate. With the help of a microfiber cloth, the aluminum rim and the spaces in between are now thoroughly dried.
Cleaning rubber for particularly stubborn particles
After the aluminum rims have dried, small salt corrosion particles are often still visible. These can cause problems when cleaning, especially in deep and hard-to-reach places. In case of doubt, such situations can lead to a cleaning gum used, as this can reliably remove the remaining dirt particles.
Apply polish
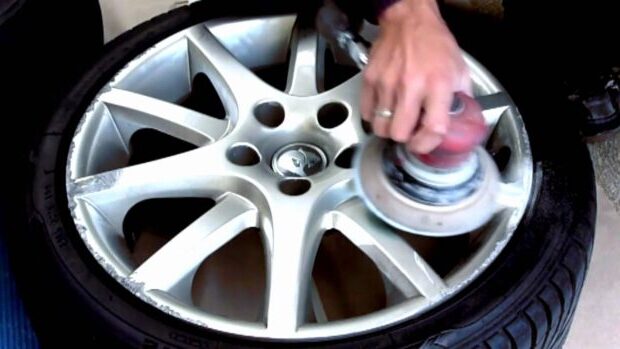
Finally, the aluminum rims are polished. It should be noted that different types of rims may require different cleaning methods. In general, the polish is carefully applied and spread using a microfiber cloth according to the manufacturer's instructions. This step also helps prevent salt corrosion and oxidation in the future.
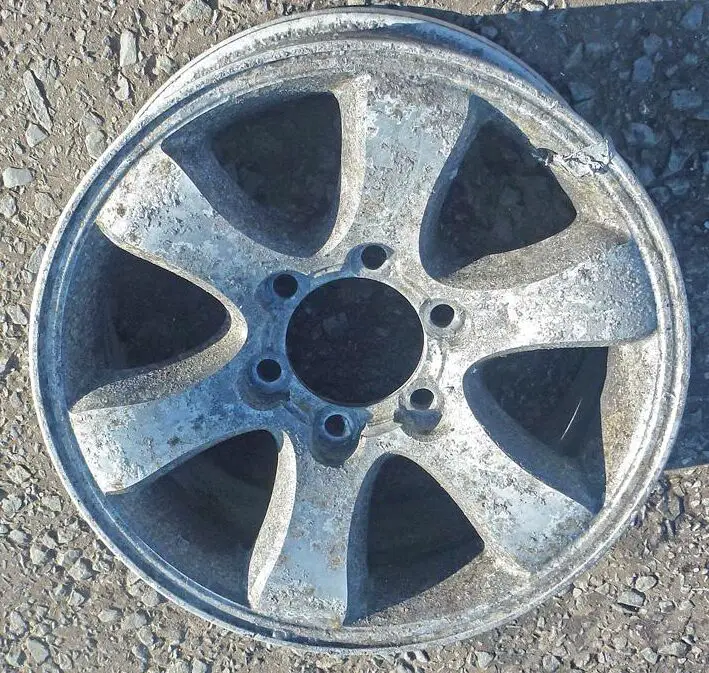
Formation of salt corrosion & oxidation
Low temperatures promote the formation of salt corrosion and oxidation, and many rims are not designed for extremely low temperatures. This is how most problems of this kind arise in winter. Insufficient rim care often results in salt corrosion and oxidation and therefore cleaning should always be carried out conscientiously and regularly.
Winterize alloy wheels
- Many aluminum rims are not suitable for winter use.
- Aluminum rims that oxidize on the rim flange can have a gradual air loss result in the tire.
- apply special alloys & surface sealers. (protects the rims against road salt, grit and other dirt)
- Alloy wheels are thereby, however not XNUMX% protected.
- The wear of the treatment again exposes the rim to all weather conditions.
- Better to put on steel rims in winter.
The following note is essential: For safety reasons, tuningblog recommends all repair, inspection and maintenance work exclusively to be carried out in a specialist workshop! Although our information is summarized to the best of our knowledge and belief, we cannot assume any liability for the content. All information is therefore "without guarantee".
Of course, that wasn't the end of it!
In this tuningblog category there are guides and instructions for common defects/repairs on the vehicle and for installing accessories/tuning parts. Our articles explain in a simple way common defects and the corresponding repairs and they also explain how the first signs of a defect become noticeable. In most cases, we also have initial clues to the repair instructions in our repair instructions approximate costs listed. The goal of ourAuto Repair Guide“ is to create a head start in knowledge for the next visit to the workshop with initial tips. This may save you from tedious troubleshooting and you may even be able to do small things yourself. The same applies, of course, to the installation of accessories/tuning parts. Here, too, we would like to help with the implementation with instructions and tips. There are many other posts on this as well. Below is an excerpt of the last and HERE there are all previous instructions.


Good to know that aluminum rims that oxidize on the rim flange can result in a gradual loss of air in the tire. My rims on the left both have cracks that I only noticed today. After work, I take my car to a good workshop to have the wheel rims repaired.