
If you drive your car regularly, you know that the brake pads are subject to a lot of stress and therefore wear out quickly. Especially in the city with frequent braking, they wear out quickly and have to be replaced later. But this is usually relatively easy and you usually do not need any special tools. If the brakes though start squeaking, then it is usually time to replace the pads immediately. Here's a guide to help you make it. We accompany you step by step when changing the brake pads.
1. Step:
- On each wheel you must first loosen the wheel nuts. Then raise your car using jack stands to turn the wheels one by one to remove. How to get access to the brakes.
2. Step:
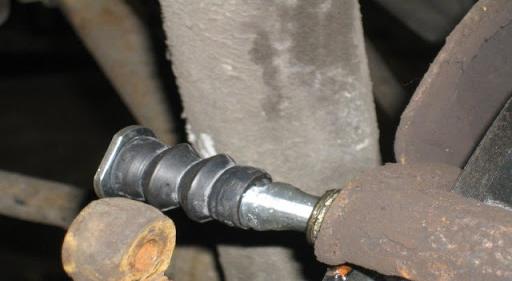
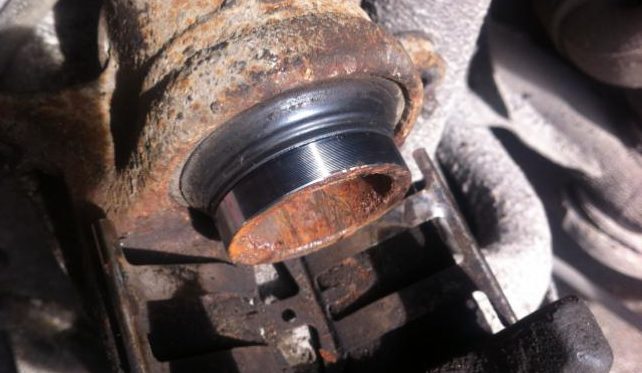
- The caliper must now be removed. To do this, locate the two pins (they hold the caliper). If you cannot find this, look in the vehicle manual or on the Internet for a suitable illustration for your model. The caliper will usually rotate up when you remove the bottom two pins. Because the hydraulic line is flexible and will not impede movement, you need to use the hydraulic line not lose weight.

3. Step:
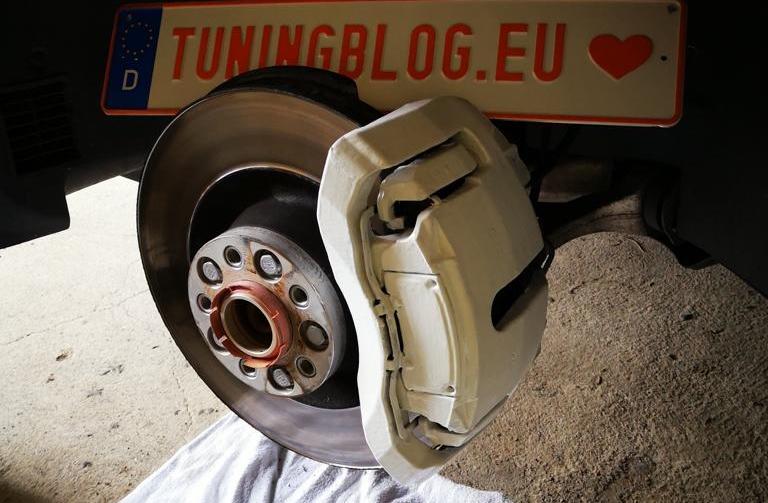
- Now you can see and check the brake pads and their condition. There are two ways of identifying whether these need to be replaced. On the one hand you look at the small, embedded ones metal pins. If they touch the brake disc, the brake lining is worn and should be replaced. On the other hand, the thickness of the brake lining is measured. If this is still at least four millimeters, it does not need to be changed. However, if less than four millimeters are measured in several places, you need new brake pads.
4. Step:
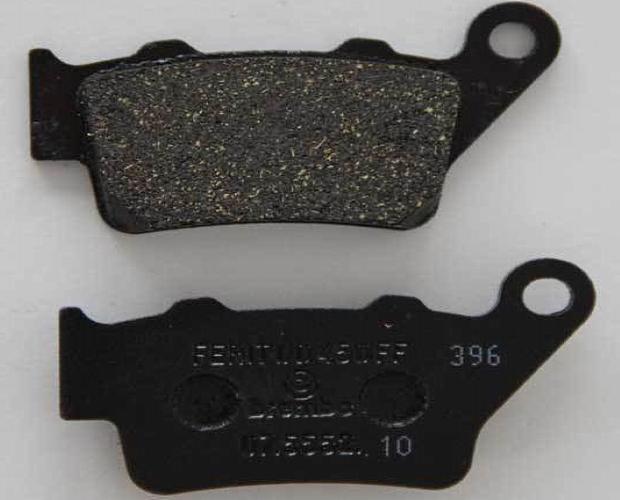
- Now you can easily slide the old brake pads out of the clip (from below) and remove the clip and the pads. Because the new brake pads bring new clamps. Incidentally, the brackets do not have to be screwed tight, but snap in firmly. Use the new brackets supplied as the old ones may be damaged without you realizing it. Two clips are included with each brake pad, which you must replace one after the other. The brackets should also be greased with a small amount of grease, simply use the grease provided or a suitable one from the car dealer. So becomes one prevents squeaking. The new brake pads will be a little tighter but can be installed just as easily as removing the old ones.
5. Step:
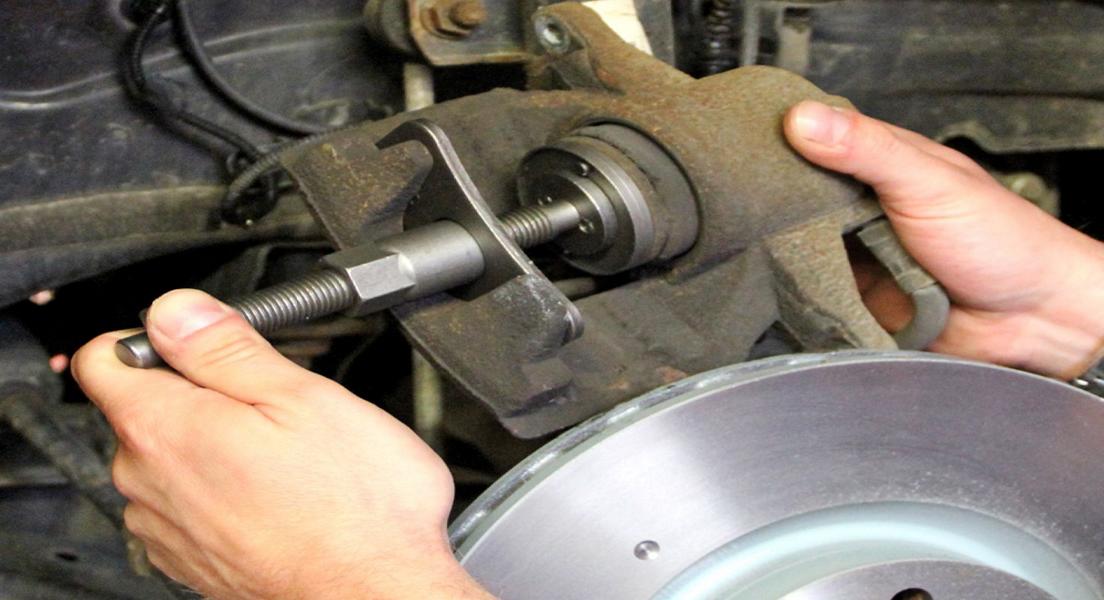
- Due to the fact that the new brake pads are thicker than the old ones, it is possible that you will have to push back the brake pistons. The pistons move and compress the pads when the brake pedal is depressed. The wheel no longer turns. There is something special for pushing back Brake Piston Reset Tool. But there is also an alternative, which is mentioned in the next point.
6. Step:
- You can also do one clamp Use to push back the pistons. If your car has several pistons per brake pad, you have to push them back in at the same time, otherwise one of them can come loose. In any case, you need patience to replace the brake pads correctly and safely. So be careful. The rubber sleeve on the piston must not be torn and broken. Therefore, be careful of the pressure evenly to exercise and not to make quick movements.
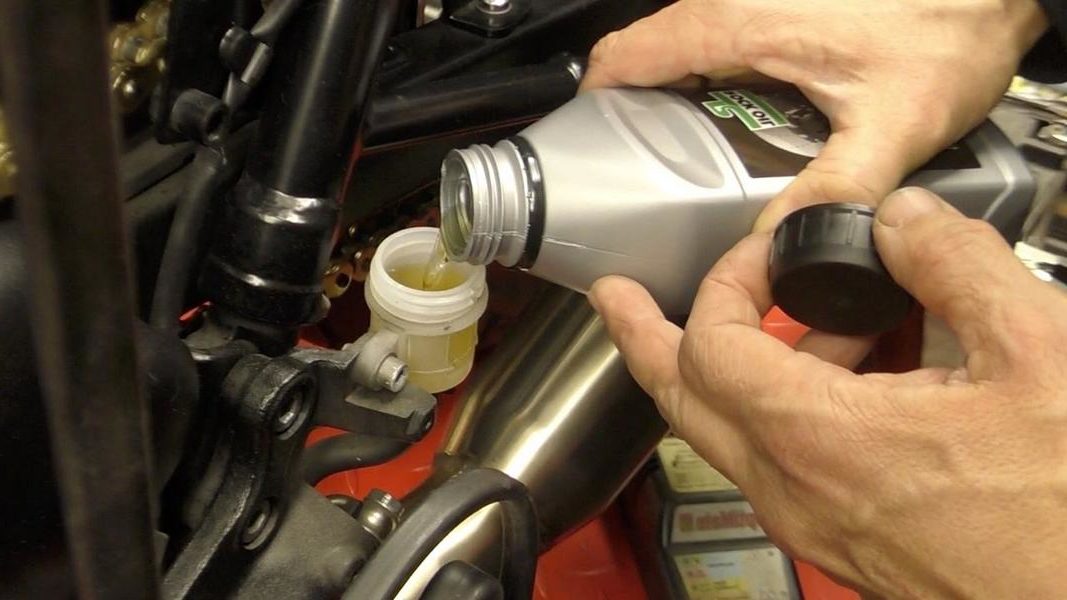
- Also pay attention to the amount of brake fluid. This increases when the piston is pushed backwards. If you have just refilled brake fluid, it can happen that it overflows. To check the amount, remove the cap from the brake fluid reservoir before pushing the plunger back. If the liquid level is very high and there is a risk of it overflowing, suck it off a little. Once the pads are in place, the brake fluid level will drop, but it should not below the minimum mark .
7. Step:
- Now you need to push the caliper on top of the new pads, this shouldn't be a problem once you have the pistons pushed all the way back to have. The caliper can be tighter (compared to the old, worn pads). Once the pistons have been pushed back far enough, installing the pads should be easy.

8. Step:
- The pins are now attached again as they were previously installed. Then reattach the appropriate wheel. Repeat these steps for all other brakes. It is important that you amount of brake fluid observe and this does not fall below the minimum level.
9. Step:
- To ensure that the brakes are fully functional, test you this.
If you have any problems or doubts during the change, stop the work. Then get the opinion of a professional. The mechanic does this every day and knows all about the problems.
The following note is essential: For safety reasons, tuningblog recommends all repair, inspection and maintenance work exclusively to be carried out in a specialist workshop! Although our information is summarized to the best of our knowledge and belief, we cannot assume any liability for the content. All information is therefore "without guarantee".
Of course, that wasn't the end of it!
In this tuningblog category there are guides and instructions for common defects/repairs on the vehicle and for installing accessories/tuning parts. Our articles explain in a simple way common defects and the corresponding repairs and they also explain how the first signs of a defect become noticeable. In most cases, we also have initial clues to the repair instructions in our repair instructions approximate costs listed. The goal of ourAuto Repair Guide“ is to create a head start in knowledge for the next visit to the workshop with initial tips. This may save you from tedious troubleshooting and you may even be able to do small things yourself. The same applies, of course, to the installation of accessories/tuning parts. Here, too, we would like to help with the implementation with instructions and tips. There are many other posts on this as well. Below is an excerpt of the last and HERE there are all previous instructions.


