Recently updated on August 16, 2018 at 08:01 am
Already on January 19.01.2015, XNUMX we told you about our tuning project Opel Corsa D with OPC Line optics kept up to date and kept the option open that further changes to the mighty 80PS poison dwarf may be made. One thing in advance, the mentioned 400PS are not!
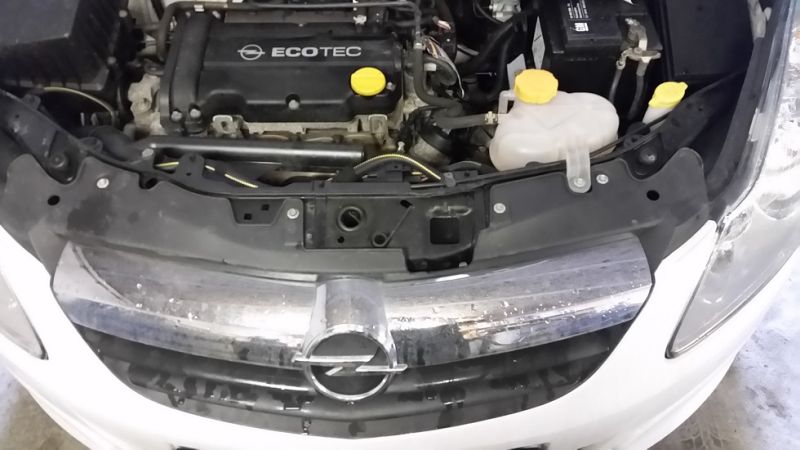
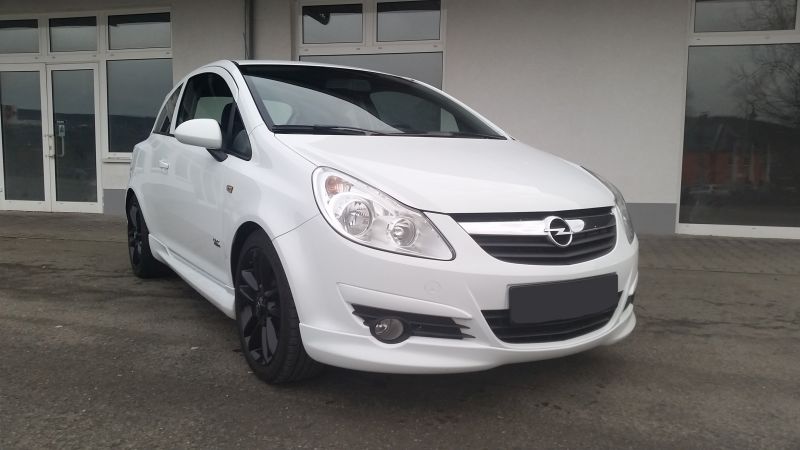 But a new front grill from the tuning parts company JOM was installed. Of course, how could it be, everything was more complicated than expected. The grill cost 34,95 € online as a new item, which actually sounds and is extremely cheap. When the JOM radiator grille was delivered, it convinced with its neat look that is hardly inferior to the sometimes much more expensive alternatives. Of course, the plan was to remove the old grill, install a new grill, done! When you open the hood, the big surprise is that the front grille and bumper are "a part"! "If you would have preferred to find out beforehand", The decision to install the grill was quickly made, so here the conversion with pictures and some information from me:
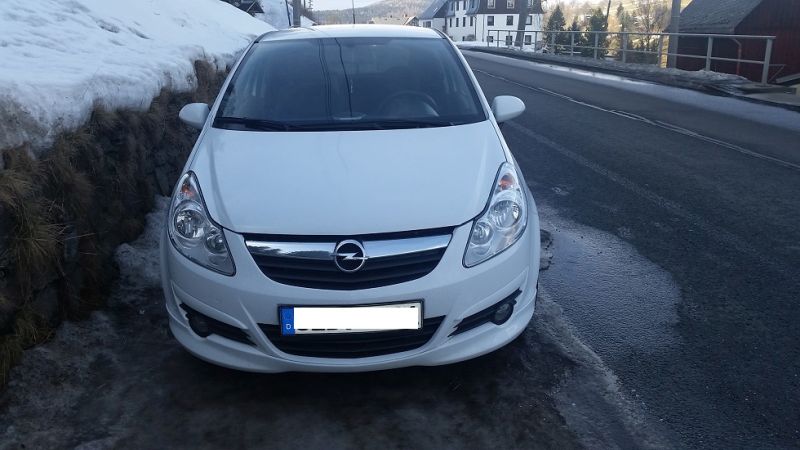
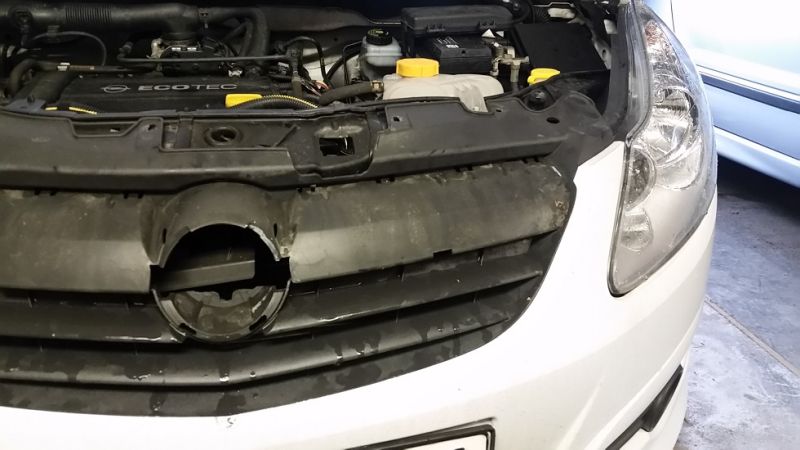
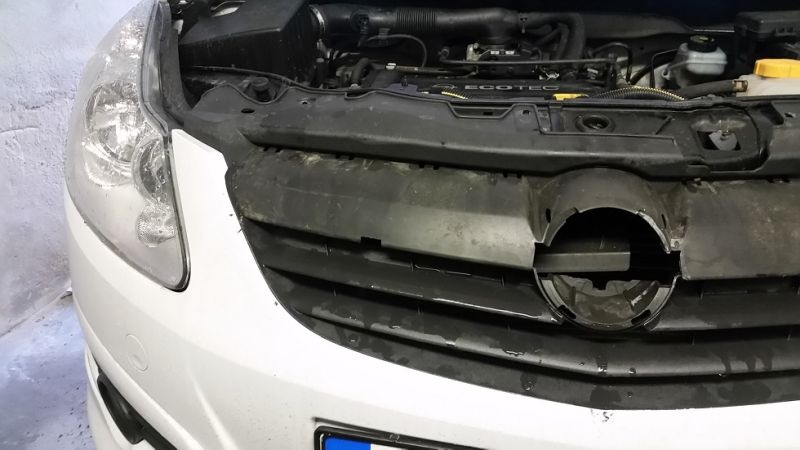
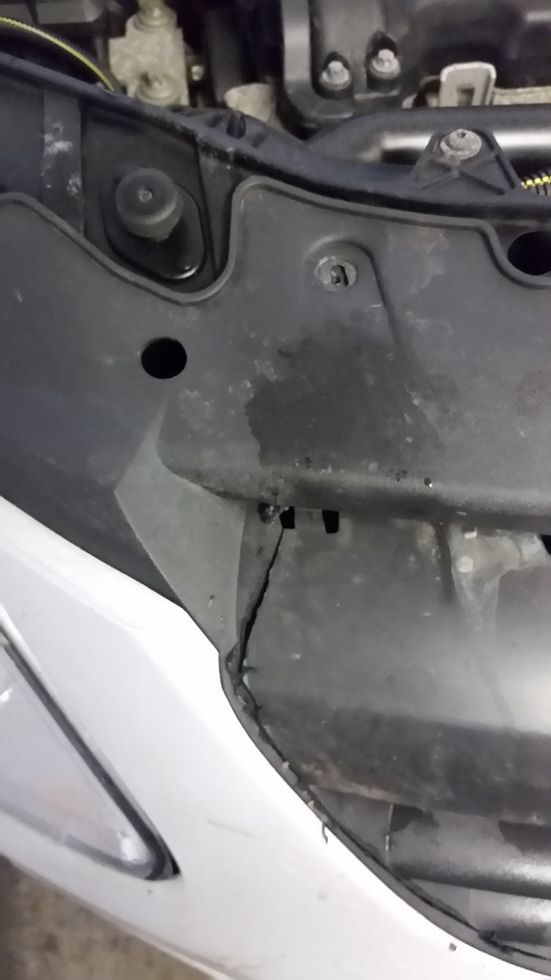
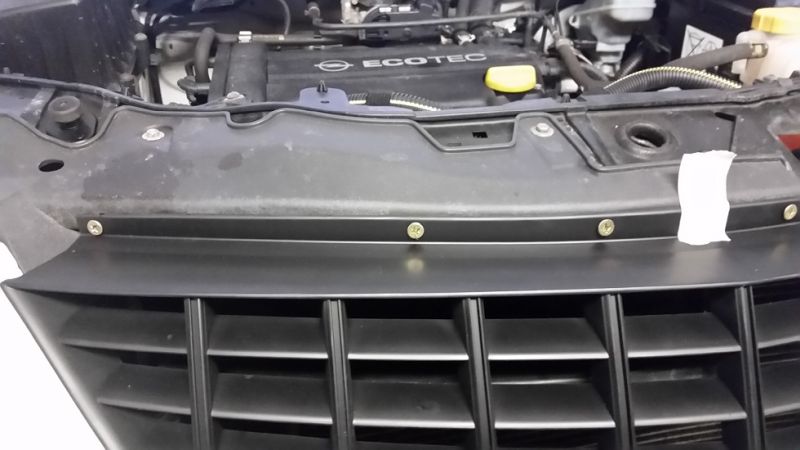
Here is a picture before the conversion:
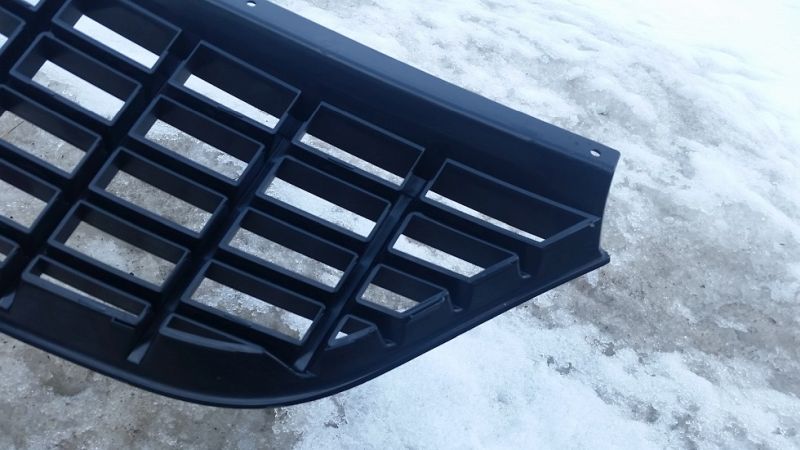
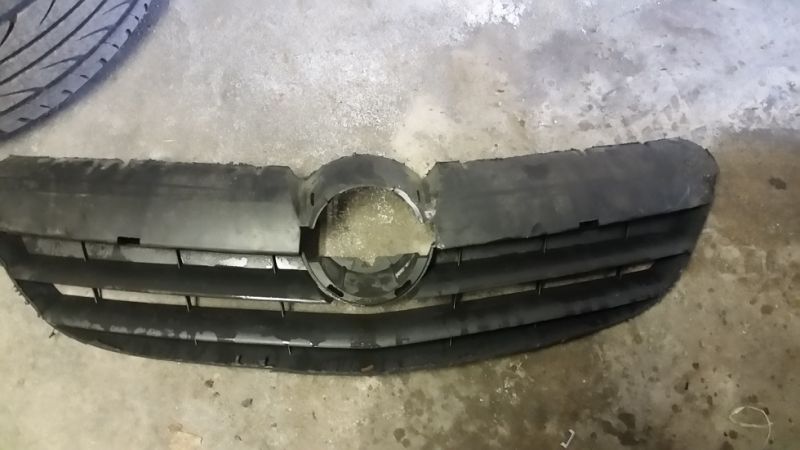
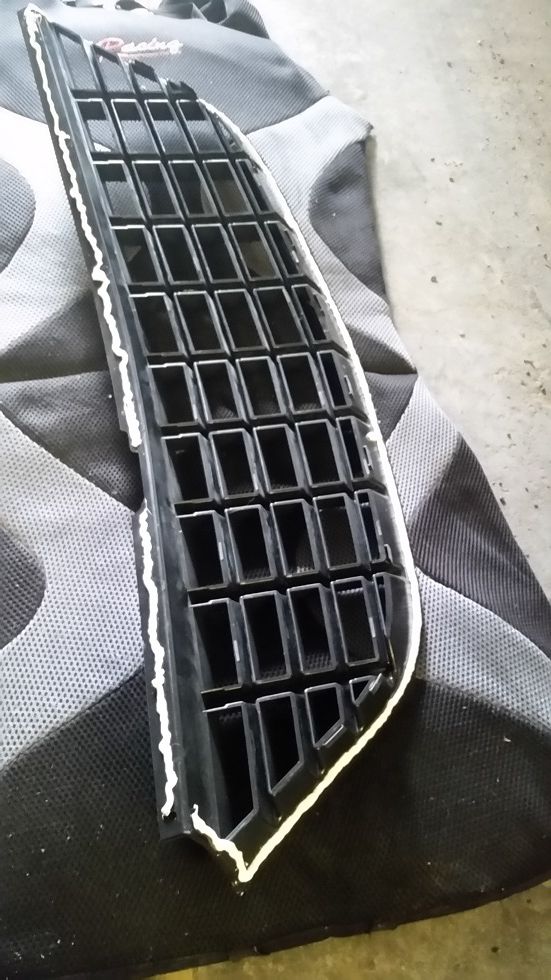
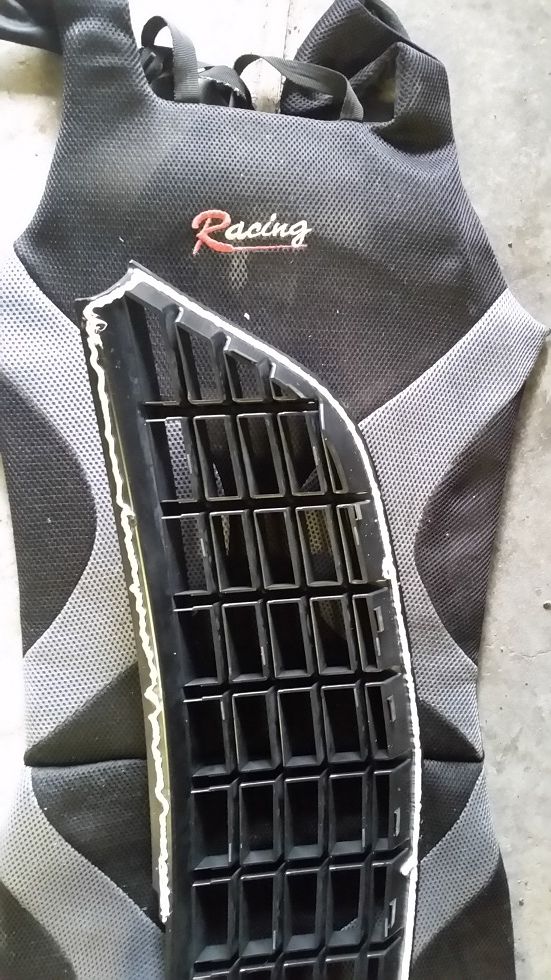
Here is the new grill from the back
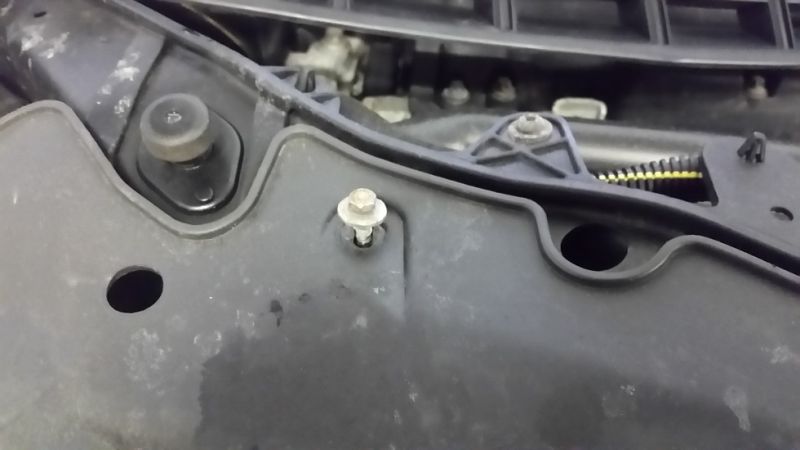
First remove the 4 screws holding the bumper with a 10 nut etc. at the top
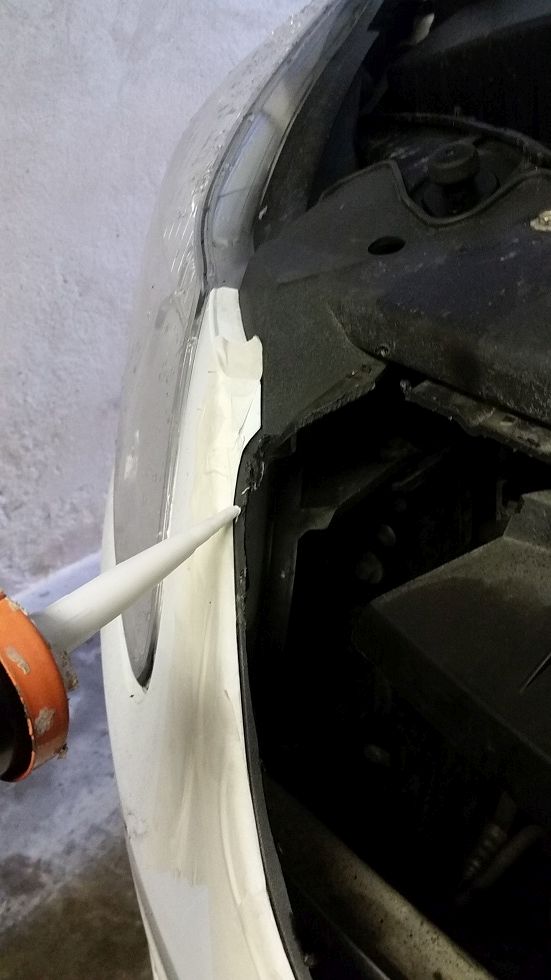
Now you can easily get to the clamps and clips for removing the chrome clip, then bend it down with a screwdriver and carefully pull the clip forward. Start on one side and then work on the other (if the clasp remains intact, I recommend completely dismantling the bumper as it is easier to get to the clips, I almost broke it off when removing it, but it didn't matter that the grill should be disposed of)
So it looks like when the clasp is removed
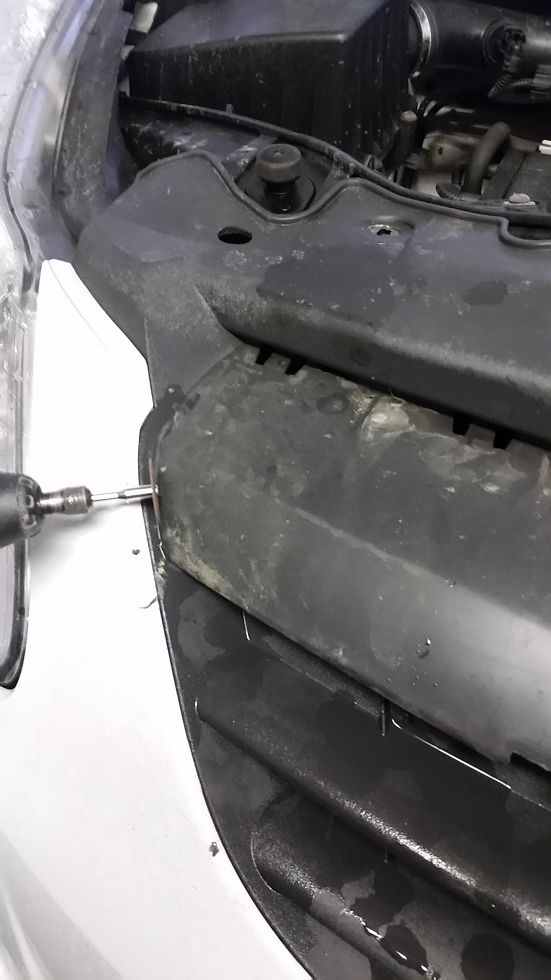
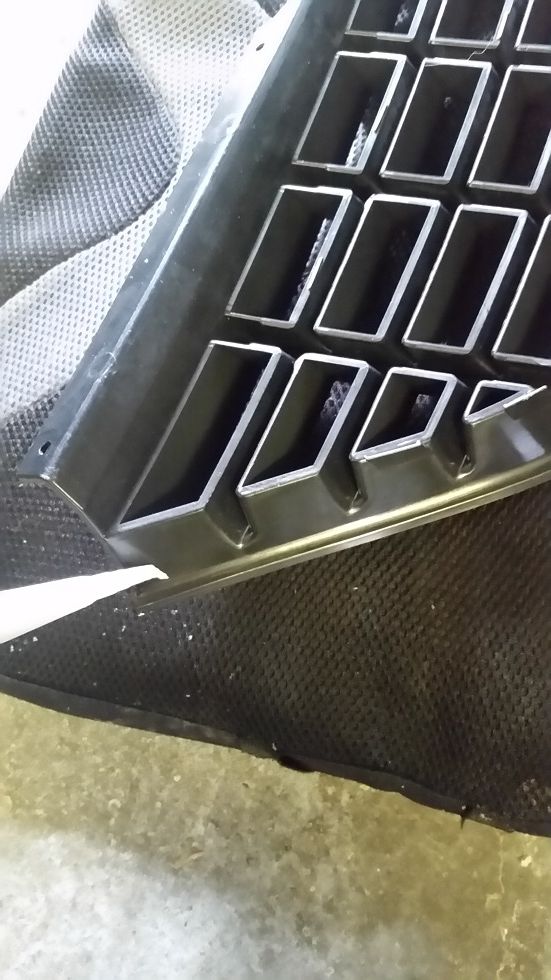
Now cut the grill as shown with a caliper along the black edge, be sure to leave at least 5mm from the black border because this is needed to stick on the new grill.

Saw approximately towards the recess as shown here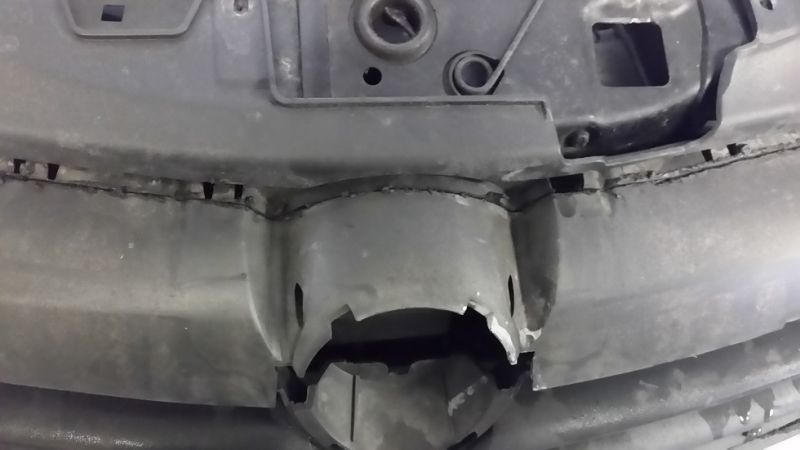
In the middle, just saw straight through the holder for the Opel sign
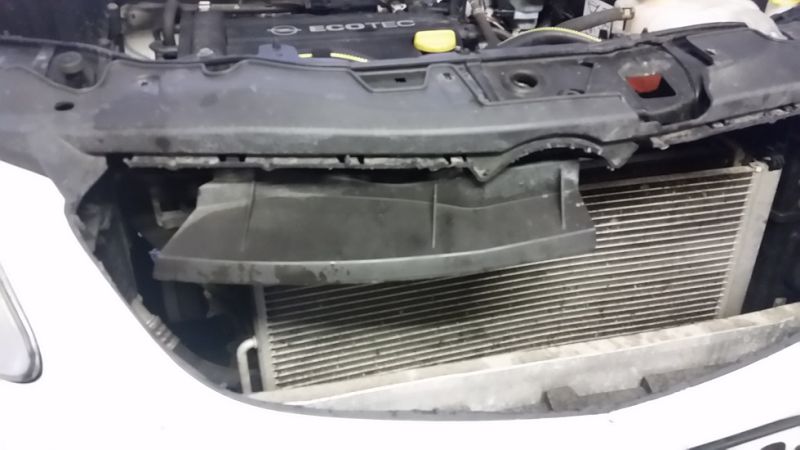
When this is done, the grille can be removed as shown here

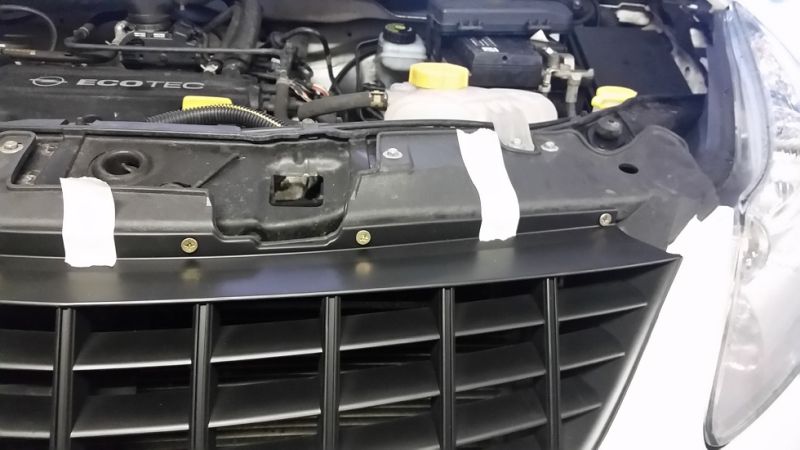
Then reattach and tighten the 4 screws that were removed at the beginning

To be on the safe side, I taped the bumper a bit, I doubt that it would have helped against the turning lever 😀 But it can be very useful against scratches with the tool etc.
Next, insert the new grill and screw through the 6 holes (sorry for the ugly screws, but on Sunday afternoon I just couldn't find any black screws : p)
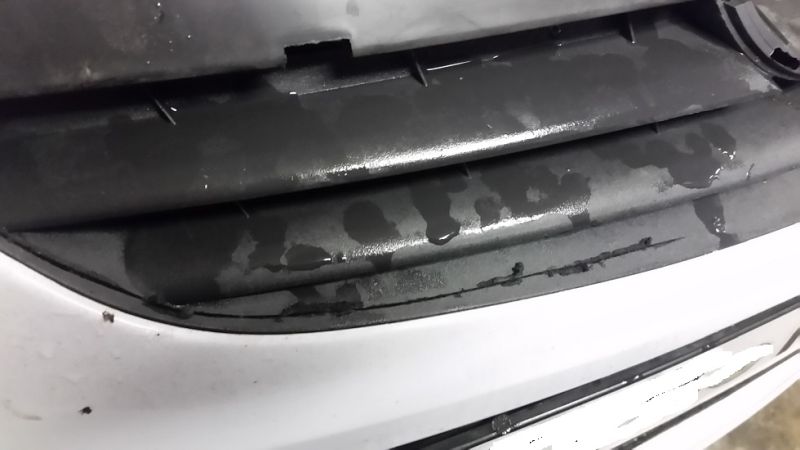
Then apply the glue along the black recess
Also on the grill I applied the glue all around
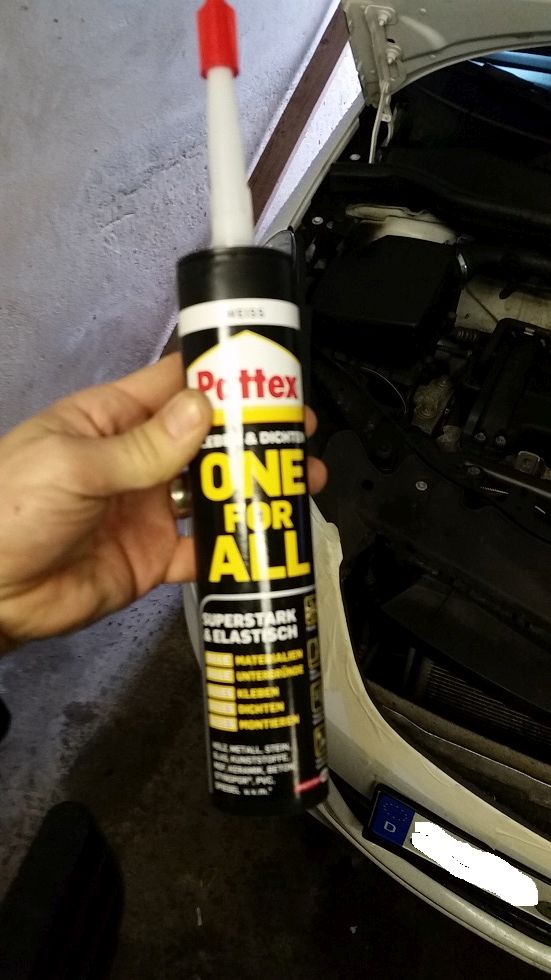
Incidentally, I used this commercially available Pattex body adhesive
Then fit the grill fitting exactly and tighten the 6 screws. Along the edge where the screws are I also have glue attached, it certainly can not hurt.

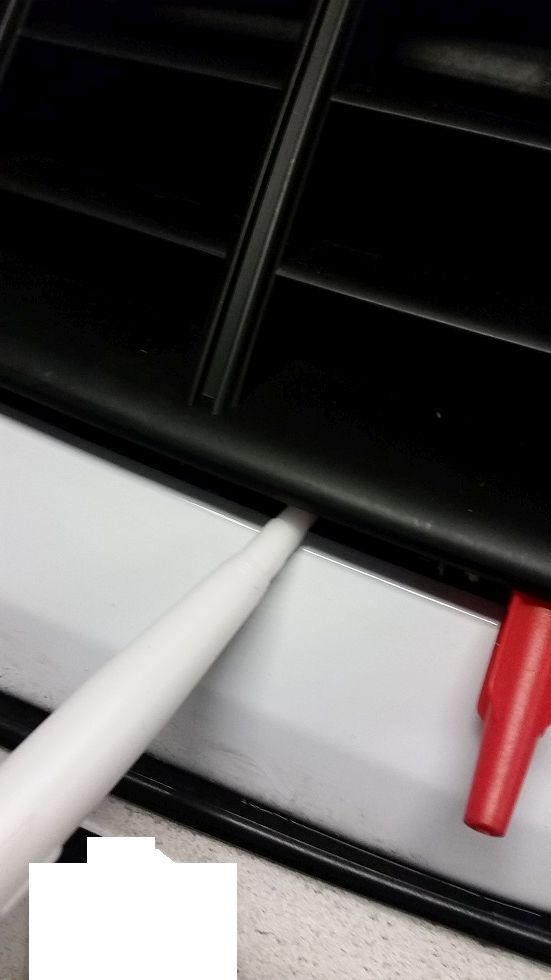
Then I put the grill under pressure with something “highly creative” so that the glue seam could be properly fixed.
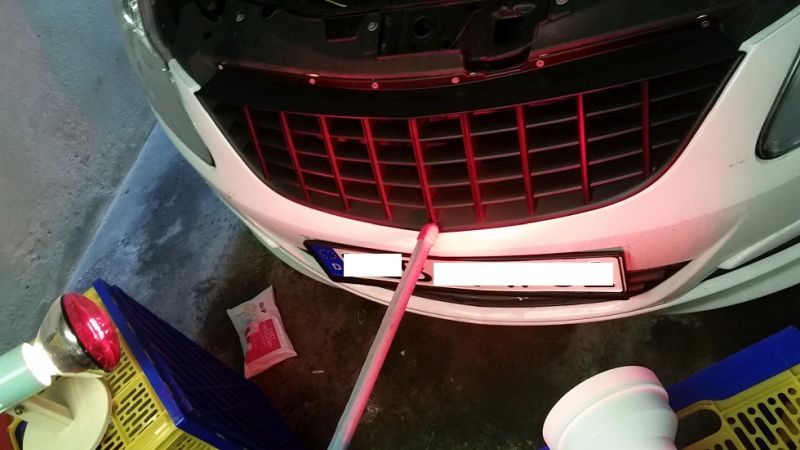
Due to the somewhat cool outside temperature, I had the grill irradiated by 12 red light lamps for about 2 hours.

The final result looks like this.
Thanks for the good explanation! I ordered the grill, of course, without looking beforehand what it takes nen would you have a few pictures where you can see the result even better? would be happy 😀
Hi Nico,
yes, the plan was different at the time 😀 I thought 5 screws out and 5 screws in and that's it. It wasn't like that ...
Sorry but pictures are no longer there 🙁
Vg Tom
Good instructions worked well, it is important to leave enough space at the bottom so that the glue can hold properly