If you want to repaint your car yourself, you will find simple instructions including video instructions below. You need a well-lit, clean - dust-free! - and above all well-ventilated room. Likewise, the selected work space should be large enough so that you can comfortably walk around the vehicle and work. By the way, several sockets are an advantage. The garage at home is usually not suitable, as paint vapors escape during painting, which are easily flammable, for example from a heater. Gather all the things you need for the painting process. You can find a detailed list in the "Tools and utensils" section at the end of the article.
First a rough list:
- Appropriate color
- protective gear
- Polishing and grinding device
- Equipment for spraying the paint
Attention!
Attention, gas formation! For your own protection, wear a suitable breathing apparatus (e.g. organic) and make sure there is sufficient air circulation at your workplace. The escaping gases can be harmful, possibly even fatal. Good air exchange also prevents the formation of highly flammable and potentially explosive gases within the room.
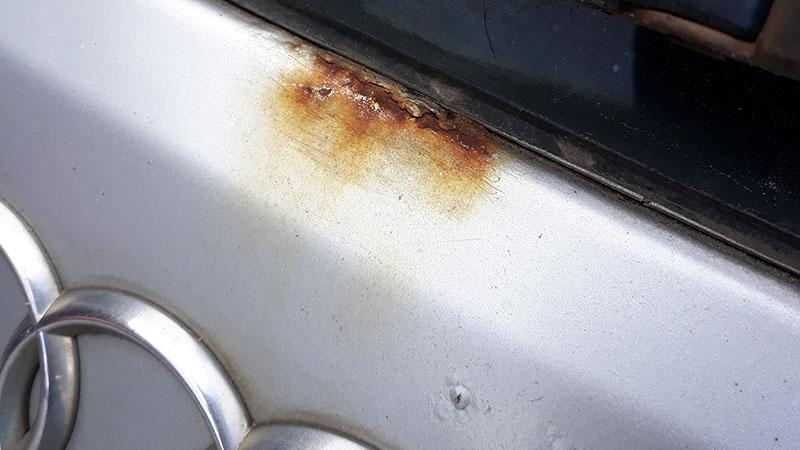
First you should remove all dents and rust spots on the car that should disappear under the new coat of paint. Then you remove any plastic or chrome frames on the car. Most of the outer moldings are made of plastic and are easy to remove. If the parts resist, you should rather use a suitable special tool. Brute force rarely helps and under certain circumstances the bars could break. Then you have to remove the old paint grind. It's up to you how much of the old paint you remove - just the top coat, down to the primer, or down to the bare metal. For the best end result, you should sand the paint down to the metal, then apply a new one primer coat apply, and finally the new one Colored varnish including any clear varnish spray on.
After the grinding process, the entire car must be thoroughly cleaned by everyone fat residues (including fingerprints or the like) are freed. Denatured alcohol or turpentine is suitable for this. Then, with the help of paper and adhesive tape, all surfaces that are not to be painted are masked off. Which includes Door handles, mirrors, glass, window frames and grooves. Then you should line the rest of the work space with foil to prevent the car paint from sticking to the walls and shelves later. Check your masked surfaces for tears and holes that could allow paint to get onto the protected surfaces.
the painting process
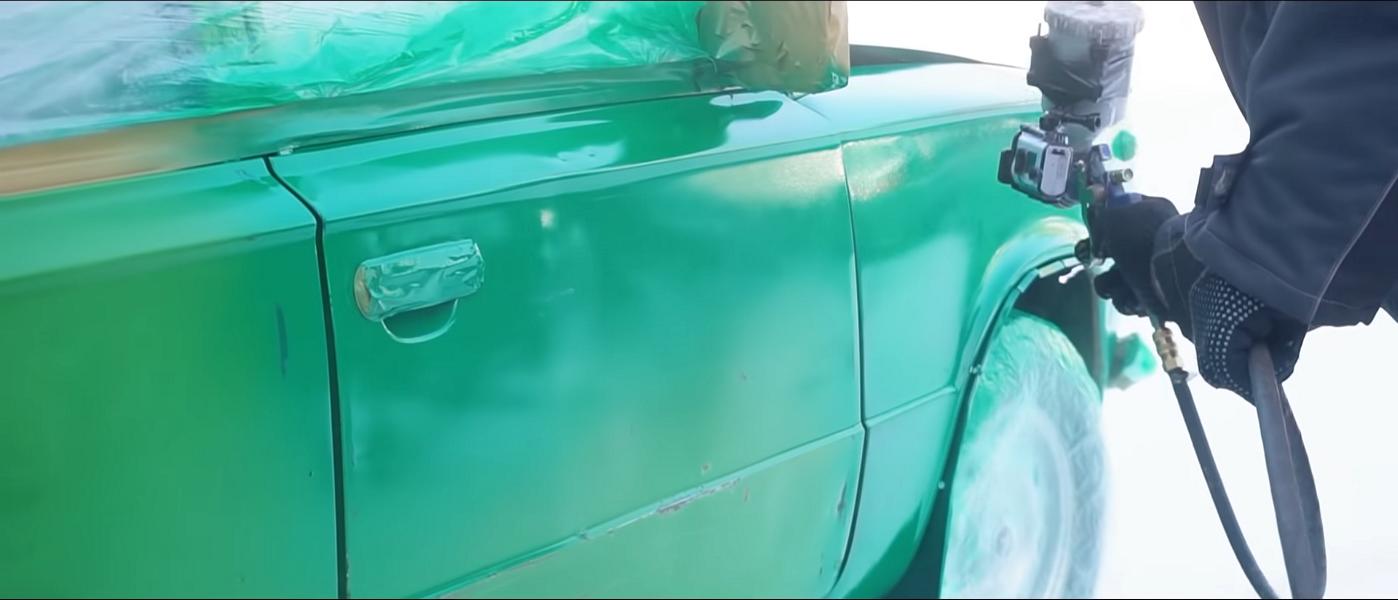
If you have sanded your car or some areas down to the bare metal, you will need to sand the surfaces down with a anti-rust primer prime. Spray the rust preventive on any sanded or freshly putty surface. Make sure any scratches and dents removed during the prep work are nice and smooth. Do with the Instructions for use of the primer familiar and let the layer dry completely. Drying times may vary depending on the manufacturer. You may also need to apply multiple coats of primer. Incidentally, the new colored paint usually has to be within a certain time be applied to the primer layer. Before you spray on the paint, you'll need to sand the primer smooth. With a 600 or better 800 grit sandpaper WET(!!!). Any traces of drips (noses) in the primer must be carefully smoothed out without removing the primer completely. The surface must then be cleaned again to remove new dust and grease deposits. You can do this Degreaser, acetone or wax use. Then you spray the colored paint on the vehicle. Be sure to pay attention to the manufacturer's information. If so, you must have one Catalyst or a curing agent mix to get a better result.
https://www.youtube.com/watch?v=pE34JVhIu9k
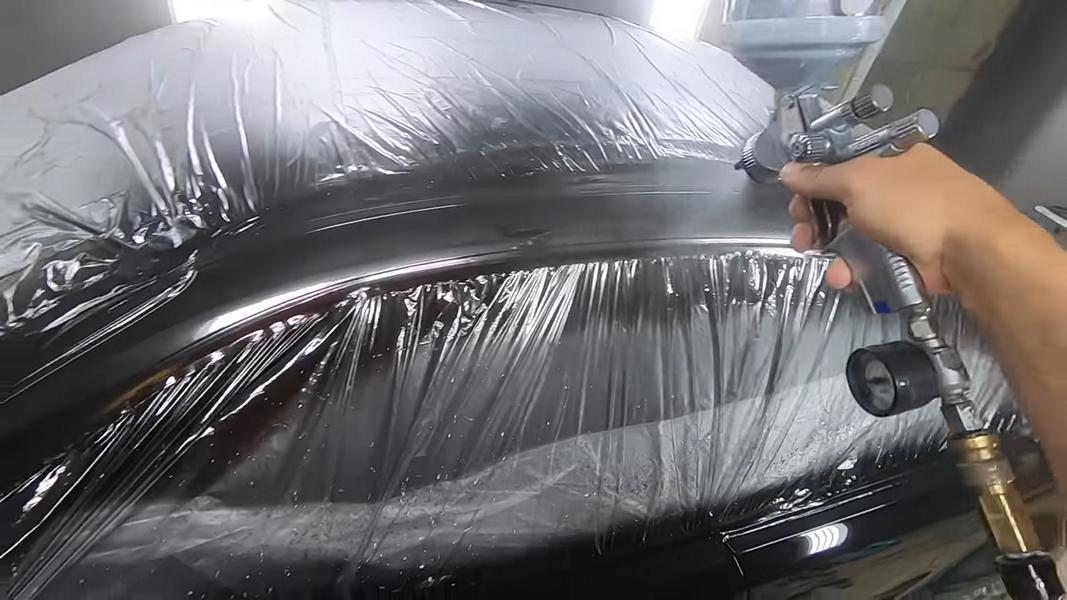
You also have to make sure that your color varnish is sufficiently diluted. This depends on what utensils you are using. However, the paint should not be too thin, otherwise it will drip faster and lose its shine. Once the new paint has been fully applied, it must be completely dry out. This can take up to seven days without a dryer. If a catalyst was used, the paint usually dried after about a day. It is important to keep the vehicle free of dust and dirt until the paint is no longer tacky. For the final sanding, it is best to use sandpaper with a 1200 to 2000 grit, preferably even finer and also for wet sanding. This is how you grind the color. The car must then be washed and all grinding residue removed. After the car is dry, you can clearcoat Instruct. You sand this down carefully with wet 1500 to 2000 grit sandpaper to remove small flaws and drips.
If you want an even shinier finish or want to remove dust inclusions, you can take your car with you afterwards Polishing paste polishing. You will get the best results if you polish by hand. However, it is quicker and easier to use a polishing machine. However, caution is advised here, as incorrect handling could damage the new paintwork on your car. It is advisable to mask off the edges and then polish them by hand.
Note:
- It is important that you are careful when spraying not too close on your car, otherwise the paint will be sprayed on too thickly and can run. You can find the instructions for this on the spray can. Through a ground wire on the car (and also on all other electronic devices in the garage) you prevent it from becoming statically charged and thus becoming a dust magnet. If you want to paint your car, you mainly need two things: time and patience. You should paint carefully, slowly and evenly, otherwise unsightly color errors will occur and you may have to start over.
tools and utensils
- Safety goggles, dust or breathing mask
- Cleaning and solvents for the surfaces
- Fiberglass or filler for repairs
- Foil, paper and tape
- primer
- Suitable paint, eg polyurethane or (acrylic) enamel
- Thinner, hardener, catalyst
- air compressor
- Sanding machine and paper in 600, 1200 and 1500 grit
- HVLP/LVLP spray bottle, or a spray bottle without air
The following note is essential: For safety reasons, tuningblog recommends all repair, inspection and maintenance work exclusively to be carried out in a specialist workshop! Although our information is summarized to the best of our knowledge and belief, we cannot assume any liability for the content. All information is therefore "without guarantee".
Of course, that wasn't the end of it!
In this tuningblog category there are guides and instructions for common defects/repairs on the vehicle and for installing accessories/tuning parts. Our articles explain in a simple way common defects and the corresponding repairs, as well as explaining how the first signs of a defect become noticeable. In most cases, we also have initial clues to the repair instructions in our repair instructions approximate The costs of the pending repair are listed. The goal of our subcategory “Auto Repair Guide“ is to create a head start in knowledge for the next visit to the workshop with initial tips. This may save you from tedious troubleshooting and small things can perhaps be done directly on your own. The same applies, of course, to the installation of accessories/tuning parts. Here, too, we would like to help with the implementation with instructions and tips. There are many other posts on this as well. Below is an excerpt of the last and HERE there are all previous instructions:
|
Symptoms, repair / replacement, costs of a defective ignition coil!
|
Cylinder head / cylinder head gasket defective? The info!
|
Topping up oil in the hydraulic jack, this is how it works.
|


"tuningblog.eu" - we keep you up to date on the subject of autotuning and car styling with our tuning magazine and present you with the latest tuned vehicles from all over the world every day. It's best to subscribe to ours Feed and will automatically be informed as soon as there is something new about this post, and of course also to all other contributions.