Recently updated on December 19, 2023 at 08:19 am

Changing the wheel arch liner is an important maintenance job that contributes to the care of the vehicle and is often necessary even when... coilover was once again set much too low. Then the tires most likely have the shell sanded through. The wheel arch liner, also known as Wheel arch trim, protects important vehicle parts from dirt and moisture and also isolates the background noise. Our instructions provide you with a rough overview of the process of changing the wheel arch liner. Please note, however, that these instructions are general and the exact steps may vary depending on the vehicle.
Instructions: Changing the wheel arch liner
Before you start changing the wheel arch liner using the instructions, make sure you have all the necessary ones Tools and have spare parts on hand. This includes: New wheel arch liner suitable for your vehicle, screwdriver or screwdriver set, ratchet with suitable attachments, plastic wedges for removing clips, gloves and possibly safety glasses if work has to be done overhead! Safety measures: Park the vehicle on a level surface and apply the handbrake. Make sure the engine is off and the vehicle has cooled down before starting work.
The following is the rough process of the change!
- Step: Dismantle the wheel: Raise the vehicle with a jack and secure it Jack stands. Remove the wheel to access the wheel well liner.
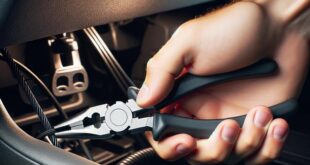
- Step: Removing the old wheel arch liner: Find all the wheel arch liner fasteners. These can be screws, clips or plastic rivets. Carefully loosen all fasteners. If necessary, use plastic wedges to remove clips without damaging them. Search online forums or YouTube for tips on where the fasteners are located.
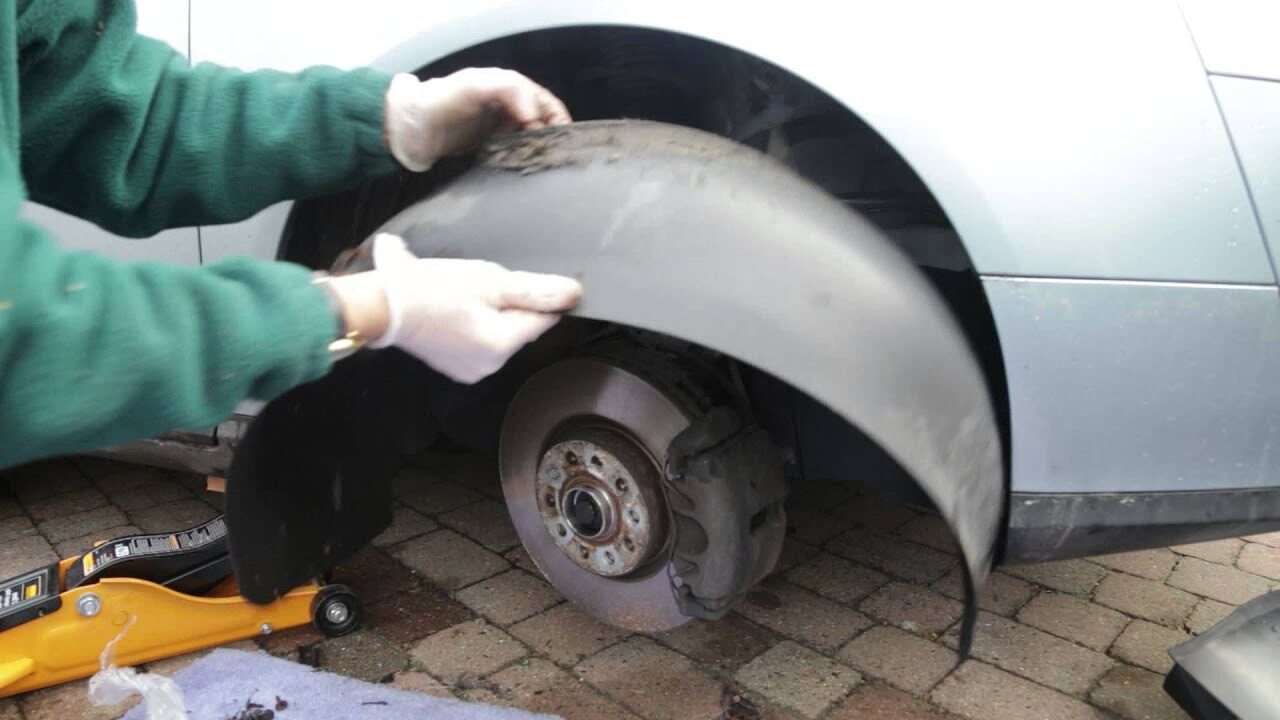
- Step: Remove the wheel arch liner: After all fasteners are loosened, carefully remove the wheel arch liner. Be careful not to damage any cables or hoses that may run behind the shell.
- Step: Check and Clean: Check the area behind the wheel arch liner for damage or corrosion. Thoroughly clean the area to ensure the new tray is installed on a clean surface.
- Step: Installing the new wheel arch liner: Position the new wheel arch liner and secure it with the old (or new) fasteners. Make sure the shell fits properly and does not restrict movement of the wheels or other parts.
- Step: Assemble the wheel: Put the wheel back on and tighten the wheel bolts. Carefully lower the vehicle and tighten the wheel bolts to the specified torque.
- Completion and review: Double check all fasteners for tightness. Take a test drive to make sure there are no noises or problems.
Tips and hints: Changing the wheel arch liner (instructions)
Important preparations
- Materials required:
- wheel arch liner
- Fasteners (new)
- Tool kit
- Spray cleaner and wire brush
- WD-40 spray
- Tools for removing the plastic parts
Interesting facts about wheel arch liners
- Material: Wheel arch liners are made of either plastic or fleece.
- Waterproofness and deformation: Fleece parts are not waterproof and can deform over time.
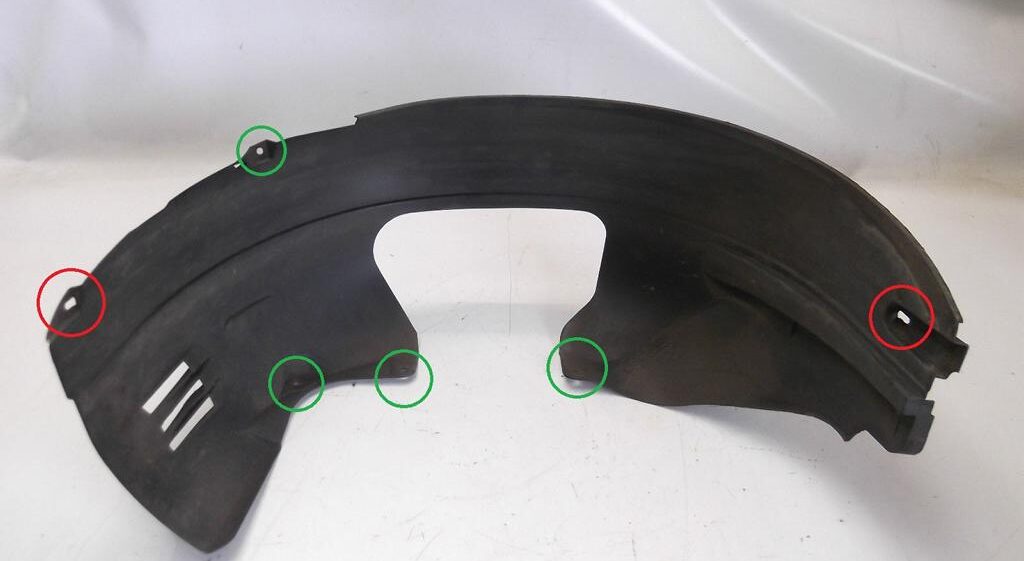
- Fixing Methods: Often fastened with plastic clips of different designs or self-tapping screws.
- Division of wheel arch shell: In the case of a wheel arch liner that consists of several segments, only the damaged segment needs to be replaced.
more step-by-step instructions
- Wheel distance: Remove the wheel to access the wheel well liner.
- Vehicle lifting: Use a car lift or lift the vehicle with a jack and then secure it with jack stands and wheel chocks.
- Inspect fasteners: Determine the design of fasteners.
- Cleaning and dismantling: Clean the fasteners thoroughly and then dismantle them.
- Loosen the wheel arch liner: Carefully loosen the wheel arch liner from its attachment points.
- Cleaning the attachment points: Clean the attachment points and the points of contact with the body.
- Inserting new wheel arch liner: Insert the wheel arch liner into the assembly position.
- orientation: Make sure the wheel arch liner mounting holes line up correctly with the designated points in the wheel arch.
- mounting: Attach the wheel arch liner carefully. Avoid excessive force.
- Fasteners: Make sure all included fasteners are used.
- Cleaning the bike: Clean the wheel mounting seat and the wheel mating surface.
- Rust protection: The surfaces must be smooth and rust-free. Treat them with anti-corrosion agent.
Note
- Adjustment of the wheel arch liner: If the fasteners are not fully screwed in, you can adjust the position of the shell.
- Additional fasteners: It is not advisable to use additional fasteners on the body as this may cause rust.
The following note is essential: For safety reasons, tuningblog recommends all repair, inspection and maintenance work exclusively to be carried out in a specialist workshop! Although our information is summarized to the best of our knowledge and belief, we cannot assume any liability for the content. All information is therefore "without guarantee".
That wasn't it yet!
In our Auto Repair Category you will find advice and instructions on common vehicle defects, repairs and the installation of accessories/tuning parts.