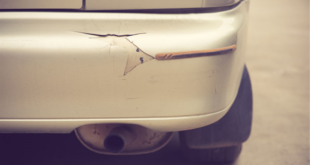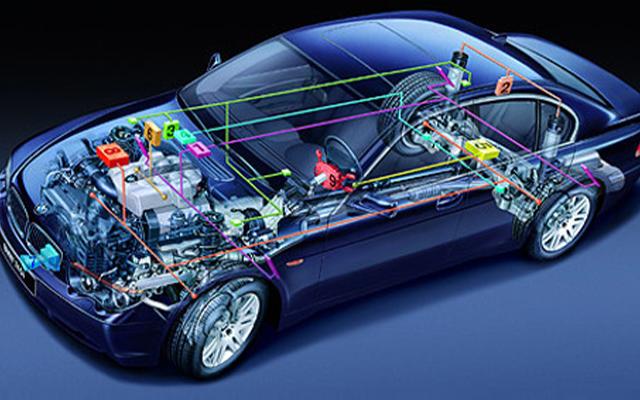
Repairing vehicle electronics can be a difficult but rewarding task for DIY enthusiasts. Our little guide is an introduction to the basics of vehicle electrical repair. Please note, however, that these instructions are general and the specific requirements can vary significantly from vehicle to vehicle. It should also be clear that the instructions for repairing vehicles refer more to older vehicles and less to cars built in the last 10 years. Before beginning repairs, it is important to have a basic understanding of vehicle electrical systems. The electrical system of a car essentially includes: Battery, the Starter, the alternator, the cabling and a variety of electrical components and sensors.
Repair of vehicle electronics
- The battery: The battery is the vehicle's energy source. It supplies power to the starter motor, which starts the engine, and provides energy to the electrical systems when the engine is not running.
- The starter and the generator: The starter draws power from the battery to start the engine. The generator produces electricity when the engine is running to charge the battery and power the vehicle's electrical system.
- Electric components: Electrical components include lighting, entertainment systems, air conditioning, window regulators and more. Various sensors monitor various functions of the vehicle and provide feedback Engine control unit (ECU).
Vehicle electronics repair: safety precautions
Safety is of the utmost importance when dealing with vehicle electrical systems. Therefore, always switch off the vehicle completely and disconnect the battery before you start working on the electronics. Use insulated tools and wear protective clothing to protect yourself from electric shock.
Diagnosis of electronic problems
- Visual inspection: Start with a visual inspection of all electrical components. Check for obvious damage such as broken cables, corrosion or worn parts.
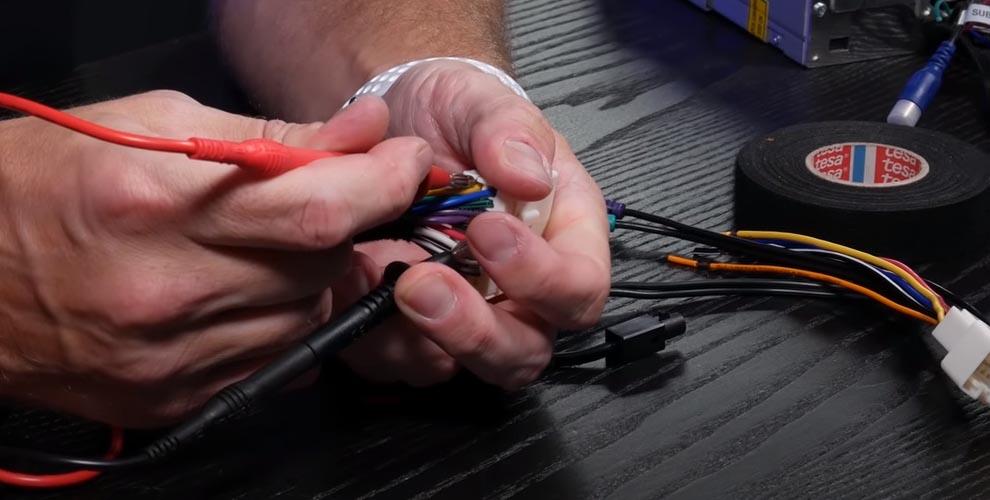
- Using a multimeter: A pair of Multimeter is an essential tool for diagnosing electrical problems. It can be used to measure voltage, current and resistance. So check the battery voltage, wiring and functionality of the electrical components.
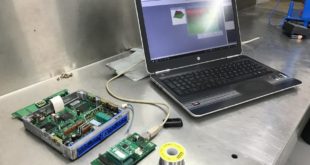
- Read error codes: Modern vehicles store error codes in the ECU, which are associated with a OBD-II scanner can be read. These codes can provide important clues about the problem.
Repairing electronic problems
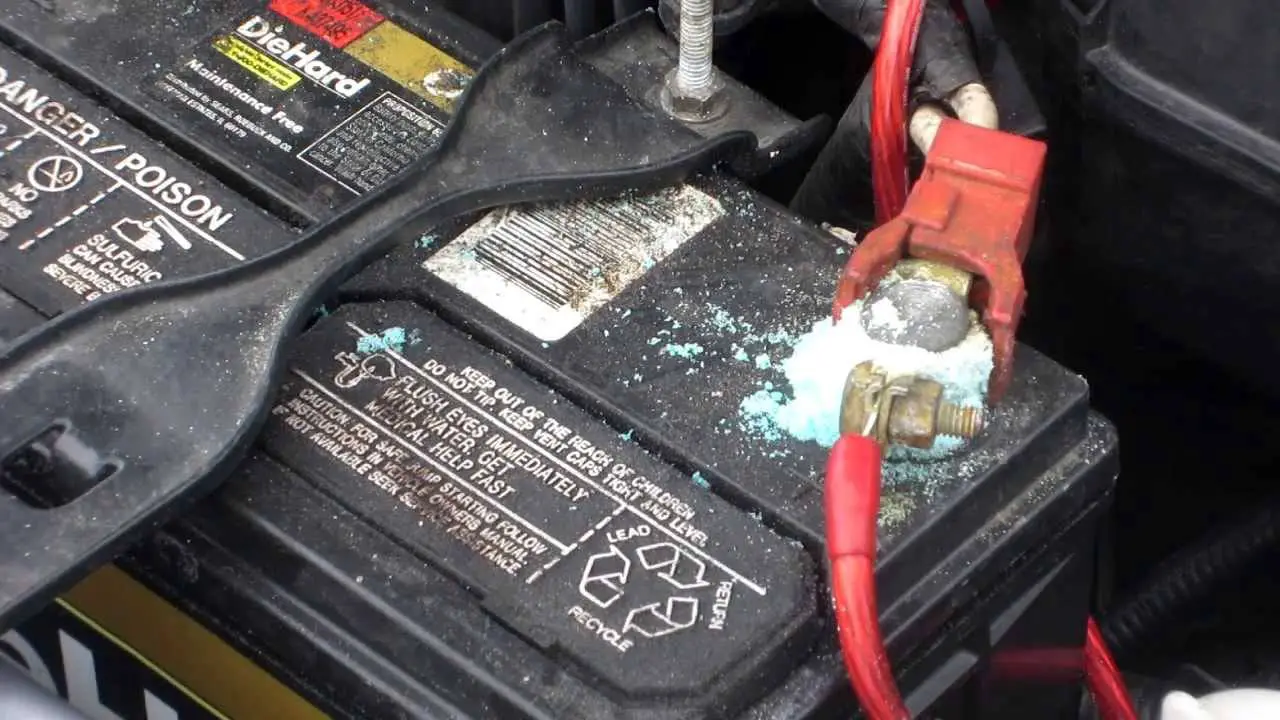
- Fix battery problems: If the Battery is weak, recharge or replace it. Also check the connections for corrosion and make sure they are tight and clean.
- Starter and alternator: Starter or alternator (LIMA) problems often require professional diagnosis. However, for simple problems, you can check the connections and make sure that no cables are damaged.
- Replacing fuses and relays: Check the fuses and relays for damage. Replace any blown fuses and test the relays with a multimeter. This is often a simple and inexpensive repair.
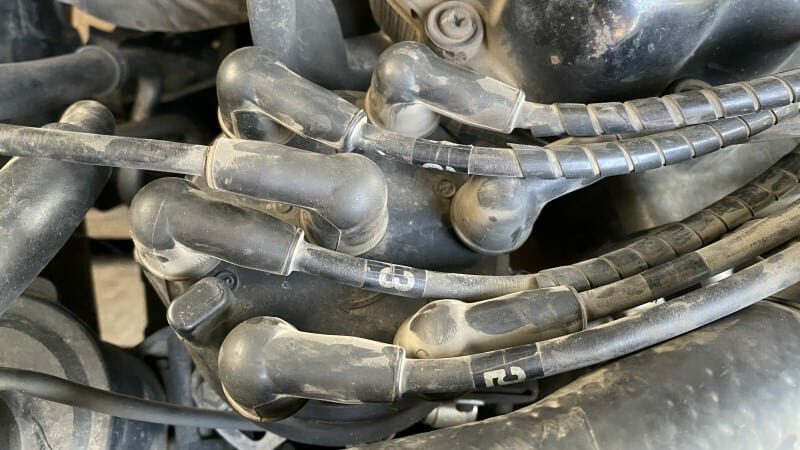
- Repair or replacement of cables and plugs: Damaged cables and plugs should be repaired or replaced. Make sure all connections are secure and corrosion-free.
- Dealing with complex systems: Be careful with complex systems such as the ECU or the ABS system. In many cases it is advisable to seek professional help.
Repair vehicle electronics: preventative maintenance

- Periodic review: Check the battery, cables and electrical components regularly. Preventive maintenance can prevent many problems.
- Cleanliness and corrosion protection: Always keep battery connections and cables clean and free of corrosion. This improves the longevity and reliability of the electrical system.
- Professional installation: When installing new electrical components, ensure that they are connected correctly and cannot cause short circuits.
Conclusion
Repairing vehicle electrical systems requires patience, care, and a basic understanding of electrical systems. However, with the right tools and knowledge, many problems can be solved directly be remedied yourself. But remember to seek professional help if you have complex problems.
Vehicle electrical and electronic components:
Vehicle electrical and electronics include a variety of components that are critical to the smooth functioning of the vehicle. This includes:
- Lighting elements: Exterior and interior lighting.
- comfort functions: Power seats, power windows, heated steering wheel and heated seats.
- security systems: on-board computer, anti-theft system, parking sensors.
- Navigation and communication: Navigation system.
- Fasteners: cables, switches, relays, fuses.
- Power supply and regulation: Car battery, alternator with voltage regulator.
- engine start: Starter.
Causes of defects in electronic systems?
Defects in vehicle electrical and electronic systems can be caused by various factors:
- Battery overcharging: Possible causes are a defective voltage regulator or a defective diode bridge on the generator.
- Contamination and mechanical wear: Problems in the generator winding, worn carbon brushes and slip rings.
- Mechanical problems: Drive belt loose or broken.
- Electrical problems: High voltage, short circuits, corroded or heat-damaged connection contacts.

What can be the causes of low voltage in the vehicle?
Low voltage in the vehicle can have various causes:
- Defective components: a defective relay or a faulty diode bridge on the generator.
- Excessive power consumption: the installation of devices with high power requirements or a defective car battery.
- Inappropriate cabling: Incorrectly sized wiring, relays and fuses.
How to troubleshoot vehicle electrical problems?
To troubleshoot vehicle electrical issues, consider the following steps:
- Checking the battery: Check the battery for overcharge and condition.
- Generator winding inspection: Check for dirt or damage.
- Checking the drive elements: Check the drive belt for cracks or looseness.
- Examination of electrical connections: Check for corrosion or heat damage.
How can you prevent electrical problems in your vehicle?
Regular maintenance and inspections are crucial to avoid electrical problems. This includes:
- Regular battery checks: Check the battery voltage and the condition of the connections.
- Inspection of electrical components: Check cables, switches, relays and fuses regularly.
- Look for signs of wear: Look for signs of wear on the generator and starter.
The following note is essential: For safety reasons, tuningblog recommends all repair, inspection and maintenance work exclusively to be carried out in a specialist workshop! Although our information is summarized to the best of our knowledge and belief, we cannot assume any liability for the content. All information is therefore "without guarantee".
That wasn't it yet!
In our Auto Repair Category you will find advice and instructions on common vehicle defects, repairs and the installation of accessories/tuning parts.