The change of the rear silencer from the exhaust system is a task that many people have to overcome at some point. The component is essential for reducing the noise caused by the emission of exhaust gases, thereby contributing to a more pleasant driving experience. In addition, the rear silencer crucial for compliance with environmental standards by reducing the noise emissions of the car significantly minimized. In our article you will find out everything you need to know about changing the rear silencer!
Changing the rear silencer

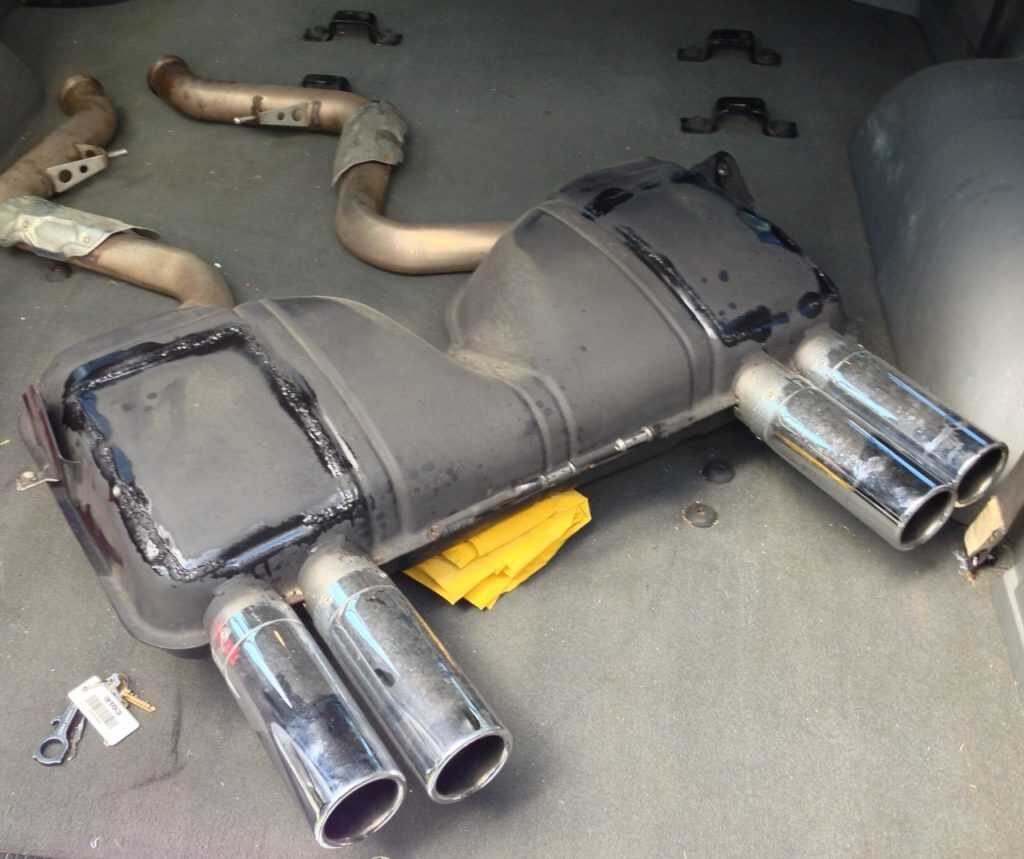
- Technical details: The rear silencer is specific to each vehicle, meaning the dimensions and specifications vary depending on the make, model and year. Typically the rear silencer is made of steel or stainless steel to ensure a long service life. The length and diameter are crucial for compatibility with the vehicle and influence noise reduction and back pressure.
- What to look out for? When changing the rear silencer, it may be necessary to replace or adapt additional components, such as suspensions, clamps and pipe connections. It is important to carry out an inspection before starting work to ensure that all required parts are present and in good condition.
that is the process of change
- Key information about the change process: Changing the rear silencer begins with removing the old silencer. This can be a challenge depending on the vehicle and the condition of the screw connections and suspension. It is advisable to make all connections in advance rust remover to make dismantling easier. After removing the old damper, the new one should rear silencer be placed exactly in the place of its predecessor and securely fastened with all associated components.
- Special features Some modern vehicles have electronically controlled rear silencer systems that allow noise levels to be adjusted. Particular care must be taken when replacing the systems, as a correct connection to the control unit is required.
Changing the rear silencer is a simple DIY task that not only... Noise quality improved, but also for environmental friendliness of the vehicle. With the right tools, a little patience and our instructions, you will be well prepared to master the task independently.
FAQ: Changing the rear silencer
Cost overview for changing one rear silencer: The costs for replacing a rear silencer vary depending on the vehicle type and age, as well as the prices for materials and labor in different workshops. A new muffler costs between 30 and 1.000 euros, depending on the model and design. The assembly costs range between 50 and 500 euros. Overall you should expect costs between 150 and 1.500 euros calculate. It is advisable to obtain a cost estimate in advance.
Instructions: Change the muffler
- Material and tools required: Matching rear silencer, new clamp and fastening material, zinc paste for plug connections, Phillips screwdriver, hacksaw or angle grinder, welding machine (if necessary), sandpaper and spray oil
Procedure:
- Make sure the vehicle is stationary and the exhaust system has cooled down.
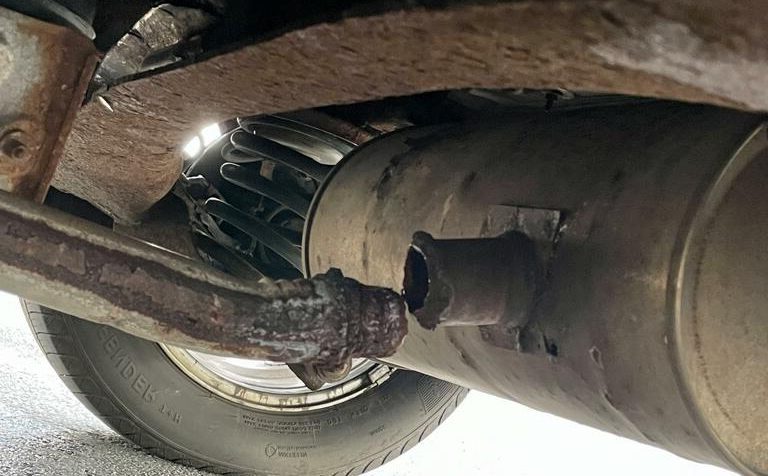
- Loosen the clamp that connects the muffler to the exhaust pipe.
- Unhook the rubber seals that hold the muffler to the body.
- Remove the old muffler and replace the rubber seals with new ones.
- If necessary, treat the connection points with sandpaper and spray with spray oil.
- Apply zinc paste to the joints and install the new end pot.
- Reconnect the exhaust with the gaskets
- Reinstall the seals.
- Tighten the clamp and check that the exhaust is correctly seated.
safety instructions
- When changing the muffler, it is important to take safety precautions such as wearing safety glasses to protect yourself from falling dirt and rust. In addition, work should be done on a cool exhaust and on safe ground to avoid injuries and accidents.
The following note is essential: For safety reasons, tuningblog recommends all repair, inspection and maintenance work exclusively to be carried out in a specialist workshop! Although our information is summarized to the best of our knowledge and belief, we cannot assume any liability for the content. All information is therefore "without guarantee".
That wasn't it yet!
In our Auto Repair Category you will find advice and instructions on common vehicle defects, repairs and the installation of accessories/tuning parts.
thematically relevant posts
|
Fill the air conditioning system yourself – simple step-by-step instructions
|
Painting a motorcycle engine without dismantling: step-by-step instructions  |