Recently updated on February 27, 2024 at 02:21 am

The paint of the motorcycle engine (partly also applies to car engines) can be a challenge, especially when faced with the task of accomplishing this without disassembly. But with the right technology and a little skill, the task can be done three to four hours manage without having to completely disassemble the motorcycle. The key to success lies in Preparation and the use of the right materials. The process begins with the Dismantling some parts such as tank, exhaust and footrests, depending on the motorcycle model to expose cylinder and to make accessible. This is important preparation Numbering the connections at the ignition coil and removing the carburettor if necessary to ensure trouble-free reassembly later.
Painting motorcycle engine

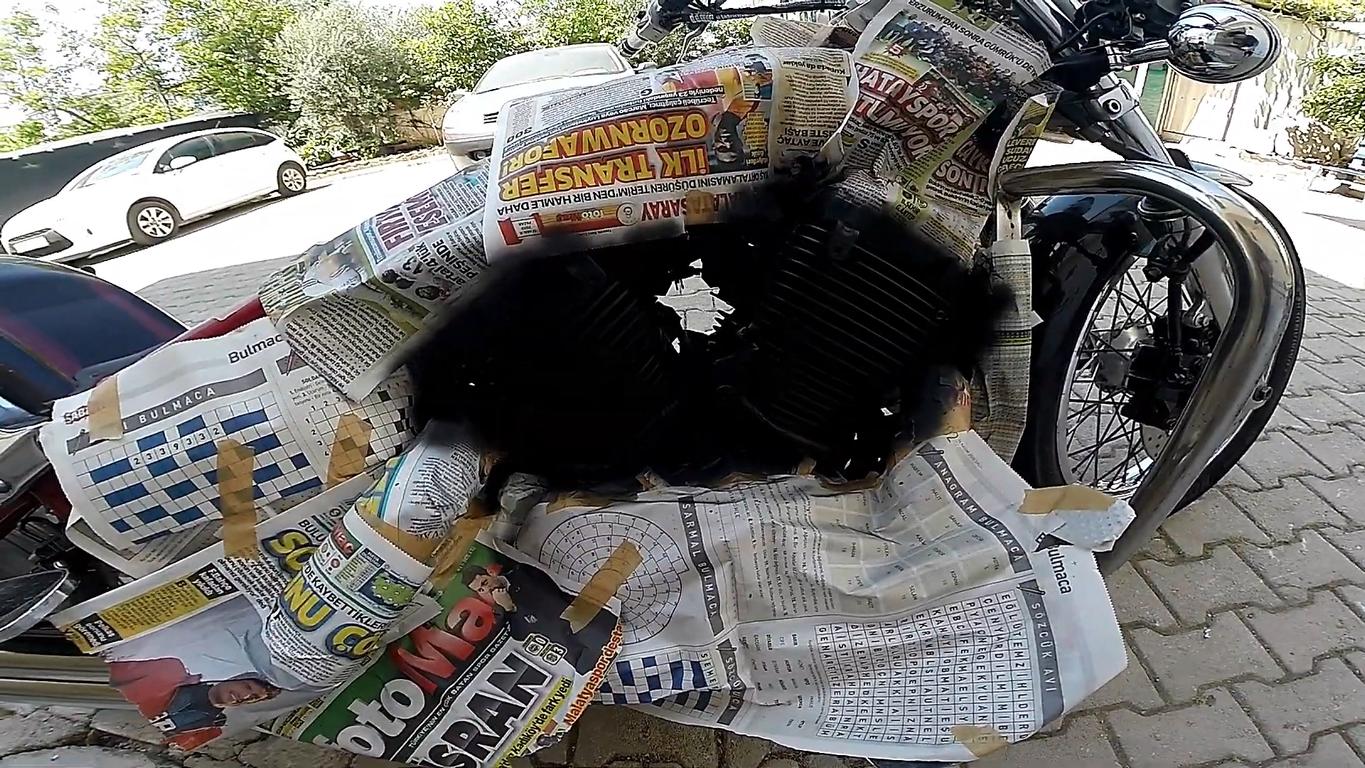
The next step is this Cleaning the engine. For this purpose, all openings are included clean rags or cloths sealed to prevent paint from getting inside. For the Spark plug holes you can use an old one spark plug use. The thorough cleaning is carried out with brake cleaner, which also removes grease and oil from hard-to-reach areas such as the cooling fins. Before you start painting, you have to perfect the bike mask off. masking tape is used to protect areas such as cylinder heads or crankcase covers that should not be painted. The preparation requires some patience and sensitivity to ensure that no paint mist reaches unwanted parts of the motorcycle.
A hot air dryer is needed
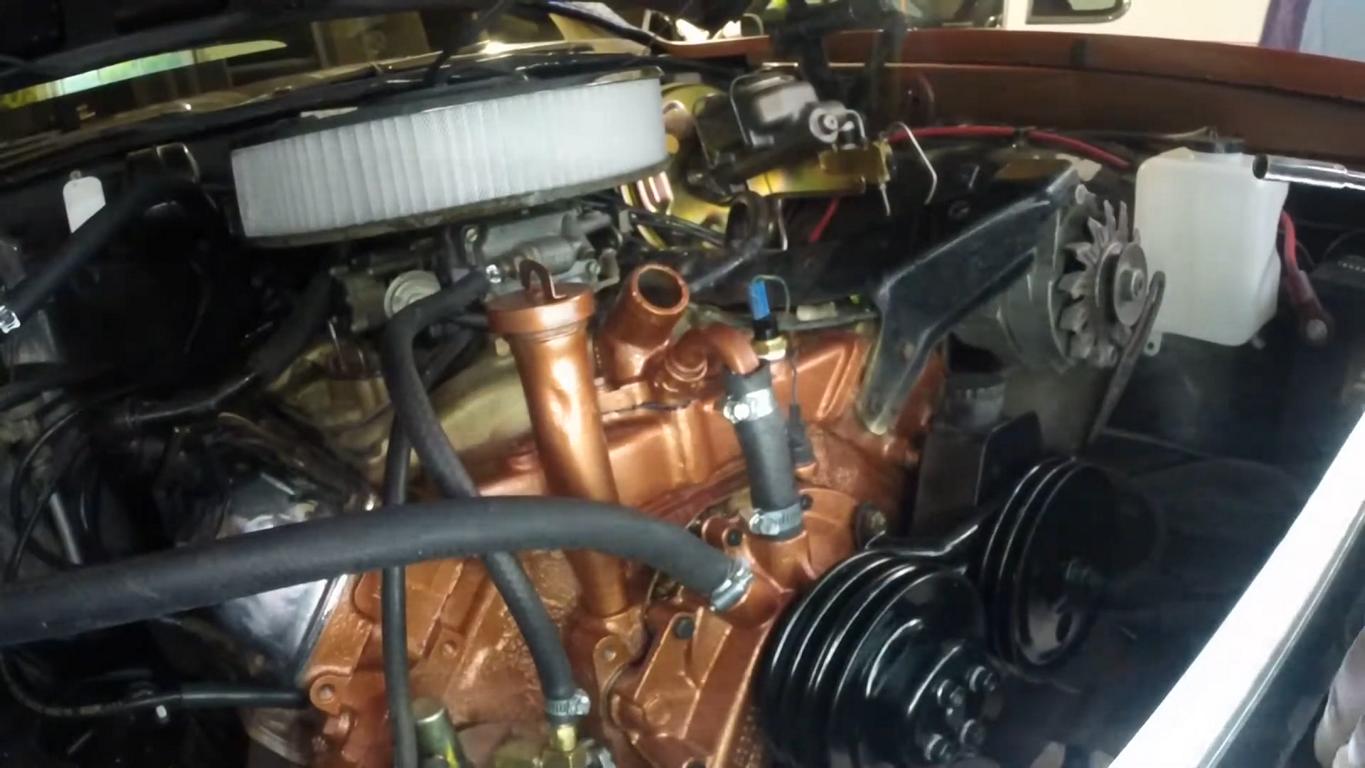
The Painting itself begins with the use of one hot air dryer to warm the surfaces, which enables faster drying. The usage of heat-resistant paint from specialist retailers is essential. By shaking the can, the paint is applied at even intervals while the hairdryer speeds up the drying process. During the phase are precautions like masks and gloves as well as a good one ventilation of the work area is essential. This is what follows after painting and a short drying time Removing the covers and straps. The final one Assembling the bike is carried out in the reverse order of disassembly.
Our method for paint of the motorcycle engine without completely dismantling it is an effective solution for those who want to give their motorcycle (or moped) a fresh look without having to completely disassemble it. With the Focus on careful preparation and precision When carried out, an excellent result can be achieved that not only improves the appearance, but also increases the pride and joy of your own motorcycle.
Painting the engine: Important information and tips
Painting the engine can significantly improve its appearance. However, it is not just a question of appearance, but also of correct preparation and application. Here are the key points to keep in mind:
- Heat resistance of the paint: The engine develops high temperatures, therefore the use of heat-resistant varnish essential. Ordinary paints cannot withstand the conditions and should be avoided. You can find high-quality, heat-resistant paints in specialist retailers or hardware stores, but you must take them with you higher costs compared to normal paint.
- Thorough cleaning: Before you start painting, the engine must be thoroughly cleaned. The aim is to remove all oil, grease and any rust, otherwise the paint will not adhere properly. For optimal results, we recommend using engine cleaner and if necessary, fine sandpaper to remove rust.
- Protect your hands: Wearing is prohibited during the cleaning process rubber gloves advisable. This not only protects your hands from the aggressive cleaning agents, but also prevents fats and oils from your hands from contaminating the engine again.
- Mask off areas not to be painted: Certain parts of the engine, such as nameplates, service labels or exposed filters, should not be painted. These areas need to be handled carefully Adhesive tape taped to avoid unwanted paintwork.
- Hiring a professional: For particularly valuable or high-quality engines, it is worth using the services of a specialist. A professional can check the engine if necessary Remove and thus ensure a more thorough and higher quality paint job. If you have the necessary skills and tools to (partially) remove the engine yourself, you should consider doing so to achieve the best possible result.
The following note is essential: For safety reasons, tuningblog recommends all repair, inspection and maintenance work exclusively to be carried out in a specialist workshop! Although our information is summarized to the best of our knowledge and belief, we cannot assume any liability for the content. All information is therefore "without guarantee".
That wasn't it yet!
In our Auto Repair Category you will find advice and instructions on common vehicle defects, repairs and the installation of accessories/tuning parts.
thematically relevant posts
|
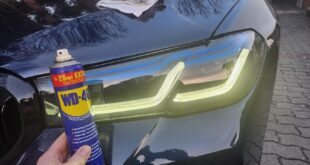
Headlight care with WD-40 – this is how they are polished!
|
Correctly adjusting the headlights: our instructions for optimal visibility! 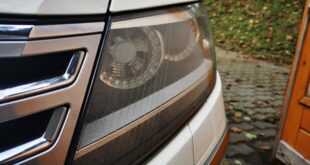 |