A pair of leaking sunroof can become uncomfortable, because dripping or even flowing water causes damage to the inside of the car. While you may assume that the rubber seal on the sunroof is defective and in need of repair, the seal may be the culprit be excluded. Instead, check for clogs in the small holes on the sealing edges of the sunroof!
Option 1: Clean the drain with air
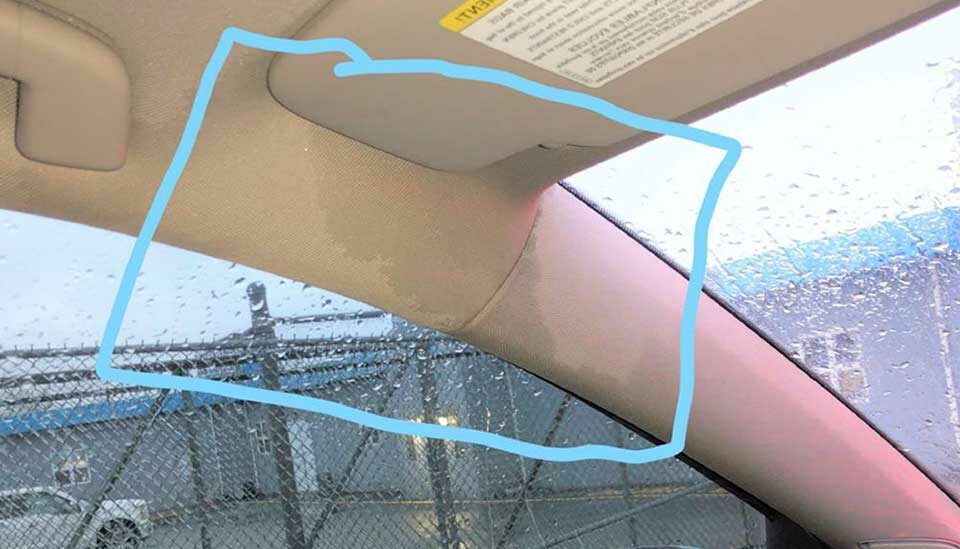
- First, the sunroof pan is cleaned in the rubber seal. It catches the water that penetrates through the sunroof. Use a cloth to wipe away visible dirt in the seal around the edges of the sunroof. search for that Process of the sunroof. These are small holes that are usually located in the corners of the sunroof, under the weatherstrip. Compressed air is now blown through the drain at the bottom of the sunroof. The drains are designed to direct water entering through the sunroof down and out of the vehicle. The drains can clog due to dirt and therefore require cleaning.
Option 2) Cleaning the drains with a metal wire
- Slide a thin metal wire, like a flexible bicycle brake cable, down the drain. This is great for cleaning sunroof drains as it has the perfect diameter and flexibility to find its way through the drain. Use it to clean each drain hole located on the underside of the sunroof. Twist the wire first clockwise and then counterclockwise while simultaneously pushing it deeper into the drain. The wire should move through the drain with little resistance, so small dirt particles are removed. Try to avoid damaging the drain with the metal wire. If you feel a lot of resistance when twisting the wire, don't press any further, but rather then please an expertto clean the drains. After you close the sunroof, pour water over the glass and check for leaks in the car. If there are still leaks, continue to the next step.
Option 3: Gasket repair
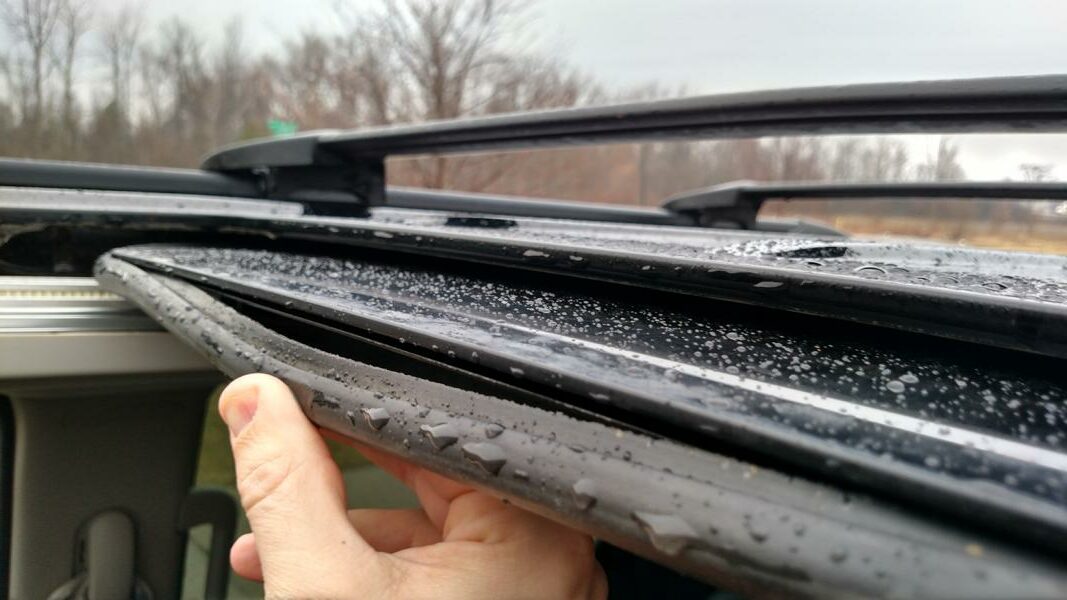
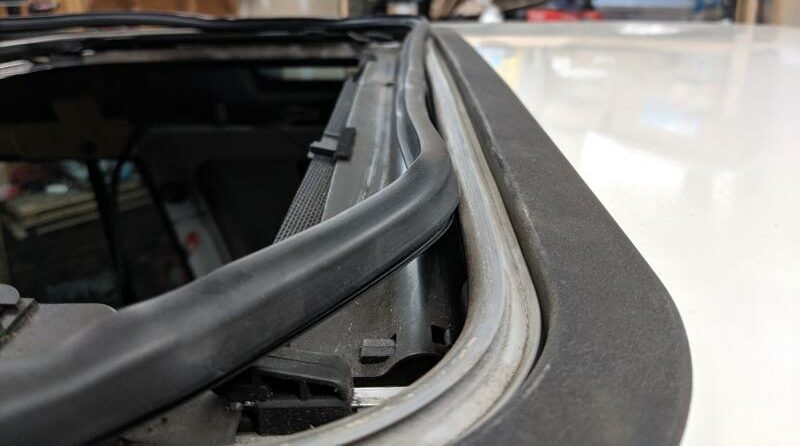
- Look for cracks or jagged edges on the sunroof seal. Some seals dry out slowly due to the high and low temperatures they are exposed to and become brittle over time. Make sure in the area around the gasket no accumulation of water and no mold is available. Sometimes the seals also sag and lose their shape. This leads to water accumulation in the tub. This can ultimately cause holes in the seal. bring black liquid insulating tape on the seal. A thick layer of liquid electrical tape should be applied and with it visible signs of wear are covered. The dried tape provides a protective, waterproof barrier. Push the tape down along the seal and wait for it to slide according to the manufacturer's instructions has dried. Check the interior for additional leaks by closing the sunroof and pouring water on it.
Hand the vehicle over to someone professional service providerif you continue to have trouble with the sunroof. Leaks not related to the drains or seals may also be factory defects. In this case, a new sunroof must be installed.
The following note is essential: For safety reasons, tuningblog recommends all repair, inspection and maintenance work exclusively to be carried out in a specialist workshop! Although our information is summarized to the best of our knowledge and belief, we cannot assume any liability for the content. All information is therefore "without guarantee".
Of course, that wasn't the end of it!
In this tuningblog category there are guides and instructions for common defects/repairs on the vehicle and for installing accessories/tuning parts. Our articles explain in a simple way common defects and the corresponding repairs, as well as explaining how the first signs of a defect become noticeable. In most cases, we also have initial clues to the repair instructions in our repair instructions approximate The costs of the pending repair are listed. The goal of our subcategory “Auto Repair Guide“ is to create a head start in knowledge for the next visit to the workshop with initial tips. This may save you from tedious troubleshooting and small things can perhaps be done directly on your own. The same applies, of course, to the installation of accessories/tuning parts. Here, too, we would like to help with the implementation with instructions and tips. There are many other posts on this as well. Below is an excerpt of the last and HERE there are all previous instructions:
|
How to clean plastic parts on the car!
|
Repairing a glove box that won't open!
|
Bleed the brakes of the car yourself!
|


"tuningblog.eu" - we keep you up to date on the subject of autotuning and car styling with our tuning magazine and present you with the latest tuned vehicles from all over the world every day. It's best to subscribe to ours Feed and will automatically be informed as soon as there is something new about this post, and of course also to all other contributions.