The change of the Ignition distributor rotor (also known as Distributor finger/distributor rotor) is a maintenance job that helps maintain optimal performance of the vehicle. Especially with classics such as the Opel Kadett or the VW Golf II, regular inspection and, if necessary, replacement of the component is essential for a trouble-free journey. In our article, we will walk you through the process of changing the ignition distributor rotor, specifically for a typical German vehicle from the 80s, and give you valuable tips on how to complete the task confidently and successfully. First of all it is important that right tool to be ready. These include, among others Electronic spray, a crowbar , and a Fender protectorsto avoid damage to the vehicle.
Change ignition distributor rotor
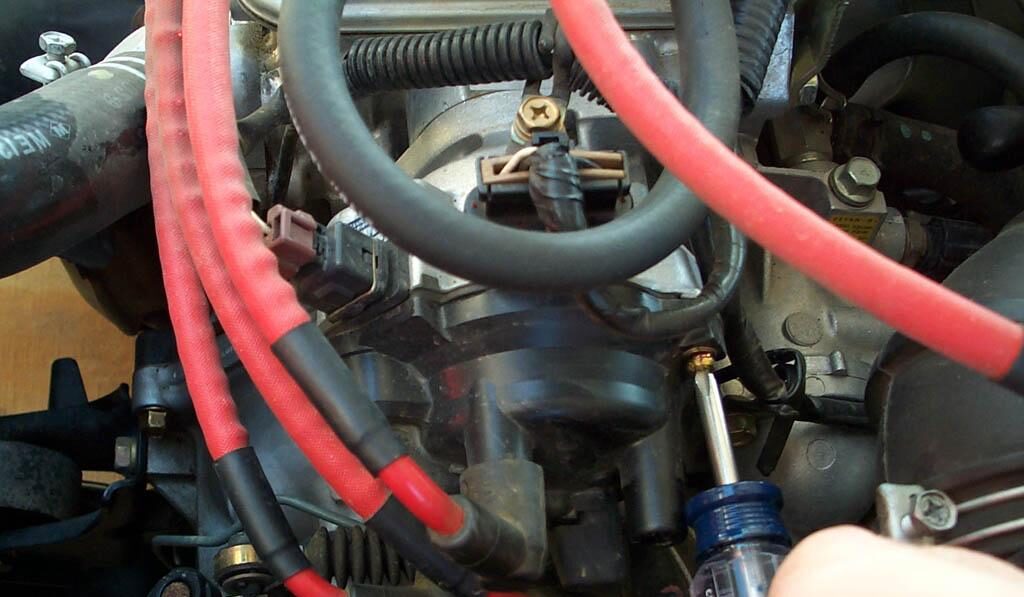
The exchange process begins with the Opening the hood and the use of one Mudguard protection cover. Next, highlight the Spark plug wire connection order on the distributor cap before removing it. This is a crucial step to ensure that you can reconnect the cables correctly later. The Distributor cap clips are released to gain access to the distributor finger. At the Remove Care must be taken when removing the old distributor finger so as not to cause damage. After the old distributor finger has been removed, the new distributor finger can be inserted. It is important not to use excessive force when assembling the new part to avoid damage. After the new distributor finger is inserted, the distributor cap is put on and the clamps are attached.
Install in reverse order!
The spark plug wires are installed according to the previously marked sequence reconnected. It is recommended that Ignition cable connector with dielectric grease treated to ensure optimal function. Finally, the engine should be allowed to run for a few minutes to check that the new distributor finger is functioning correctly. This process shows how essential it is Ignition distributor rotor for how the engine works. A correctly functioning one Distributor finger ensures an optimal ignition sequence, which in turn ensures efficient combustion and thus optimal engine performance. By regularly checking and replacing the ignition distributor rotor, you can extend the life of the car and ensure that it always runs reliably.
The ignition distributor rotor, also known as the distributor finger, is a central element in a vehicle's ignition system. Its main job is to transmit the high voltage current from the ignition coil to the spark plugs. A defective one Ignition distributor rotor can cause difficulty starting, loss of power or irregular engine running. It rotates within the ignition distributor and electrically bridges the distance between the ignition coil and the individual contacts that lead to the spark plugs.
Why change the ignition distributor rotor?
A change is necessary if the ignition distributor rotor wear or Damage having. Symptoms of a defective distributor rotor can include starting problems, a jerky engine, loss of power or increased fuel consumption. There is no universal rule for the replacement interval of an ignition distributor rotor, as the service life depends on the quality of the component, the operating conditions and the driving style. One regular inspection is recommended, especially for older vehicles. Some manufacturers recommend a change as part of ignition system maintenance, about all of them 20.000 to 30.000 kilometers.
Step-by-step instructions:
- safety precautions
– Make sure the engine cooled down is to avoid burns.
– Separate them Batteryto prevent electrical accidents. - Preparation
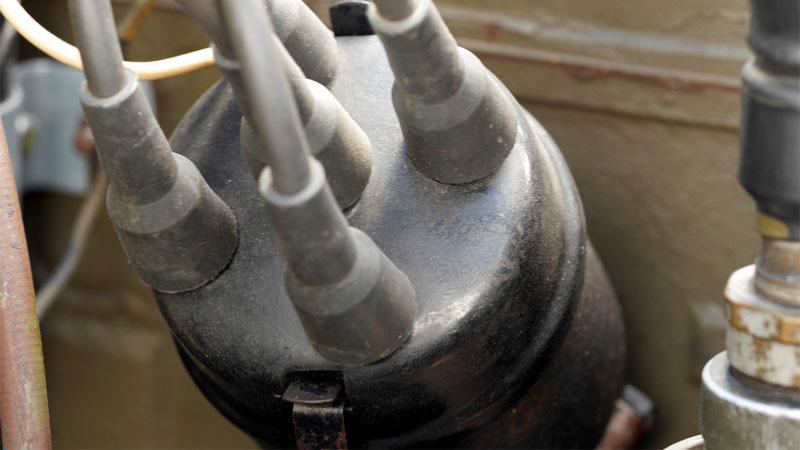
– Open the hood and locate the ignition distributor. This is usually located near the top of the engine. - Extension
- To mark Check the position of the distributor and distributor rotor relative to each other and other engine components. This makes later installation easier.
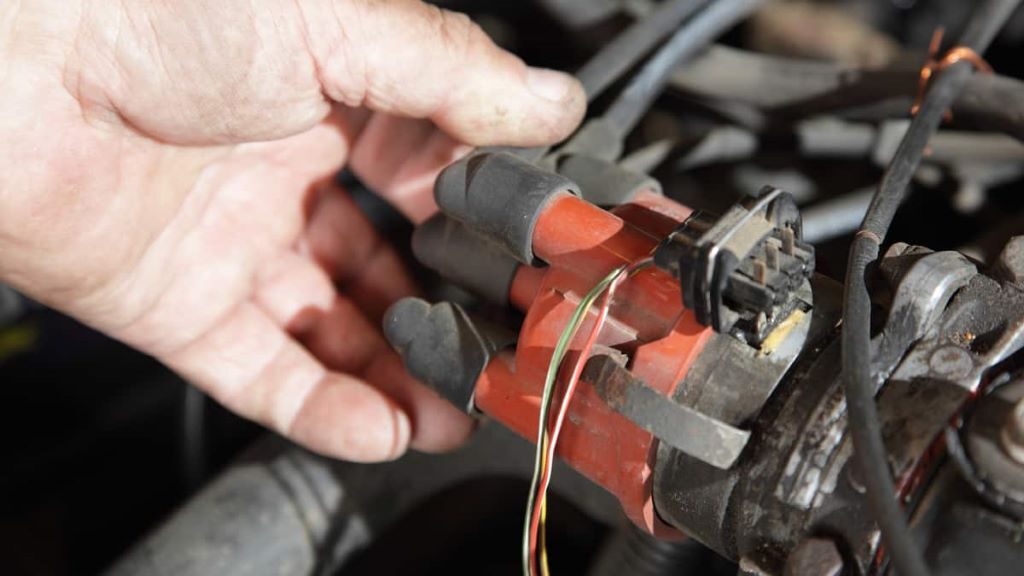
- Remove the Distributor cap. It is usually attached with a few screws or clips. Lift off the cap and set it aside.
– Take that Ignition distributor rotor off carefully. In most cases it is just attached and can be removed without tools. - Installation of the new ignition distributor rotor
– Compare the old with the new ignition distributor rotor to ensure that they identical are.
– Put on the new ignition distributor rotor. Make sure he sits firmly and the Markings to match.
– Reinstall the distributor cap and secure it with the screws or clips. - Theses
– Connect them Battery again.
– Start the engine and check whether it runs quietly and no more starting problems occur.
What should you watch out for when buying?
Watch out for Quality and Compatibility with your vehicle. It is advisable to choose parts from well-known manufacturers to ensure optimal performance and longevity. Can I change the ignition distributor rotor myself? Yes, changing the ignition distributor rotor is a task that needs to be done basic mechanical knowledge and tools can be done at home. Follow the instructions above to ensure the switch is done correctly.
Conclusion
- Regularly changing the ignition distributor rotor is an important part of vehicle maintenance that helps maintain optimal engine performance and prevent major damage. With the right tools and a little patience, the task can be successfully completed at home.
The following note is essential: For safety reasons, tuningblog recommends all repair, inspection and maintenance work exclusively to be carried out in a specialist workshop! Although our information is summarized to the best of our knowledge and belief, we cannot assume any liability for the content. All information is therefore "without guarantee".
That wasn't it yet!
In our Auto Repair Category you will find advice and instructions on common vehicle defects, repairs and the installation of accessories/tuning parts.
thematically relevant posts
|
Changing the ignition coil instructions: symptoms, repair/change, costs!
|
How to change the distributor cap? We know it! 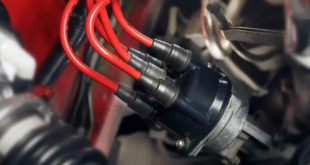 |
