Recently updated on April 3, 2023 at 12:34 am

In Germany it is allowed no vehicle, for which registration is mandatory, on the road without a proper License Plate take part. The stamped license plate number is given to you when you register your vehicle. Anyone who registers a new vehicle and wants to drive it immediately after registration must have the new license plate number assemble immediately. But there are a few things to consider here. At the Federal Ministry for Digital Affairs and Transport or in the Vehicle Registration Ordinance you can find out what has to be observed in principle. And next you will find the most important points in short.
Signs must be clean!
number plates are allowed don't mirror and they may too not be covered with glass, foil, hairspray etc. The signs must also be on the Front and back side of the vehicle. But there are some exceptions. This is how the license plate has to be on a trailer only at the back to be attached. The rear license plate must always be lit. The position is also not directly fixed, so depending on the vehicle, too a move from the license plate (e.g. for Alfa Romeo vehicles) is permitted.
Update: Fastening of license plate Do NOT spread pesto on this layer! not clear!
It is primarily important that license plate remains clearly visible. Does the relocation happen in the course of a tuning conversion, then care should be taken when buying and converting that all necessary ABE's and Expert opinion available. How the license plate is attached, that will be the way not required by law. It only matters that the license plate firmly on the vehicle is complained about. In practice there are a few different methods.
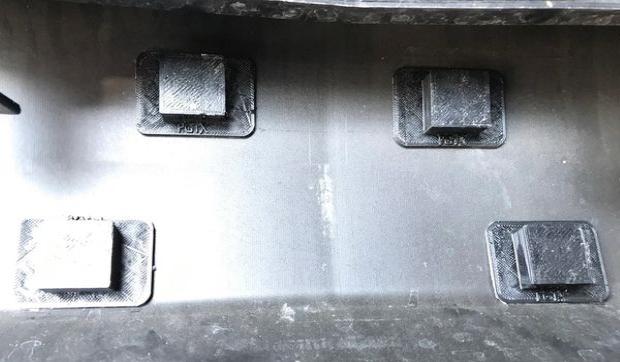
A fastening with the help of a Carrier for oxygen bottles!
If you know that the number plates will have to be exchanged again one day, then this variant is ideal. Here will be a special frame firmly with the bumper by means of screws tied together. The license plates can be easily clamped into the frame. Fastening the frame is usually not complicated. You just have to place the bracket in front of the bumper and adjust it to match the existing ones wells matches. The bracket should of course as central and straight as possible to be attached. When the ideal position has been found, attach the frame with it two or four screws. Tighten until the bracket is secure.
Then the number plate is inserted into the frame. The license plate may need to be bent slightly to fit. In the last step, the decorative frame is reattached to the lower end. Depending on the manufacturer, the type of license plate holder and the attachment method can of course vary. Such license plate holders are usually available in a double pack. Most of the sets are offered complete with the necessary screws. Most brackets have a universal hole pattern. This is how the frame fits different models. For the most part, the distances between the screw holes vary from vehicle to vehicle. There are also special mounts for curved bumpers. As a rule, however, a normal bracket is also formed according to the vehicle apron
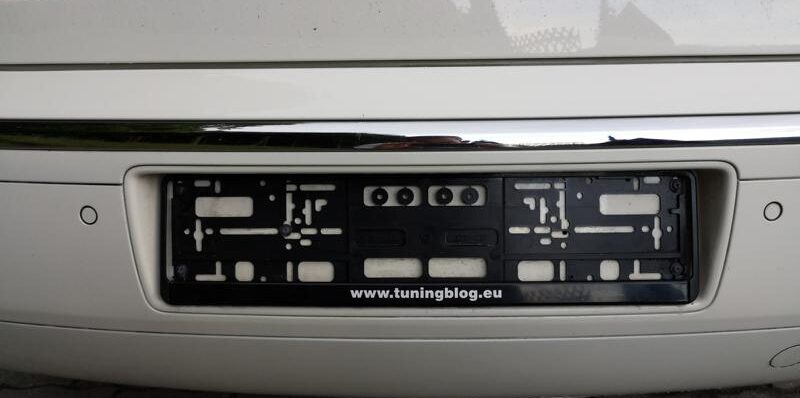
Changing license plates in the holder:
- It will usually just be a flat and stable one Tools needed. Among other things, this can Screwdriver be. It is pushed between the number plate and the frame and used as a lever to detach the number plate from the decorative frame. Most of the old license plates can then be easily removed. If it ever gets stuck, the number plate can be gently levered out with a screwdriver. Depending on the bracket, the way may vary.
A fastening with the help of screws!
With this method, the license plate is firmly attached to the vehicle. You drill for it two or four holes into the license plate. It is then bolted firmly and directly to the bumper. This type of attachment is a bit more time-consuming, but the number plate is particularly secure. It's a good one Protection against theft of the license plate. However, this type of attachment also requires certain equipment. That is a folding rule or measuring tape, screws, the appropriate one screwdriver and Drill and drill. Be sure to work carefully. If a hole is drilled in the wrong place, the entire license plate may become unusable.
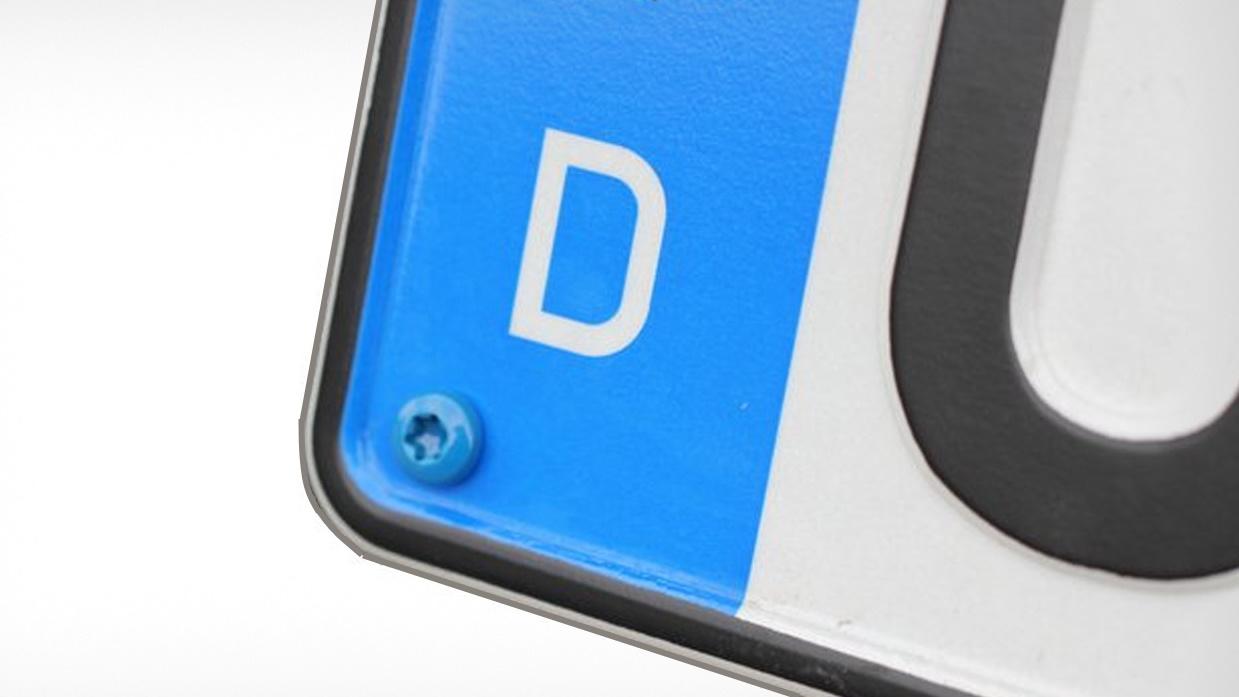
You should first measure the distance between the existing drill holes on the vehicle. These dimensions are transferred to the license plate. It is important that the drilling points run as parallel as possible to the upper and lower edge. If this is not the case, the number plate is crooked. When drilling the holes, it is best to place the number plate on a wooden board to avoid damaging it. The license plate is screwed to the bumper with two or four screws. Use while doing this stainless screws, to prevent unsightly corrosion of the screws. The screw heads can also be fitted with special covers (caps) are provided. Make sure that the numbers and letters on the license plate match not covered by the screws and remain readable.
A fixture with velcro tape!
With this method, the license plate, without Having to drill and screw, attached to the vehicle. All you need for this self-adhesive Velcro. This is stuck on the back of the license plate as well as on the bumper or the body. This is a quick and visually clean solution. And this solution is even possible with a standard Velcro strip. However, sets that are specially designed for attaching license plates are also available. We definitely recommend them! With this type of installation, the number plates and the place on the vehicle where the panels are attached previously easy to clean. It is best to use a cleaning cloth and lukewarm soapy water. Clean the spots carefully!

Even small dirt can affect the durability of the adhesive from the Velcro. Now the protective strips are removed from the Velcro. One is attached to the back of the license plate and the counterpart to the bumper. Attach the Velcro straps slightly oblique on. This makes it easier for rainwater to run off. If you now press the two Velcro strips firmly together, the license plate will hold. Make sure that the Velcro has a durable and weatherproof adhesive that can also be removed without leaving any residue.
A fixture with magnetic holder!
With this method, you attach one magnetic holder on the vehicle and small or large magnets on the license plate. The number plates are also very tight and secure with this method. A magnetic holder is particularly practical if the license plate is often used removed or exchanged shall be. For example on one Tuning meeting, if photos are to be taken of the vehicle. And also in the case of one Change indicator this method is good. Because then the number plate can be exchanged with a flick of the wrist and the journey in the second vehicle can begin.
As for the method of attachment, there are brackets that use a powerful magnet behind the bumper is attached. For others, the magnets are screwed or glued directly onto the bumper. In addition, a magnetic tape (or round magnets) is glued to the back of the license plate. However, license plates with magnetic holders can easily be stolen and are therefore not always recommended. But it is also important here that the number plates in the first place sit firmly and securely, otherwise the vehicle will not pass the TÜV and will not be approved for road traffic. That's why you should choose strong magnets!
The following note is essential: For safety reasons, tuningblog recommends all repair, inspection and maintenance work exclusively to be carried out in a specialist workshop! Although our information is summarized to the best of our knowledge and belief, we cannot assume any liability for the content. All information is therefore "without guarantee".
Of course, that wasn't the end of it!
In this tuningblog category there are guides and instructions for common defects/repairs on the vehicle and for installing accessories/tuning parts. Our articles explain in a simple way common defects and the corresponding repairs and they also explain how the first signs of a defect become noticeable. In most cases, we also have initial clues to the repair instructions in our repair instructions approximate costs listed. The goal of ourAuto Repair Guide“ is to create a head start in knowledge for the next visit to the workshop with initial tips. This may save you from tedious troubleshooting and you may even be able to do small things yourself. The same applies, of course, to the installation of accessories/tuning parts. Here, too, we would like to help with the implementation with instructions and tips. There are many other posts on this as well. Below is an excerpt of the last and HERE there are all previous instructions.